
A hearty stew isn’t just perfect for dinner – it’s an ideal meal to freeze for those busy weeknights when cooking isn’t an option. Freezing stew properly preserves its rich flavors and tender textures while providing convenient ready-to-eat meals that can last for months.
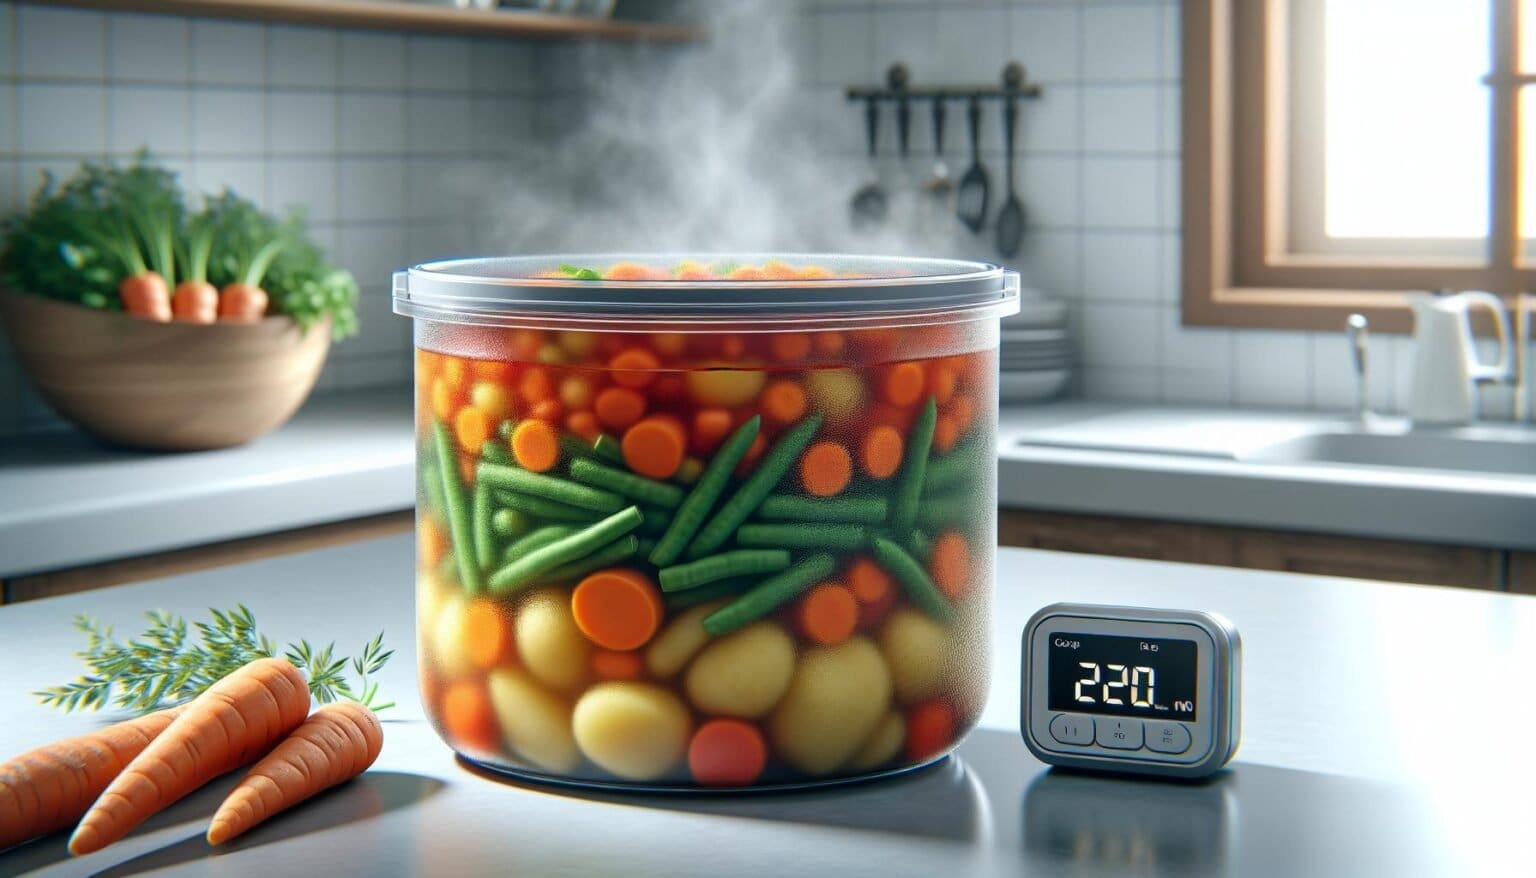
Properly frozen stew can maintain its quality for up to 6 months when stored in airtight containers at 0°F (-18°C). The key lies in cooling the stew completely before freezing and using appropriate freezer-safe containers to prevent freezer burn.
Whether it’s a classic beef bourguignon or a vegetable medley stew preparing large batches for freezing saves both time and money. Understanding the right freezing techniques ensures every serving tastes as delicious as the day it was made.
“1. Cool to room temperature
Cooling stew properly before freezing prevents ice crystal formation that damages texture. Place the hot stew pot on a heat-safe surface away from direct heat sources for 30-45 minutes. Never place hot stew directly in the refrigerator – this raises the internal temperature dangerously.
Here’s the safe cooling process:
- Let sit uncovered at room temperature for 30-45 minutes
- Transfer to shallow containers no deeper than 2 inches
- Cover loosely with a clean kitchen towel
- Place in refrigerator once temperature reaches 70°F
- Chill completely for 2-4 hours before freezing
A digital thermometer provides the most accurate temperature reading. Insert it into the center of the stew – it should register below 70°F before refrigeration. For thick stews, stir occasionally during cooling to distribute heat evenly.
| Cooling Stage | Temperature | Time |
|---|---|---|
| Initial Rest | 165°F to 70°F | 30-45 min |
| Refrigeration | 70°F to 40°F | 2-4 hours |
2. Divide into portions
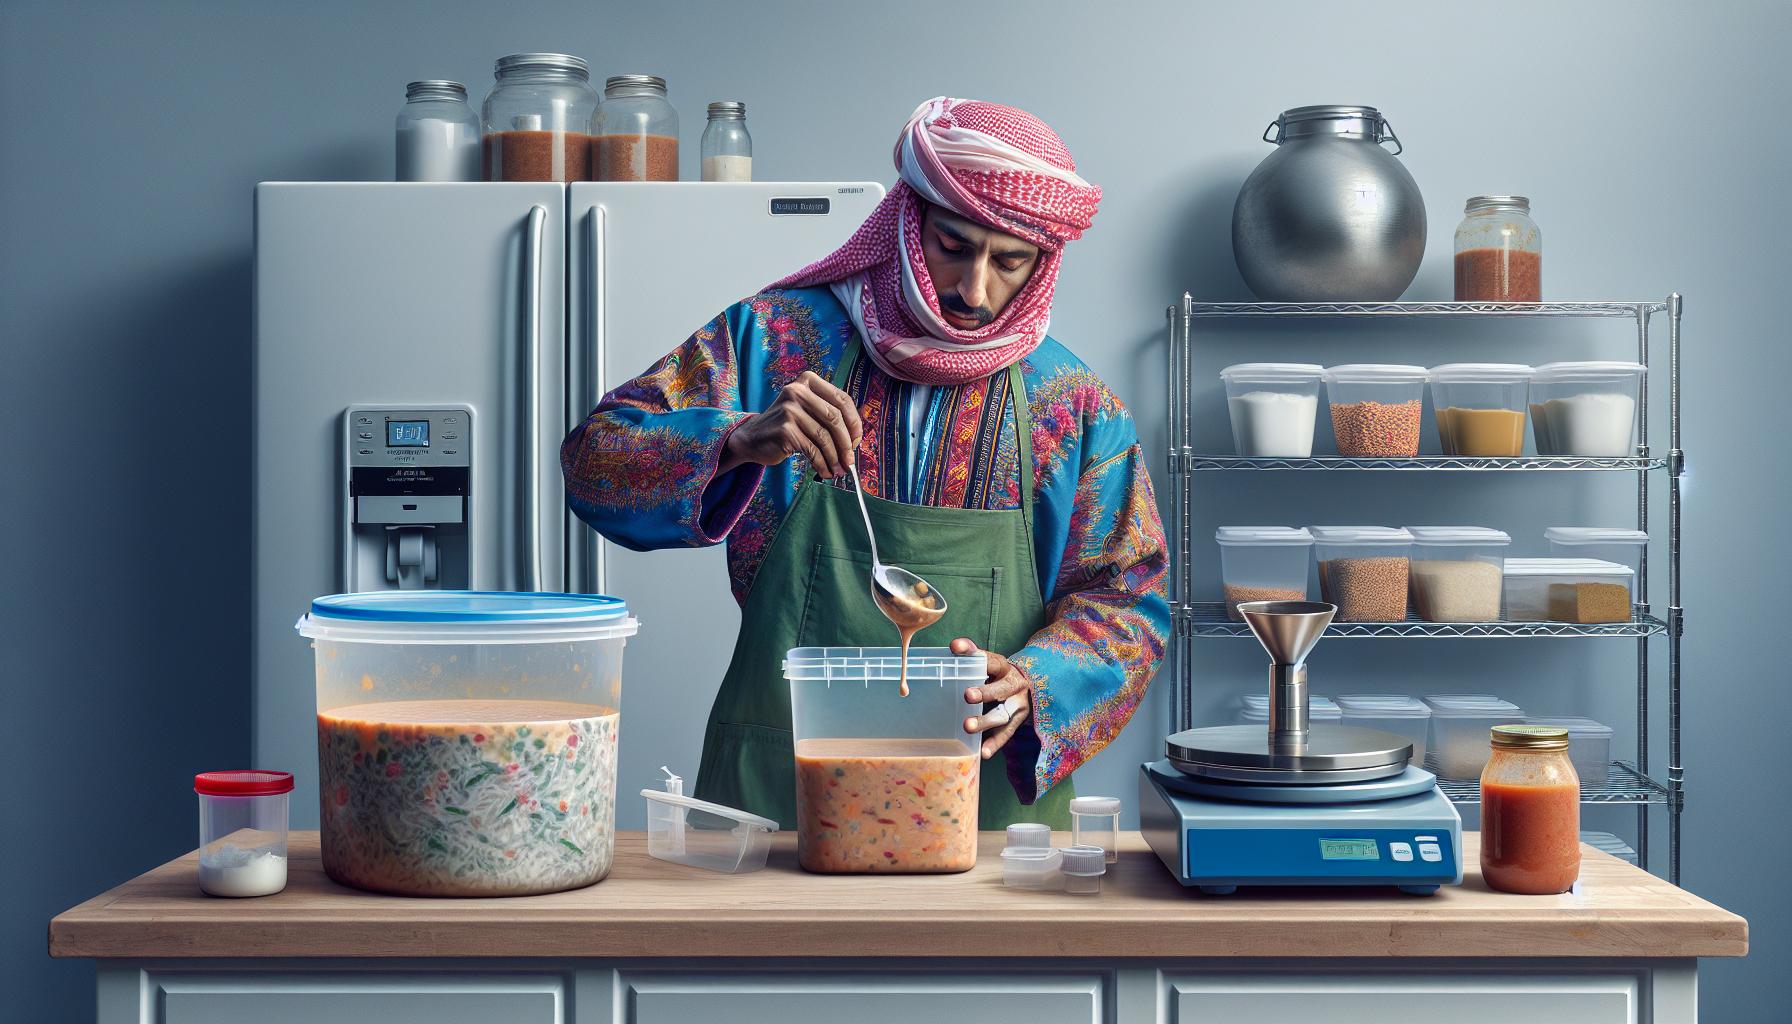
Portioning stew creates manageable serving sizes for future meals. Single servings fit into 2-cup containers for individual meals while family portions work best in 4-cup containers. A kitchen scale measures exact portions – 16 ounces equals a hearty individual serving.
Consider these practical portioning options:
- Individual portions (16 oz) for quick lunches
- Family meals (32 oz) for dinner servings
- Meal prep portions (24 oz) for weekly planning
Pour the cooled stew into containers using a ladle, leaving 1-inch headspace at the top for expansion during freezing. Divide meat chunks evenly between portions to maintain consistent protein content. Label each container with:
- Contents
- Date frozen
- Portion size
- Reheating instructions
A clean funnel helps transfer stew into freezer bags without spills. Remove excess air from containers before sealing to prevent freezer burn. Stack similar-sized portions together in the freezer for efficient organization.
3. Fill containers leaving expansion space
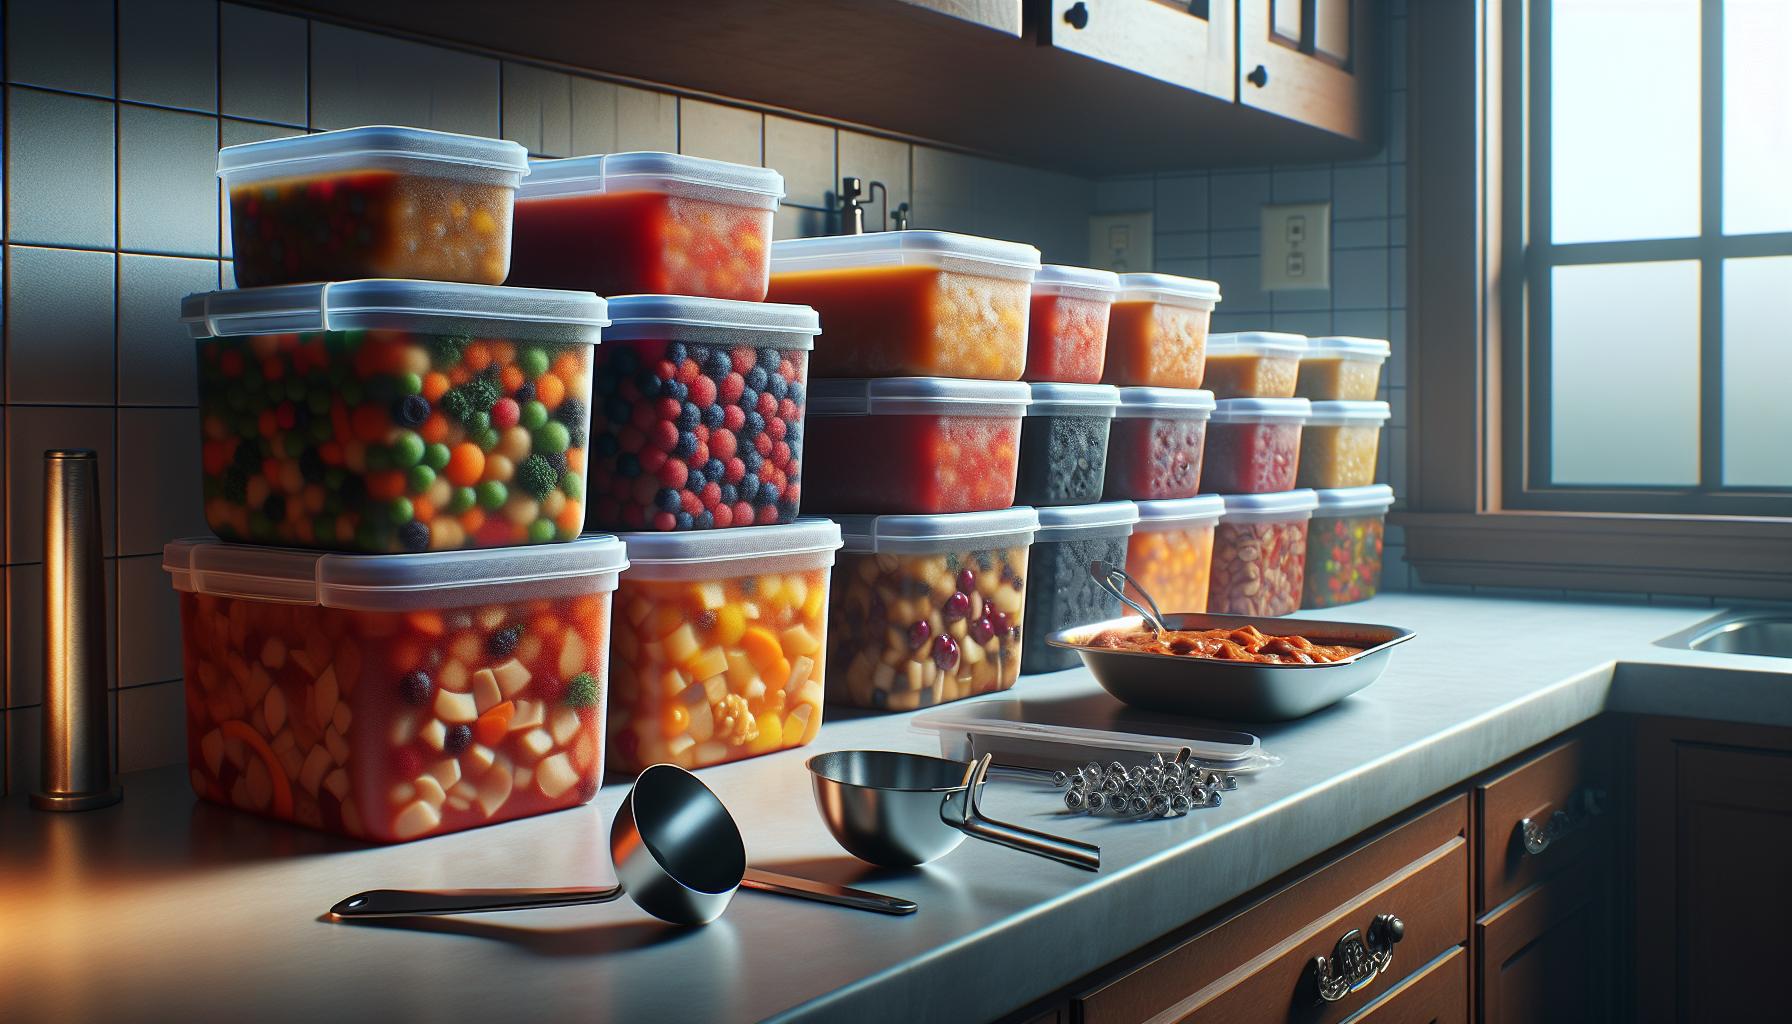
Proper container filling techniques prevent freezer damage and maintain stew quality. Pour cooled stew into freezer-safe containers using a ladle or funnel for precise control. Leave a ½-inch headspace at the top of rigid containers or 1-inch for freezer bags to accommodate expansion during freezing.
Here’s the optimal filling process:
- Fill containers to 80% capacity for soups or brothy stews
- Pack denser stews to 85% capacity
- Distribute solid ingredients evenly across portions
- Wipe container rims clean before sealing
- Press out excess air from freezer bags
| Container Type | Headspace Required |
|---|---|
| Rigid Containers | ½ inch |
| Freezer Bags | 1 inch |
| Aluminum Trays | ¾ inch |
Overfilled containers risk bursting during freezing while underfilled ones expose food to excess air. Measure portions consistently using standard measuring cups: 16 oz for individual servings 24 oz for meal prep portions 32 oz for family meals. Arrange containers flat on freezer shelves until frozen solid.
4. Seal and label with date
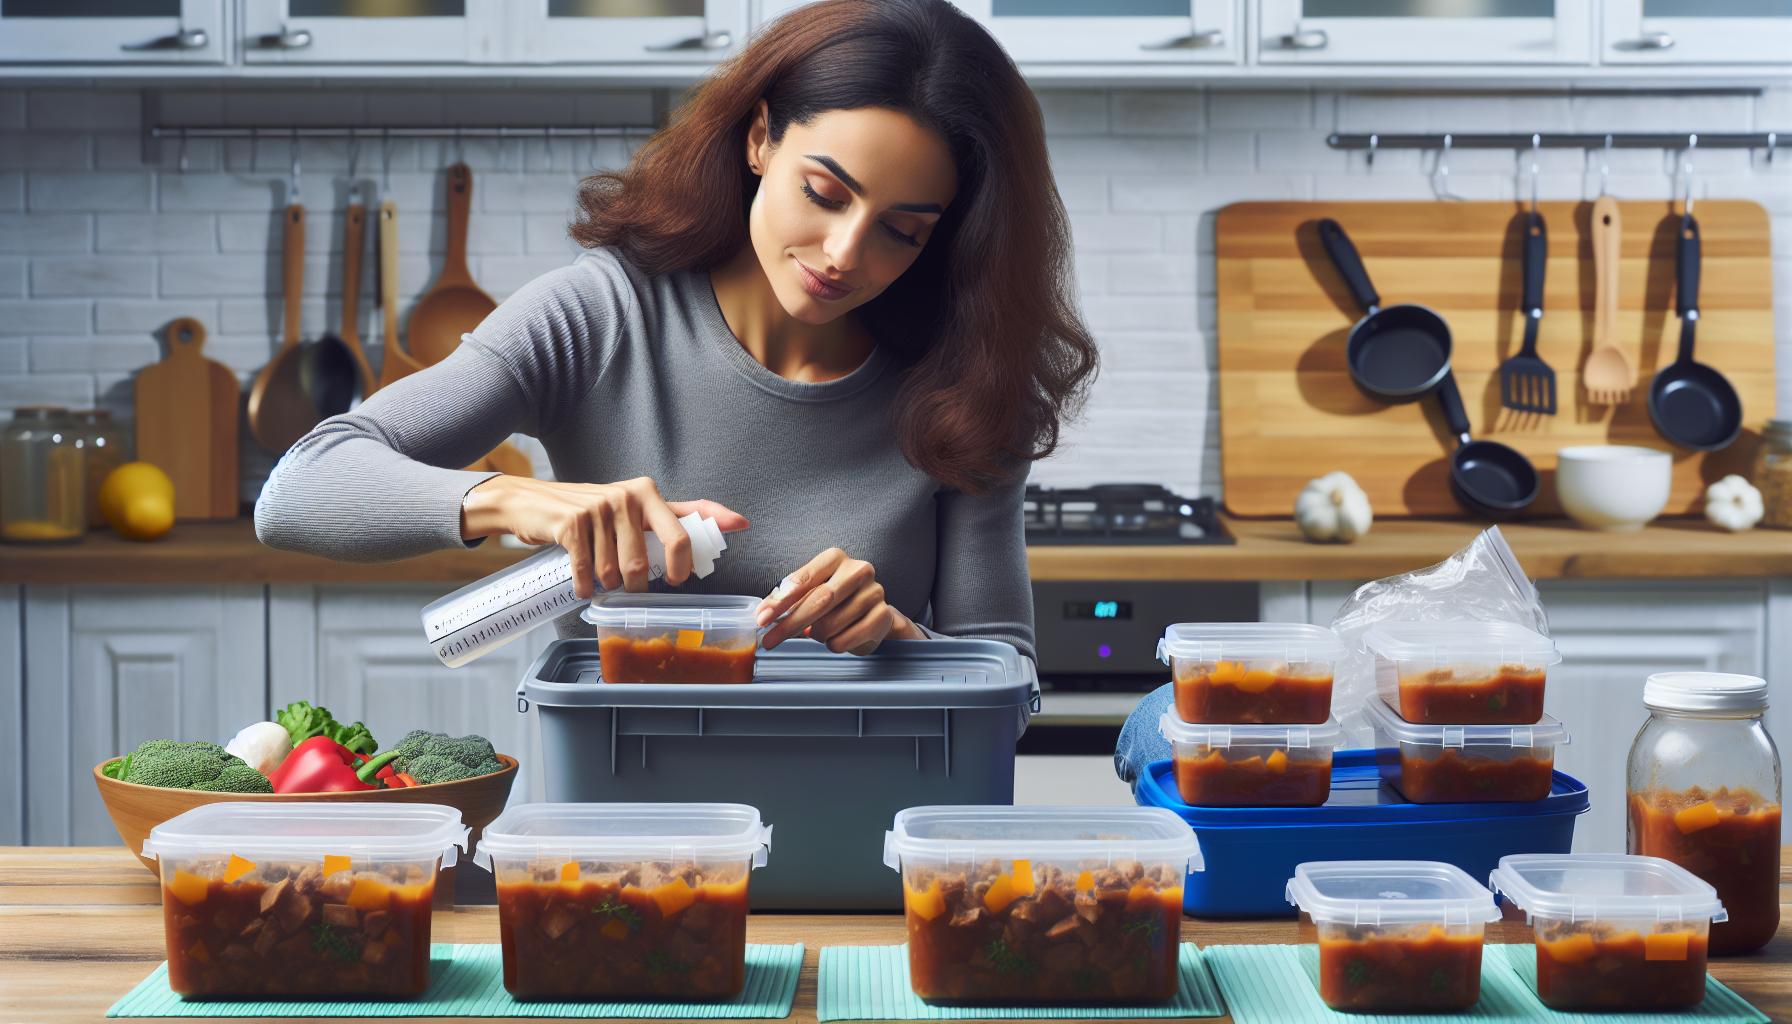
Seal containers tightly by pressing out excess air before securing lids or zipping freezer bags completely closed. For plastic containers, run a finger around the rim to ensure the seal is complete with no gaps. When using freezer bags, press out air pockets starting from the bottom while rolling toward the seal.
Label each container with:
- Date of freezing
- Contents (type of stew)
- Portion size
- Reheating instructions
- Expected use-by date
Use permanent markers or freezer-safe labels directly on containers or bags for clear visibility. Place a strip of masking tape on container lids or the smooth part of freezer bags to write information. Pro tip: Write all text before filling containers to avoid condensation issues that make writing difficult.
| Storage Duration | Temperature | Container Type |
|---|---|---|
| 4-6 months | 0°F/-18°C | Airtight plastic |
| 2-3 months | 0°F/-18°C | Freezer bags |
| 6+ months | -10°F/-23°C | Vacuum sealed |
Press out remaining air bubbles through small openings before final sealing to maximize storage life. For rigid containers, tap gently on the counter to release trapped air pockets.
5. Freeze up to 6 months”
Properly frozen stew maintains optimal quality for up to 6 months at 0°F (-18°C) in airtight containers. Different storage containers affect freezing duration:
| Container Type | Maximum Storage Time |
|---|---|
| Plastic Containers | 4-6 months |
| Freezer Bags | 2-3 months |
| Vacuum-Sealed Bags | 6+ months |
Store stew containers flat in the freezer’s coldest section, away from the door. Stack similar-sized portions together to maximize space efficiency. Monitor the freezer temperature regularly to prevent fluctuations that affect food quality.
For extended storage:
- Place newer containers at the back
- Rotate older portions to the front
- Keep stew away from strong-smelling foods
- Avoid storing near ice cream or frozen desserts
- Check seals monthly for frost accumulation
The first month offers the best flavor quality, though the stew remains safe to eat for the full storage period when maintained at consistent temperatures.

