
Yellow squash’s peak season brings an abundance of this versatile vegetable, often leaving home gardeners with more than they can use. Freezing yellow squash preserves its fresh flavor and ensures a steady supply for delicious fried dishes throughout the year.
To freeze yellow squash for frying, slice the squash into uniform rounds, blanch them briefly in boiling water, cool in an ice bath, and freeze in single layers on baking sheets before transferring to freezer bags. This method maintains the squash’s texture and prevents pieces from sticking together.
While many vegetables lose their crispy potential after freezing, proper preparation techniques help yellow squash maintain its ability to fry up golden and crispy. By following the right freezing methods, cooks can enjoy farm-fresh taste and texture even months after harvest season ends.
“1. Slice squash uniformly
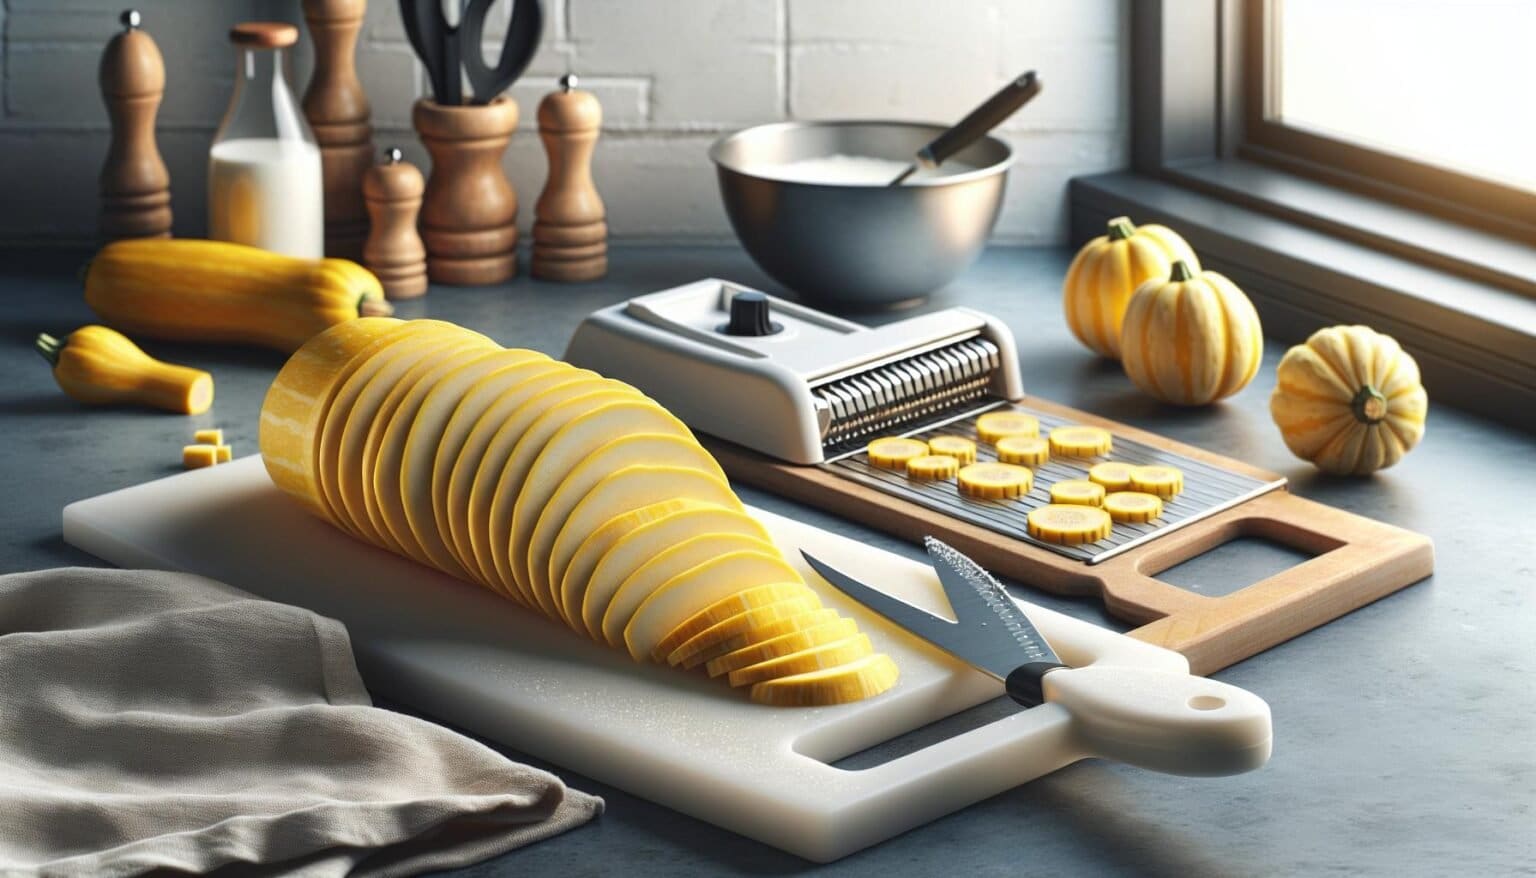
Slicing yellow squash requires precise measurements to achieve optimal results for freezing and frying. Cut the squash into 1/4-inch thick rounds using a sharp knife or mandoline slicer. Each slice maintains uniform thickness from edge to edge, creating consistent pieces that cook evenly when fried.
Here’s a detailed breakdown of the slicing process:
- Remove both ends of the squash
- Stand the squash upright on a cutting board
- Cut straight down to create uniform circles
- Aim for 1/4-inch thickness throughout
- Discard any irregular pieces
The uniform thickness serves multiple purposes:
| Purpose | Benefit |
|---|---|
| Even cooking | Prevents burnt or undercooked areas |
| Consistent freezing | Reduces freezer damage |
| Better breading adhesion | Creates crispy texture |
| Uniform appearance | Enhances presentation |
A mandoline slicer offers the most consistent results, though a sharp knife works effectively with careful attention to slice thickness. Keep the slices separated as you cut to prevent sticking together.
2. Dip in milk mixture
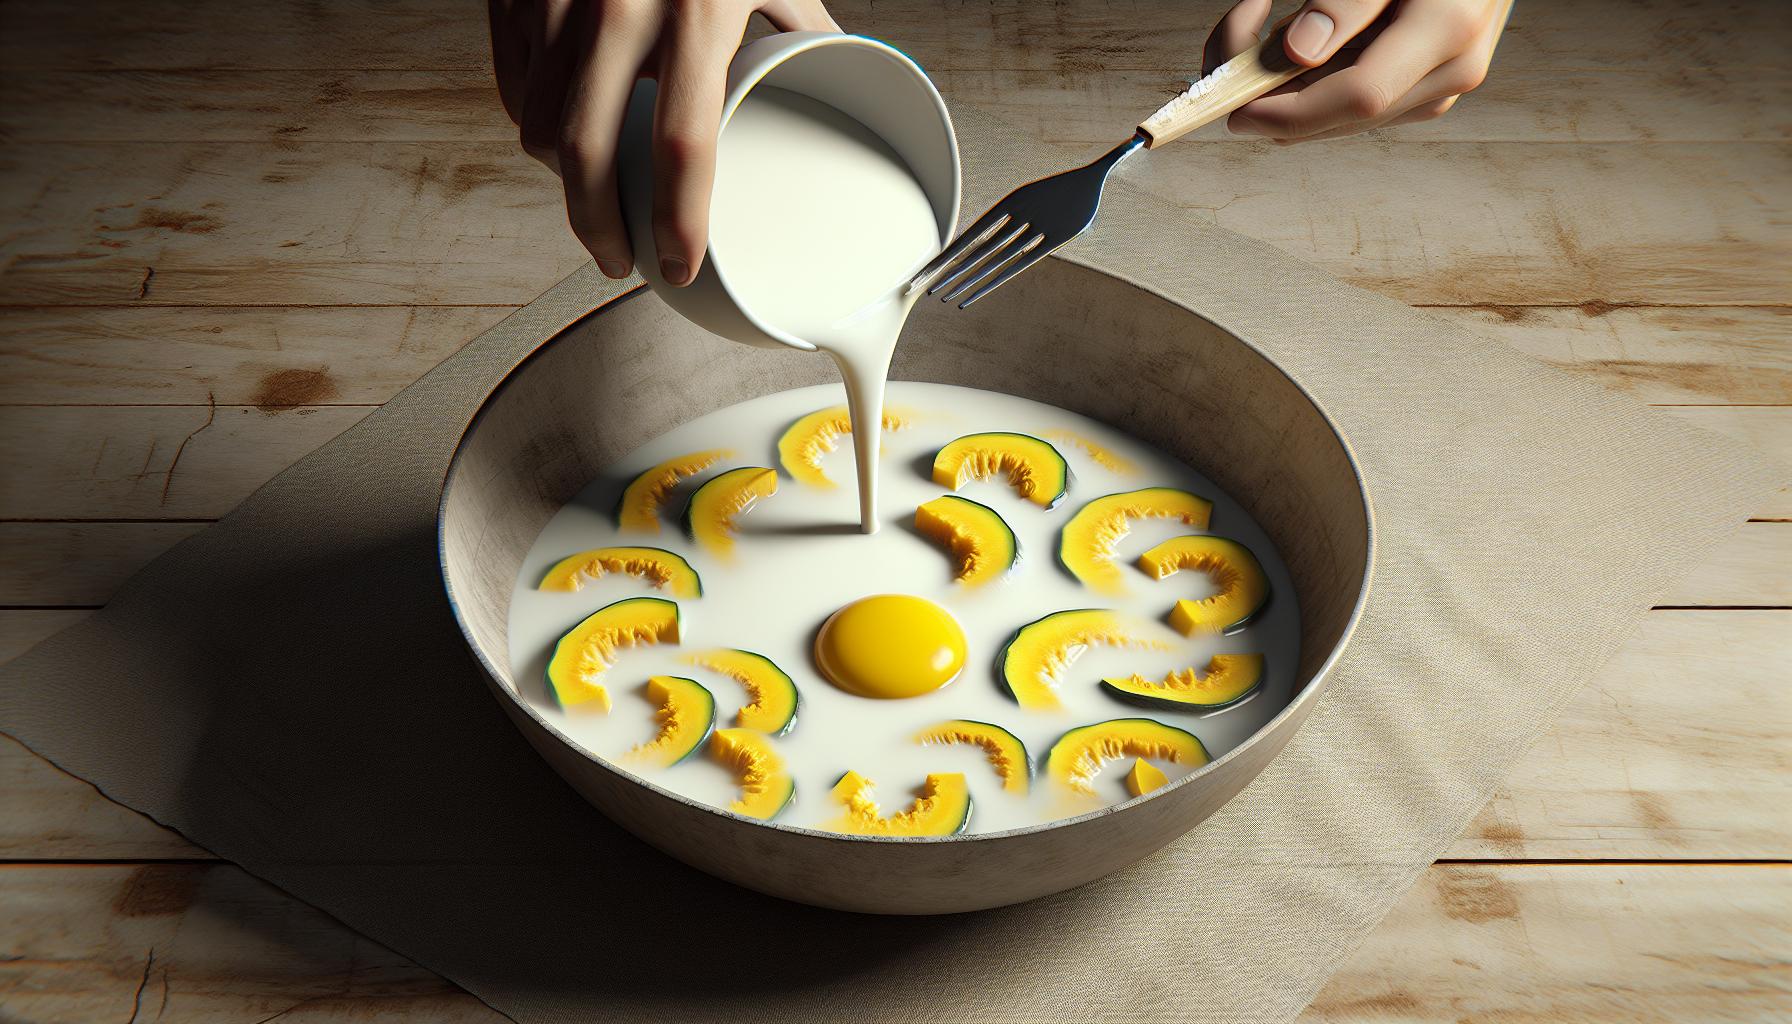
The milk mixture creates an essential binding layer between the squash and breading. Combine 2 beaten eggs with 1 cup of whole milk in a shallow bowl, whisking until fully blended. Working in batches of 4-5 slices, dip the blanched squash pieces into the milk mixture. Let excess liquid drip off for 10 seconds to prevent soggy breading.
- Use cold milk for better adherence
- Pat squash dry before dipping
- Keep one hand dry for handling
- Replace milk with buttermilk for tangier flavor
| Ingredient | Amount | Purpose |
|---|---|---|
| Eggs | 2 large | Binding agent |
| Whole milk | 1 cup | Coating base |
The egg-milk combination ensures the breading sticks properly during frying after freezing. Discard any remaining mixture after dipping all squash slices to maintain food safety standards.
3. Coat with seasoned flour
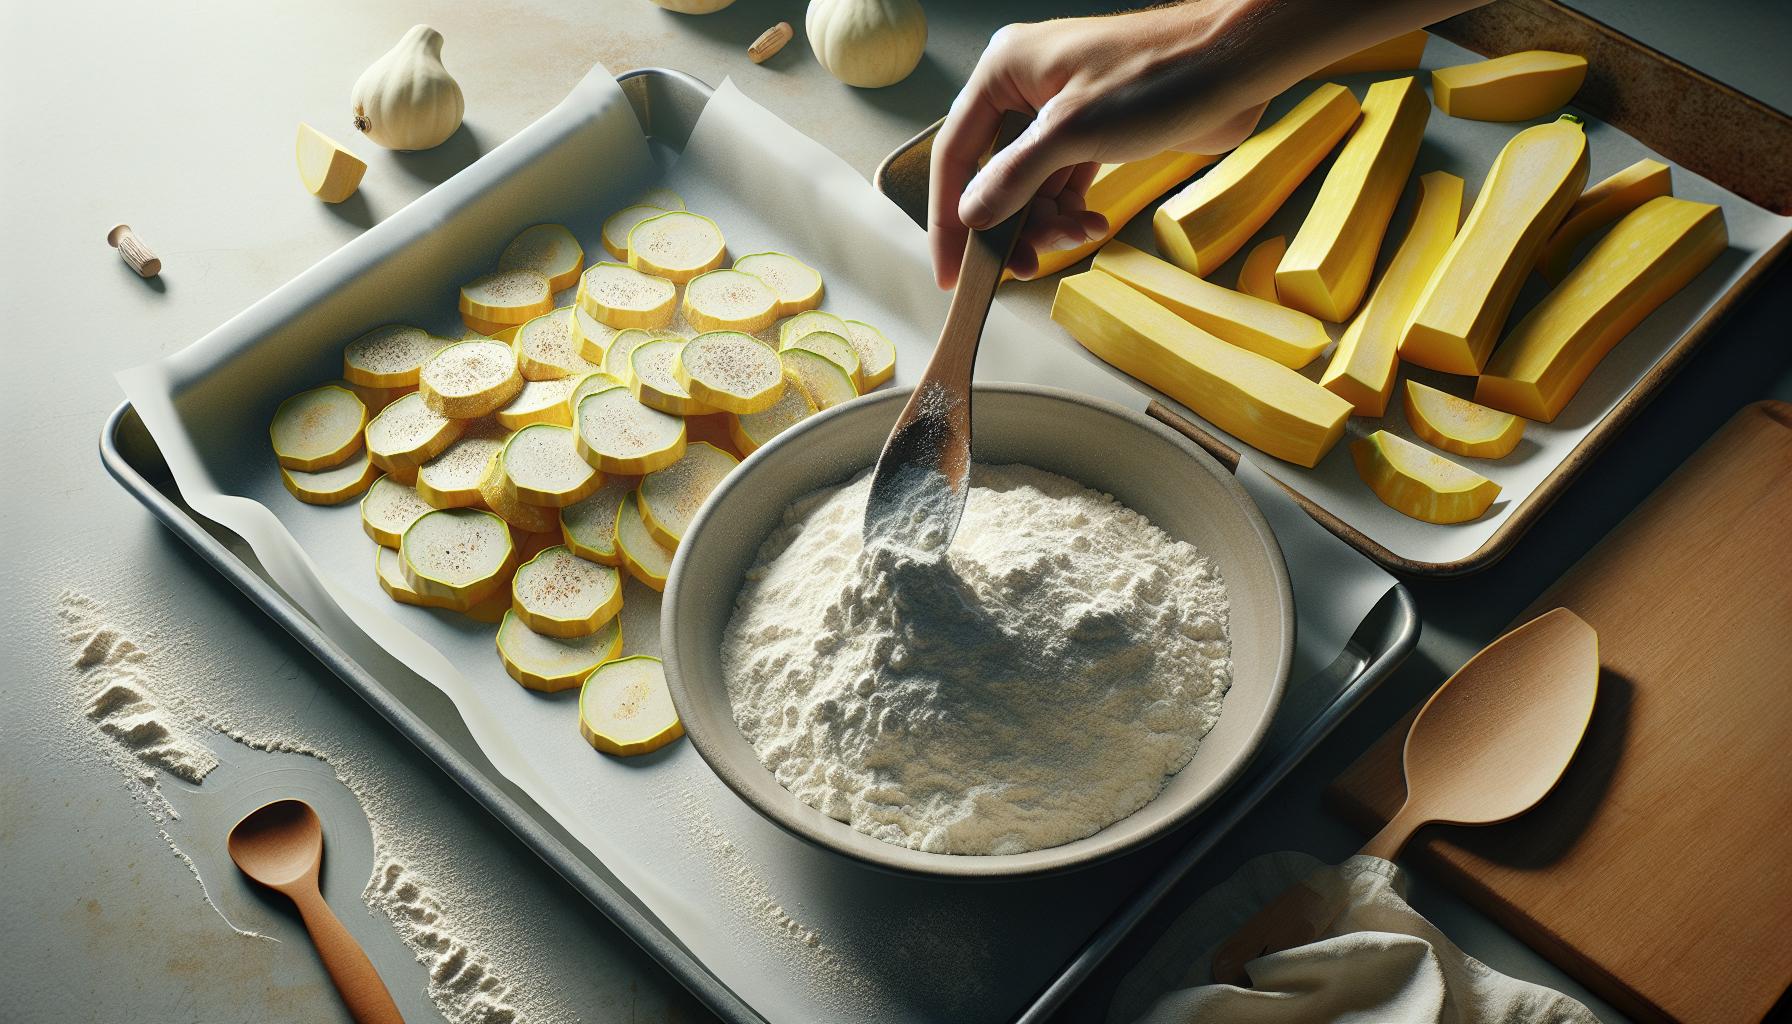
Mix 2 cups of all-purpose flour with 1 tablespoon salt in a shallow dish. Add the cut squash pieces to the seasoned flour mixture one at a time. Shake off excess flour by gently tapping each piece against the side of the dish. Proper coating ensures the breading adheres evenly during frying after freezing.
Quick tips for optimal flour coating:
- Sprinkle salt on squash slices 10 minutes before coating to draw out moisture
- Use a zip-top bag for easy coating of multiple pieces
- Keep one hand dry for handling flour while the other transfers squash
- Place coated pieces on a wax paper-lined baking sheet
- Allow pieces to rest 5 minutes before freezing to set the coating
For enhanced flavor, add these seasonings to the flour:
| Seasoning | Amount |
|---|---|
| Black pepper | 1 teaspoon |
| Garlic powder | 1/2 teaspoon |
| Paprika | 1/2 teaspoon |
The coated squash pieces are now ready for the freezing process. Arrange them in a single layer on the prepared baking sheet, ensuring no pieces touch each other to prevent sticking.
4. Flash freeze on tray
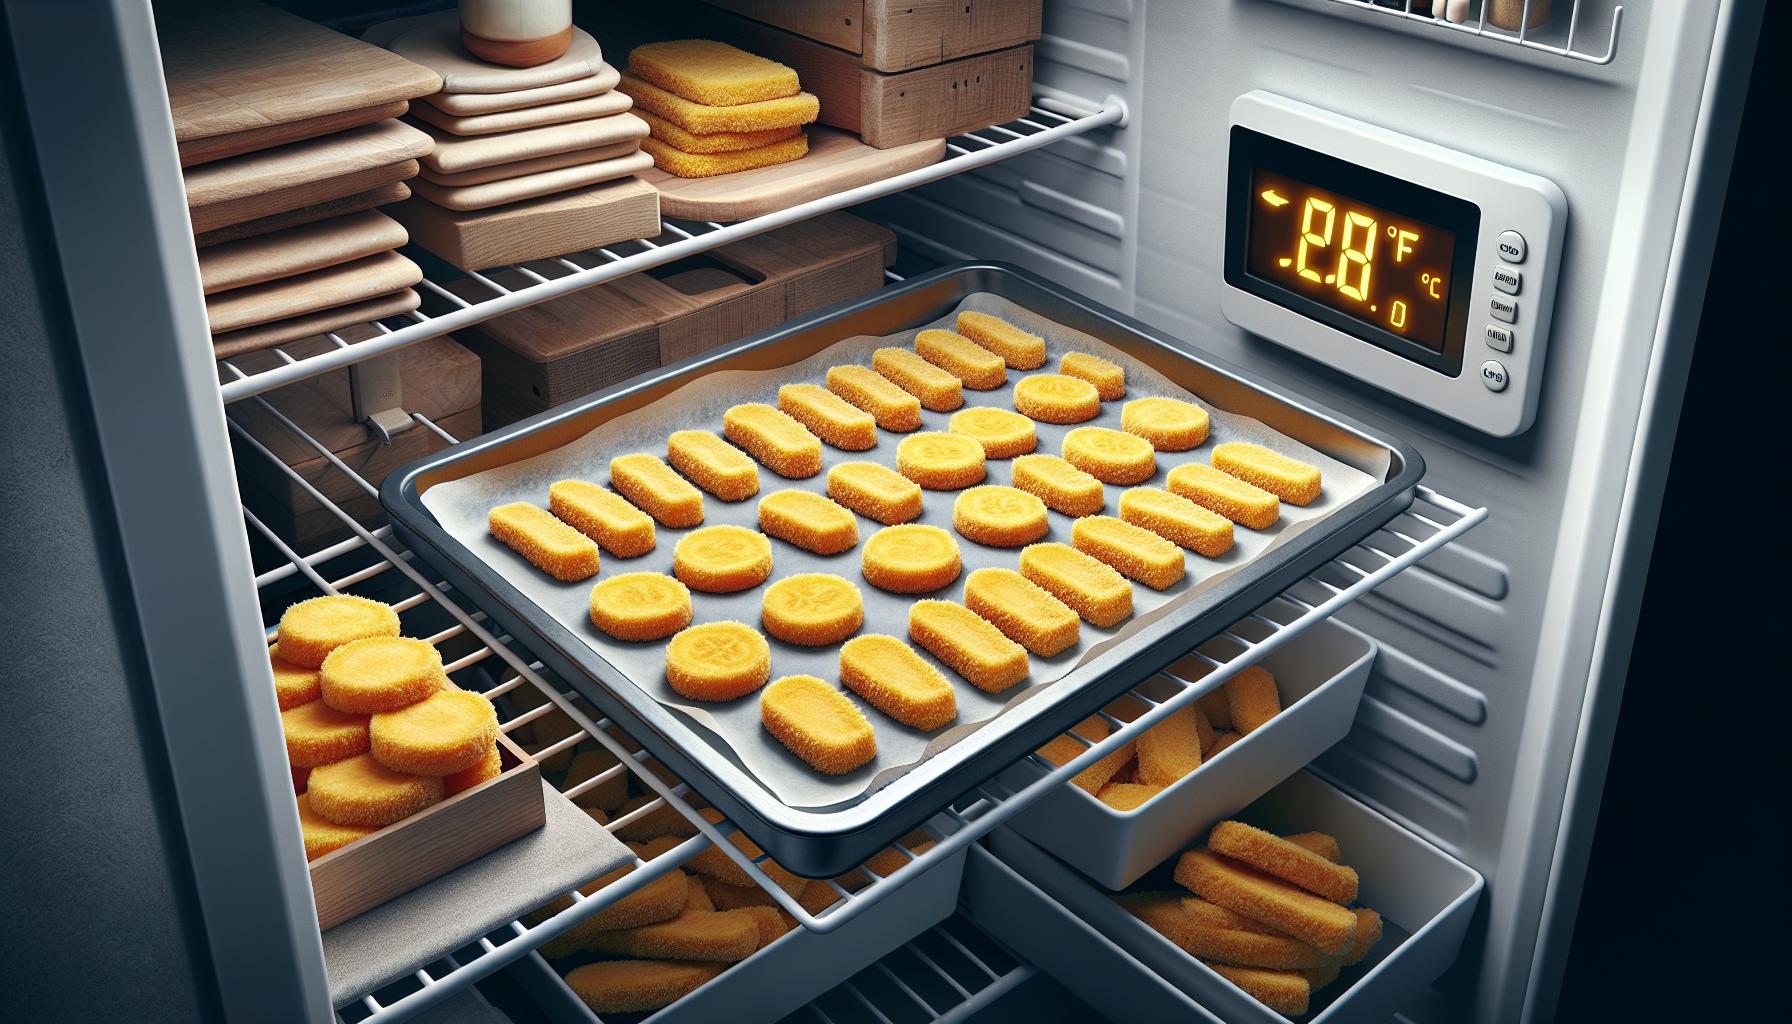
Flash freezing preserves the individual shape of breaded yellow squash pieces for perfect frying later. Place the coated squash slices in a single layer on a parchment-lined baking sheet, leaving 1/2 inch of space between each piece. Position the tray flat in the freezer at 0°F (-18°C) for 2 hours until the pieces are completely frozen.
Key tips for flash freezing:
- Use a rimmed baking sheet to prevent pieces from sliding off
- Avoid overlapping slices which causes them to stick together
- Check the freezer temperature reaches 0°F for proper freezing
- Keep the tray level while transferring to prevent shifting
After flash freezing, transfer the frozen squash pieces to an airtight freezer container or heavy-duty freezer bag. Remove excess air to prevent freezer burn. Label the container with the date using a permanent marker. The flash-frozen squash maintains quality for up to 6 months when stored properly.
5. Transfer to freezer bags”
Transfer the flash-frozen yellow squash pieces to heavy-duty freezer bags in single portions of 2 cups each. Remove excess air from the bags by pressing gently from bottom to top before sealing. Label each bag with the date using a permanent marker to track storage time.
Storage tips for optimal results:
- Place bags flat in the freezer to maintain piece separation
- Stack bags horizontally to maximize freezer space
- Store at 0°F (-18°C) or below
- Use within 6 months for best quality
Layering options for large batches:
- Place wax paper between layers when stacking multiple bags
- Use rigid containers with tight-fitting lids
- Double-bag for extra protection against freezer burn
Quick tip: Pack squash in portion sizes that match typical recipe amounts to avoid thawing more than needed.
| Temperature | Maximum Storage Time |
|---|---|
| 0°F (-18°C) | 6 months |
| 10°F (-12°C) | 3 months |
| 20°F (-6°C) | 1 month |

