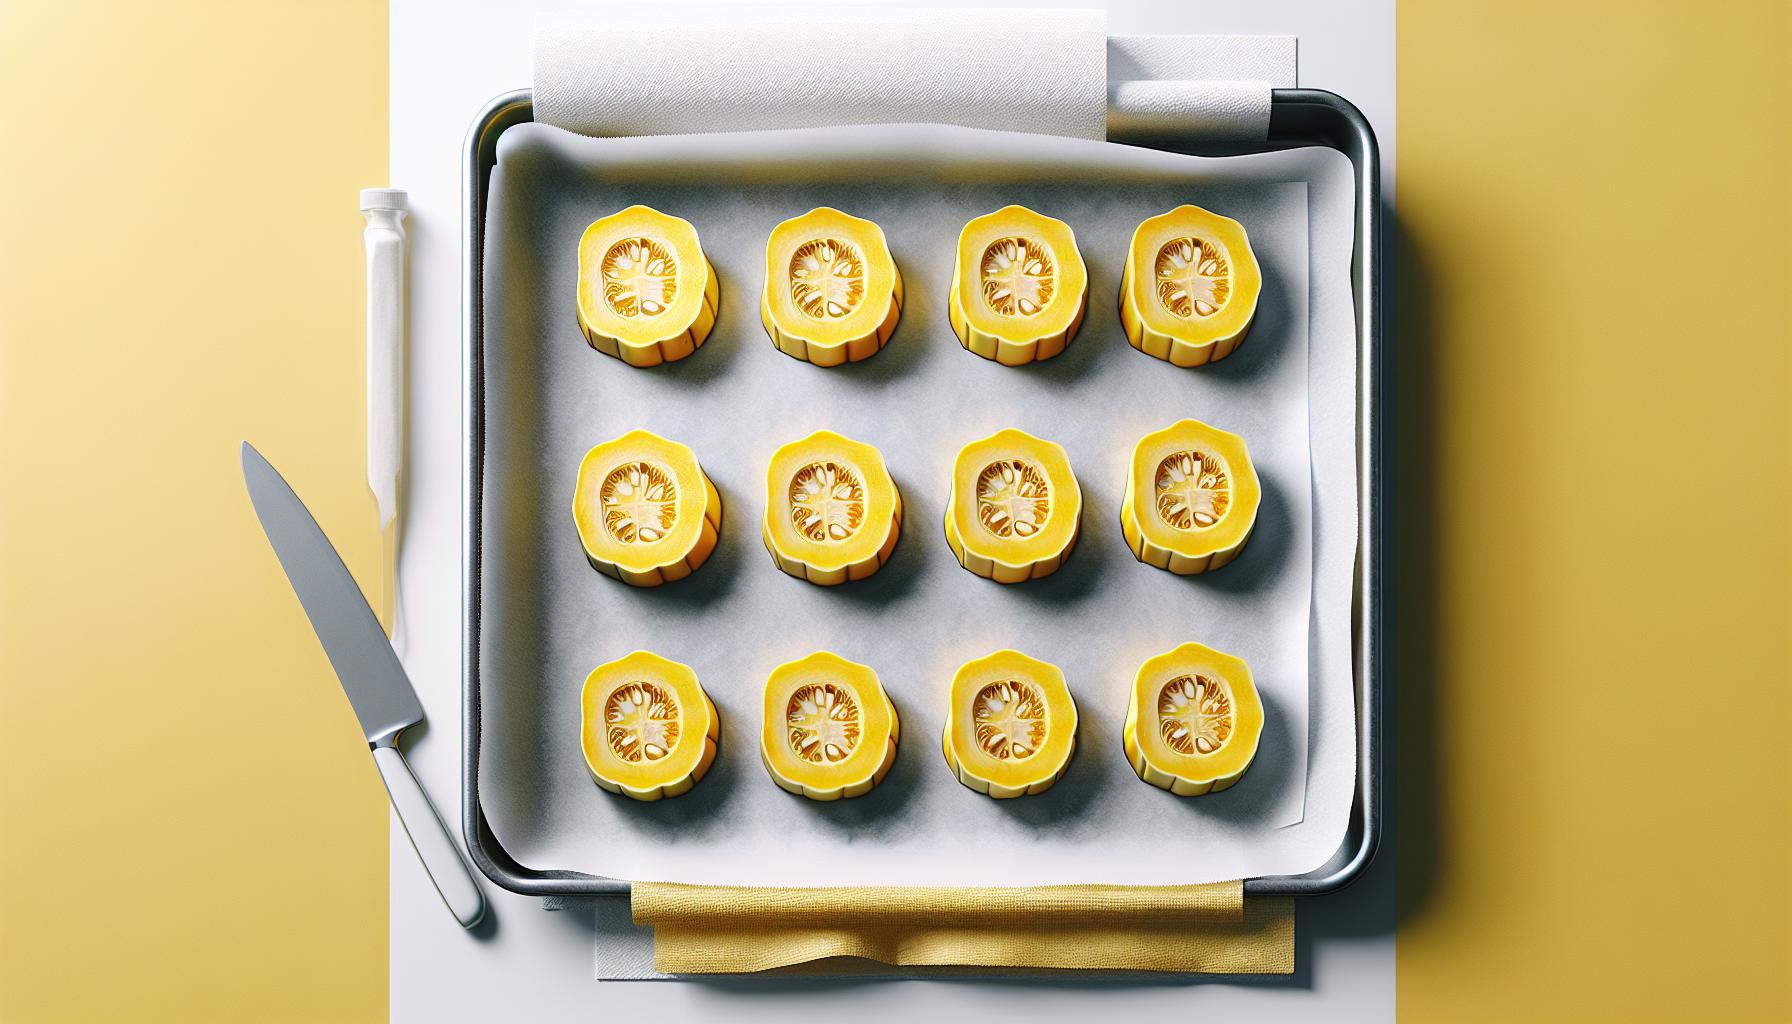
Freezing squash for future frying sessions helps preserve the garden’s bounty and ensures a steady supply of this versatile vegetable throughout the year. While many home cooks struggle with mushy or waterlogged results this simple preservation method maintains the squash’s texture and flavor when done correctly.
To freeze squash for frying, slice it into uniform pieces blanch for 3-4 minutes cool completely pat dry and flash freeze on a baking sheet before transferring to freezer bags. This method prevents clumping and preserves the squash’s texture for up to 8 months.
Whether dealing with summer squash zucchini or yellow crookneck varieties proper freezing techniques make the difference between crispy fried delights and disappointing soggy results. The right preparation steps ensure the squash retains its firm texture and fresh taste when it’s time to create those golden-brown crispy medallions.
“1. Slice squash into uniform rounds
Slicing summer squash into uniform rounds creates optimal pieces for freezing and future frying. Cut the squash into 1/2-inch thick slices using a sharp knife or mandoline slicer. The consistent thickness ensures even cooking when frying the thawed pieces.
Here’s how to slice the squash properly:
- Remove both ends of the squash
- Stand the squash vertically on a cutting board
- Slice downward in even motions
- Maintain 1/2-inch thickness throughout
- Set aside any uneven end pieces for other uses
For larger squash varieties:
- Cut lengthwise into quarters
- Remove the seedy centers
- Slice the quarters into 1/2-inch sections
Different squash varieties like zucchini or yellow crookneck follow the same slicing process. Keep the cut pieces separated by variety if freezing multiple types together. This uniform slicing technique creates perfect portions for breading and frying after thawing.
2. Dip in milk and coat with seasoned flour

Start by pouring whole milk into a shallow bowl and preparing a separate bowl with seasoned flour. The seasoned flour mixture combines all-purpose flour with salt, black pepper or other preferred seasonings for extra flavor when frying.
Dip the blanched squash pieces first in the milk, ensuring each piece gets an even coating. The milk helps the flour coating stick better to the squash surface, creating a crispier texture after frying.
Next, transfer the milk-coated squash to the seasoned flour mixture. Coat each piece thoroughly by:
- Tossing individual pieces in the flour mixture
- Shaking off excess flour gently
- Placing coated pieces on a clean baking sheet
- Keeping pieces separated to prevent sticking
This double-coating process creates a protective layer around the squash that:
- Locks in moisture during freezing
- Prevents freezer burn
- Makes the squash ready for immediate frying after thawing
- Ensures a crispy exterior when fried
Place the coated pieces in the freezer for 2 hours before transferring to freezer bags for long-term storage.
3. Arrange on lined baking sheet

Place the prepared squash pieces in a single layer on a baking sheet lined with paper towels. Ensure each piece maintains adequate spacing to prevent sticking during the freezing process. Remove excess moisture by gently patting the top of each piece with additional paper towels.
Position the squash rounds or slices directly onto a clean, dry parchment-lined baking sheet after the initial drying step. Arrange the pieces without overlapping to enable proper air circulation. This arrangement prevents the formation of ice crystals between pieces which leads to freezer burn.
For optimal results when arranging:
- Leave 1/4 inch space between each piece
- Place similar-sized pieces together
- Position thicker pieces toward the outer edges
- Keep different varieties separated on the sheet
This careful arrangement creates individual quick-frozen pieces that maintain their shape during the freezing process. The strategic spacing ensures each piece freezes independently making it easier to select portions for frying later.
4. Flash freeze for 2 hours

Place the breaded squash pieces on a lined baking sheet with 1/4 inch spacing between each piece. Arrange similar-sized pieces together to ensure even freezing, positioning thicker slices toward the outer edges of the sheet. Set the baking sheet on a flat surface in the freezer for 2 hours at 0°F (-18°C).
Key spacing tips for optimal freezing:
- Leave gaps between pieces to prevent clumping
- Group similar thickness pieces together
- Position thicker slices on sheet edges
- Use multiple sheets if needed
This flash-freezing technique creates individually frozen pieces that don’t stick together. The 2-hour duration allows the breading to set firmly while maintaining the squash’s texture for future frying. After flash freezing, the pieces remain separate when transferred to storage containers.
| Flash Freezing Guidelines | |
|---|---|
| Temperature | 0°F (-18°C) |
| Duration | 2 hours |
| Spacing | 1/4 inch |
| Surface | Lined sheet |
5. Transfer to freezer bags and store”
After flash freezing, place the frozen squash pieces in airtight freezer bags or containers. Remove excess air from freezer bags using a vacuum sealer or the water displacement method. Label each container with:
- Date of freezing
- Quantity
- Type of squash
- Pre-treatment method used
Arrange the squash pieces in a single layer inside storage containers to prevent clumping. Stack containers horizontally in the freezer, maintaining a consistent temperature of 0°F (-18°C). Store properly frozen squash for up to 8-12 months under these conditions.
- Use heavy-duty freezer bags or containers rated for long-term freezer storage
- Pack in meal-sized portions for convenient use
- Keep different squash varieties separate
- Avoid storing near items with strong odors
- Place newer packages behind older ones
- Check seals monthly for signs of freezer burn
| Storage Duration | Temperature | Container Type |
|---|---|---|
| 8-12 months | 0°F (-18°C) | Freezer bags |
| 8-12 months | 0°F (-18°C) | Airtight containers |


