Busy mornings and lunch packing can become significantly easier with a smart meal prep strategy – freezing sandwiches. This time-saving technique helps parents, professionals and students enjoy fresh-tasting sandwiches without the daily assembly hassle.
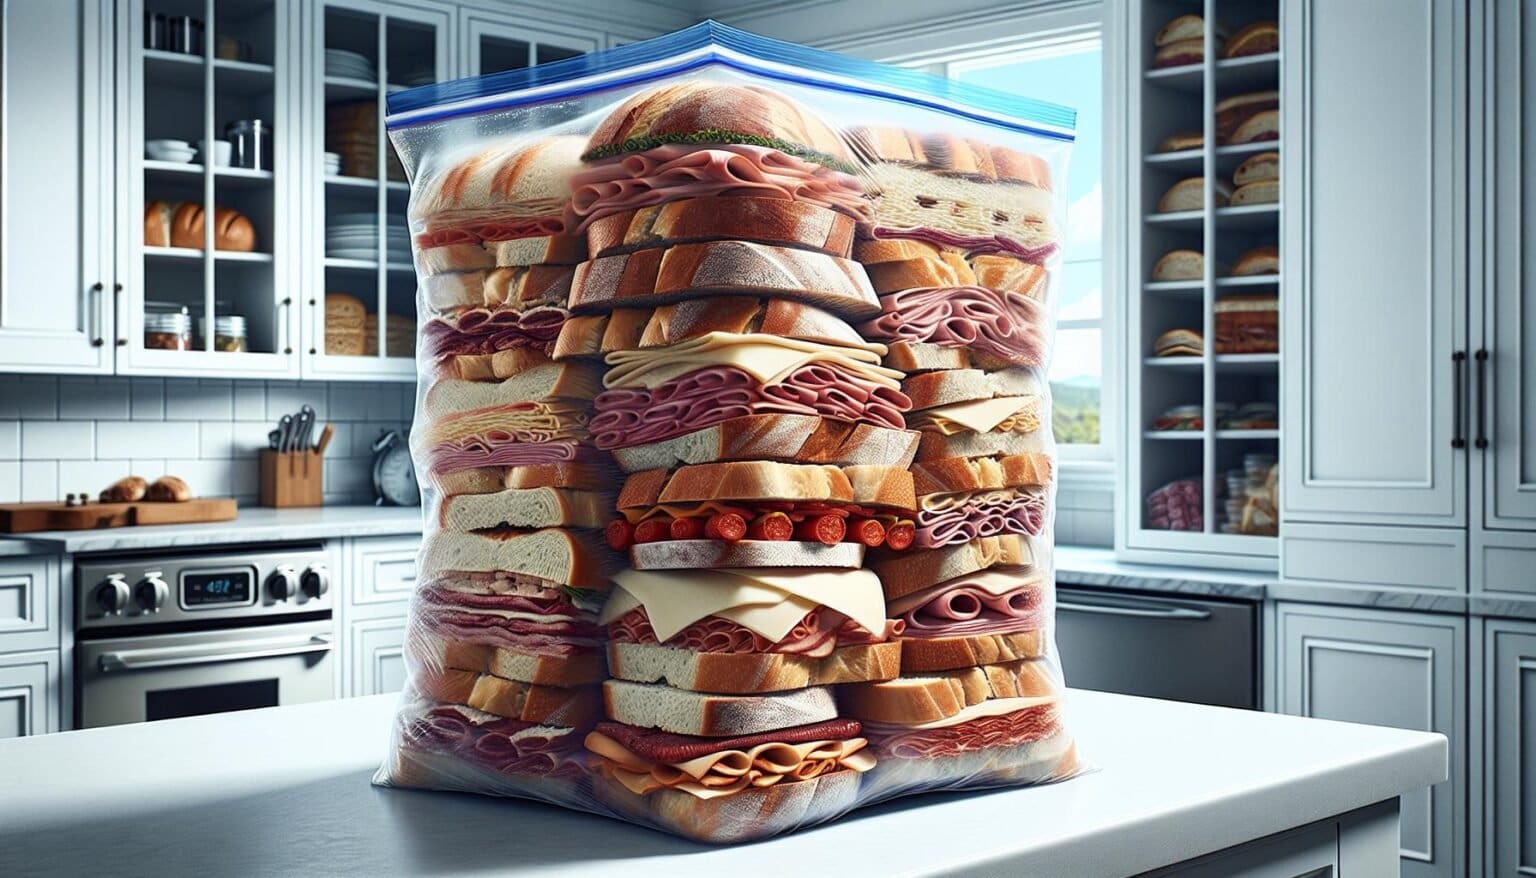
Freezing sandwiches involves wrapping them properly in plastic wrap and aluminum foil, then storing them in freezer bags for up to 3 months. While most sandwich ingredients freeze well, certain items like lettuce, tomatoes and mayonnaise should be added fresh after thawing.
Making sandwiches in bulk and freezing them not only saves precious time but also helps reduce food waste and grocery costs. With proper freezing techniques these convenient grab-and-go meals can taste just as delicious as freshly made ones while providing a practical solution for busy lifestyles.
“1. Prepare sandwiches (no lettuce/tomato)
Sturdy bread forms the foundation for freezer-friendly sandwiches. Choose crusty loaves like sourdough, ciabatta or baguettes that maintain their texture through freezing.
Create a moisture barrier by spreading a thin layer of butter or margarine on both inner sides of bread slices. This protective coating prevents soggy bread when using moist fillings like:
- Peanut butter
- Other nut butters
- Jams or jellies
- Hummus
Add protein-rich fillings:
- Deli meats (turkey, ham, roast beef)
- Canned tuna
- Hard cheeses
- Semi-hard cheeses
Avoid wet ingredients that become limp and soggy after thawing:
- Lettuce
- Tomatoes
- Raw onions
- Pickles
Layer order matters: Place meat and cheese directly against the buttered bread surfaces. This creates an extra barrier against moisture migration during freezing.
2. Wrap individually in plastic

Individual plastic wrapping creates an airtight seal that prevents freezer burn while protecting sandwich flavors. Place each assembled sandwich in the center of a piece of plastic wrap that’s 1.5 times the sandwich size. Fold the wrap’s longer sides over first then tuck in the shorter ends snugly against the sandwich. Double-wrap sandwiches containing moist ingredients like roast beef or tuna salad for extra protection.
Follow these specific wrapping steps:
- Press out excess air while wrapping to minimize ice crystal formation
- Create tight seals at the edges to lock in freshness
- Label each wrapped sandwich with contents & date using a marker
- Stack wrapped sandwiches flat in an airtight container
Pro tip: Insert a paper towel between wrapped sandwiches when stacking to absorb any condensation during thawing.
| Filling Type | Recommended Wrap Layers |
|---|---|
| Dry (PB&J, cheese) | Single wrap |
| Moist (meats, spreads) | Double wrap |
| High-moisture | Triple wrap + paper towel |
3. Place in freezer bag

Place individually wrapped sandwiches in a gallon-sized freezer bag to create an additional barrier against freezer burn. Label each bag with the sandwich type and date using a permanent marker. Remove excess air from the freezer bag by pressing firmly or using a straw to suck out remaining air before sealing.
Arrange sandwiches in a single layer inside the freezer bag to prevent crushing or misshaping. Stack multiple freezer bags horizontally on a flat freezer shelf for optimal storage space. Place heavier items on the bottom and lighter sandwiches on top.
- Store sandwiches away from strong-smelling foods
- Keep bags flat to maintain sandwich shape
- Place newer sandwiches behind older ones
- Organize by sandwich type for easy access
- Position bags where temperature remains consistent
| Storage Duration | Temperature | Best Results |
|---|---|---|
| Up to 1 month | 0°F/-18°C | Optimal taste |
| 1-3 months | 0°F/-18°C | Good quality |
4. Remove air completely

Removing air from sandwich storage containers prevents freezer burn and maintains optimal freshness. Place sandwiches in freezer-safe bags and press firmly around the edges to push out excess air. For plastic bags, leave a small opening about one inch wide at the top and insert a straw to suck out remaining air, creating a vacuum-like seal.
Airtight containers require special attention to prevent moisture buildup:
- Press down gently on container lids to expel trapped air
- Check corners and edges for complete sealing
- Test seal by pressing center – lid shouldn’t flex
- Place sandwich in center of bag
- Press air out from bottom to top
- Seal bag 90% closed
- Insert straw in gap
- Suction remaining air
- Quickly seal final portion
| Storage Method | Air Removal Technique | Effectiveness |
|---|---|---|
| Freezer Bags | Straw vacuum method | Excellent |
| Containers | Manual pressing | Good |
| Zip-top Bags | Press and seal | Very Good |
5. Freeze up to 3 months”
Properly wrapped sandwiches maintain optimal quality in the freezer at 0°F (-18°C) for up to 3 months. Sturdy breads like sourdough, ciabatta, or baguettes hold their texture best during extended freezer storage. Hard cheeses such as Swiss or Cheddar remain stable throughout the storage period.
Storage Duration Guidelines:
| Time Period | Quality Level |
|---|---|
| 1 month | Peak flavor |
| 2 months | Very good |
| 3 months | Good |
Keep these freezer storage tips in mind:
- Store sandwiches away from foods with strong odors
- Place bags flat in a single layer to prevent crushing
- Label each sandwich with contents and freeze date
- Group similar sandwich types together for easy access
- Use freezer-safe containers or bags rated for long-term storage
- Check temperature stays consistently at 0°F (-18°C)
Frozen protein-based fillings like cooked meats, nut butters, and canned fish maintain their quality throughout the storage period. Adding fresh vegetables after thawing creates optimal texture while maximizing storage life.


