Poblano peppers bring a mild yet distinctive heat to countless Mexican dishes but keeping them fresh year-round can be challenging. Freezing these versatile chilies maintains their unique flavor and ensures they’re always ready for your favorite recipes.
Freezing poblano peppers requires roasting them first then removing the skin seeds and membranes. After preparation store them in freezer bags or airtight containers where they’ll stay fresh for up to 8 months in the freezer.
Whether you’ve discovered a fantastic farmers’ market deal or your garden has produced an abundant harvest freezing poblanos lets you preserve their smoky goodness for future use. From classic chile rellenos to cozy winter soups these frozen peppers will maintain their signature taste and transform ordinary meals into extraordinary ones.
“1. Wash and dry peppers
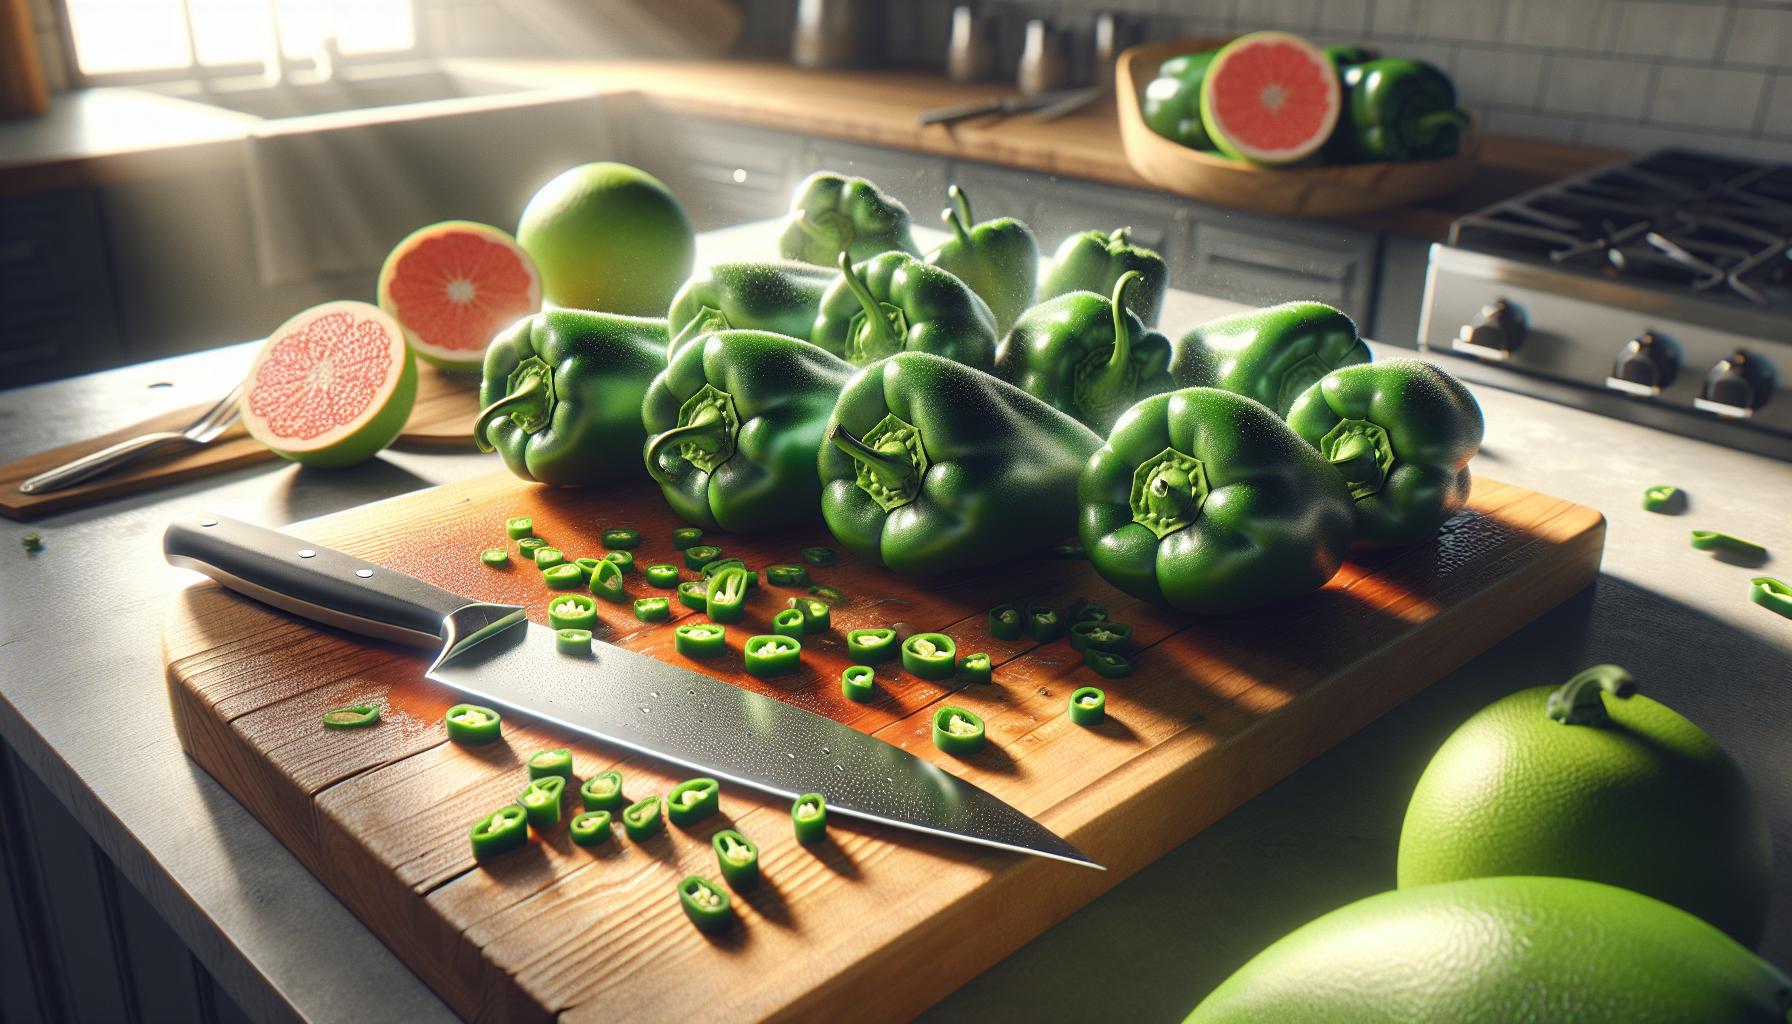
Place the poblano peppers under cool running water to remove dirt particles dirt from the surface. Move each pepper under the stream while gently rubbing the skin to dislodge any stubborn debris. Pat each pepper completely dry using clean paper towels or a kitchen cloth.
Essential steps for washing poblanos:
- Remove visible dirt spots with fingertips
- Rinse thoroughly between stem creases
- Check dark green areas for missed spots
- Dry between pepper ridges carefully
A thorough drying process prevents:
- Ice crystal formation
- Freezer burn development
- Texture deterioration
- Mold growth during storage
The washing and drying process creates a clean surface that’s ready for the next preparation steps. Leave no moisture on the peppers’ exterior or in the stem area before moving forward with freezing preparation.
| Surface Area | Drying Time |
|---|---|
| Outer skin | 2-3 minutes |
| Stem area | 1-2 minutes |
| Creases | 2-3 minutes |
2. Remove stems and seeds

Removing stems and seeds from poblano peppers requires two distinct approaches based on the desired end result. For whole peppers, cut around the stem in a circular motion at the top then pull it out completely. Scoop out the seeds and white pith from the cavity using a spoon – a grapefruit spoon works best with its serrated edge.
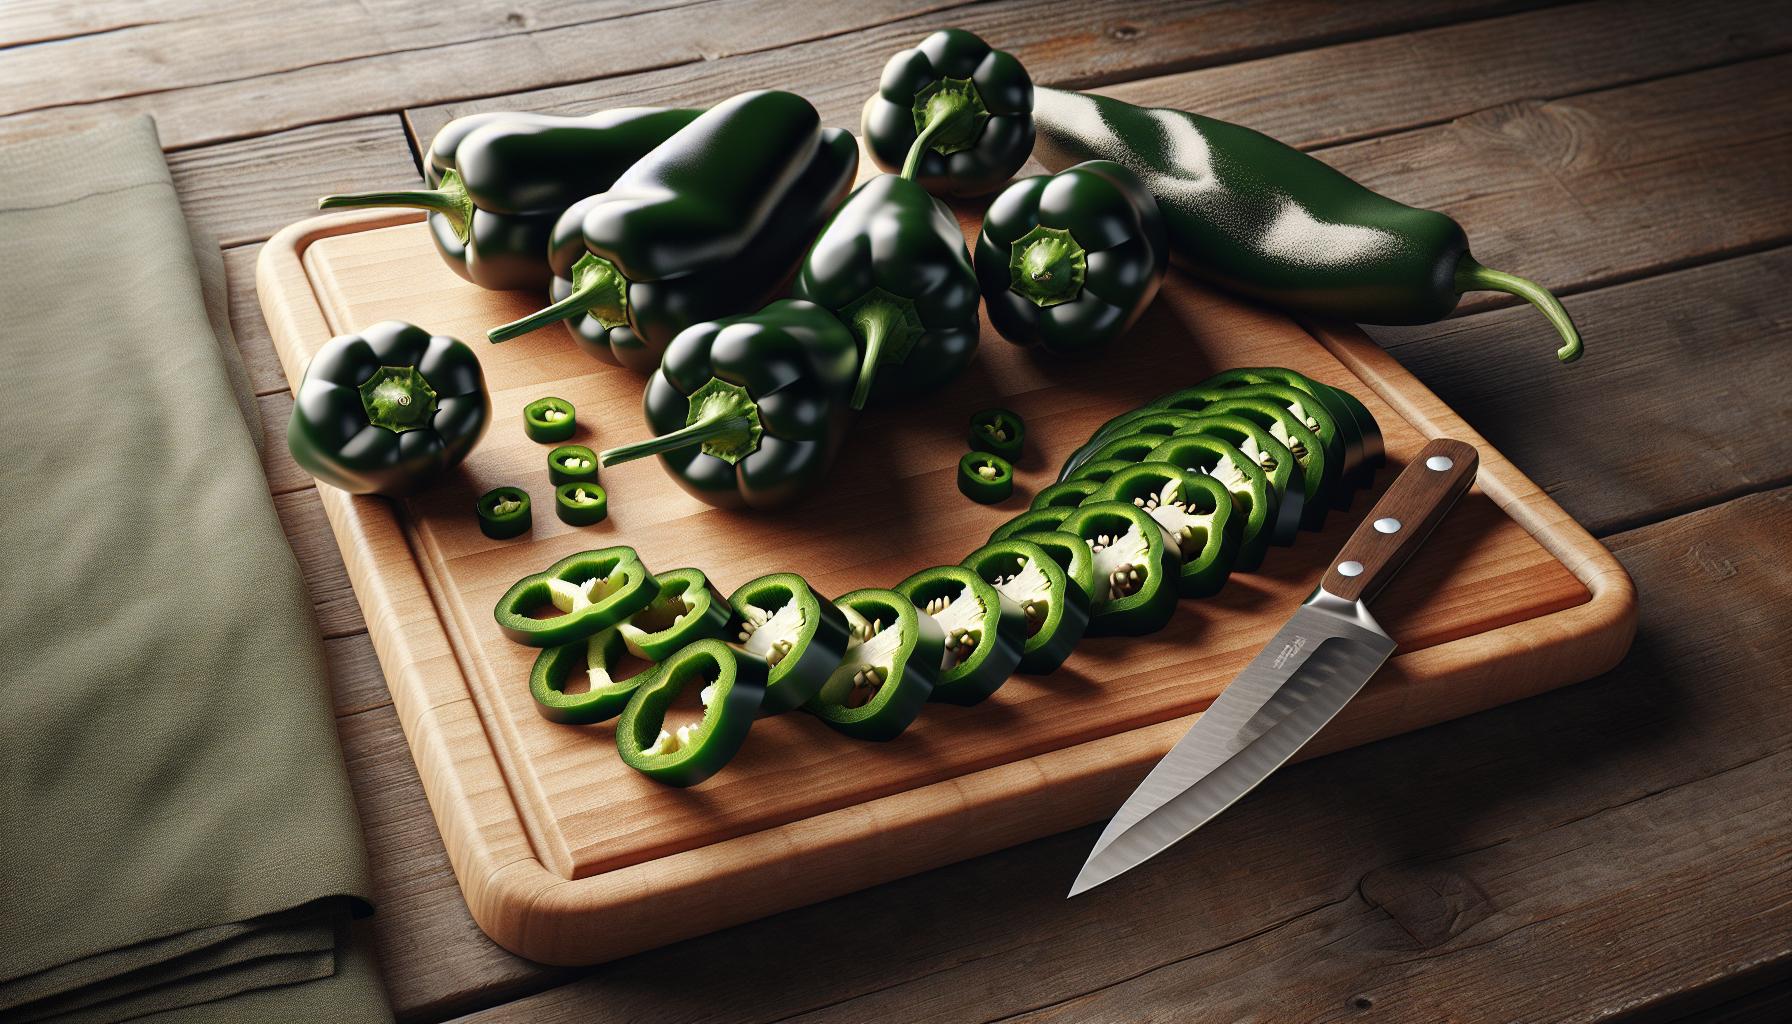
For sliced preparations, cut the poblano lengthwise from stem to tip, creating two equal halves. Remove the stem by cutting it away from both halves. Score around the seed cluster with the knife tip then use quick, firm strokes to separate the seeds and membrane from the pepper walls.
Key removal techniques:
- Cut stem at base with a sharp knife
- Scrape seeds away from walls
- Remove all white pith
- Keep pepper flesh intact
- Clear out seed cluster completely
The cleaning process prevents any bitter flavors from the seeds or membranes affecting the frozen peppers’ taste. A thorough removal of these elements creates clean pepper pieces ready for the freezing process.
3. Cut into desired sizes

Poblano peppers adapt to multiple cutting styles based on their intended culinary use. Three primary cutting methods enhance freezer storage efficiency:
- Whole Peppers
- Remove seeds through stem opening
- Leave pepper intact
- Ideal for stuffed pepper recipes
- Perfect for chile rellenos
- Halved Peppers
- Cut lengthwise into two equal parts
- Remove seeds exposed by cutting
- Excellent for grilling
- Saves freezer space
- Sliced or Diced
- Cut into 1/4-inch strips or 1/2-inch cubes
- Creates uniform pieces
- Ready for stir-fries
- Easy to portion when frozen
Each cutting method impacts the pepper’s thawing time. Sliced peppers thaw in 15 minutes while whole peppers require 30 minutes at room temperature. Cut poblanos on a clean cutting board using a sharp knife to prevent crushing or tearing the pepper flesh.
4. Pack in freezer bags

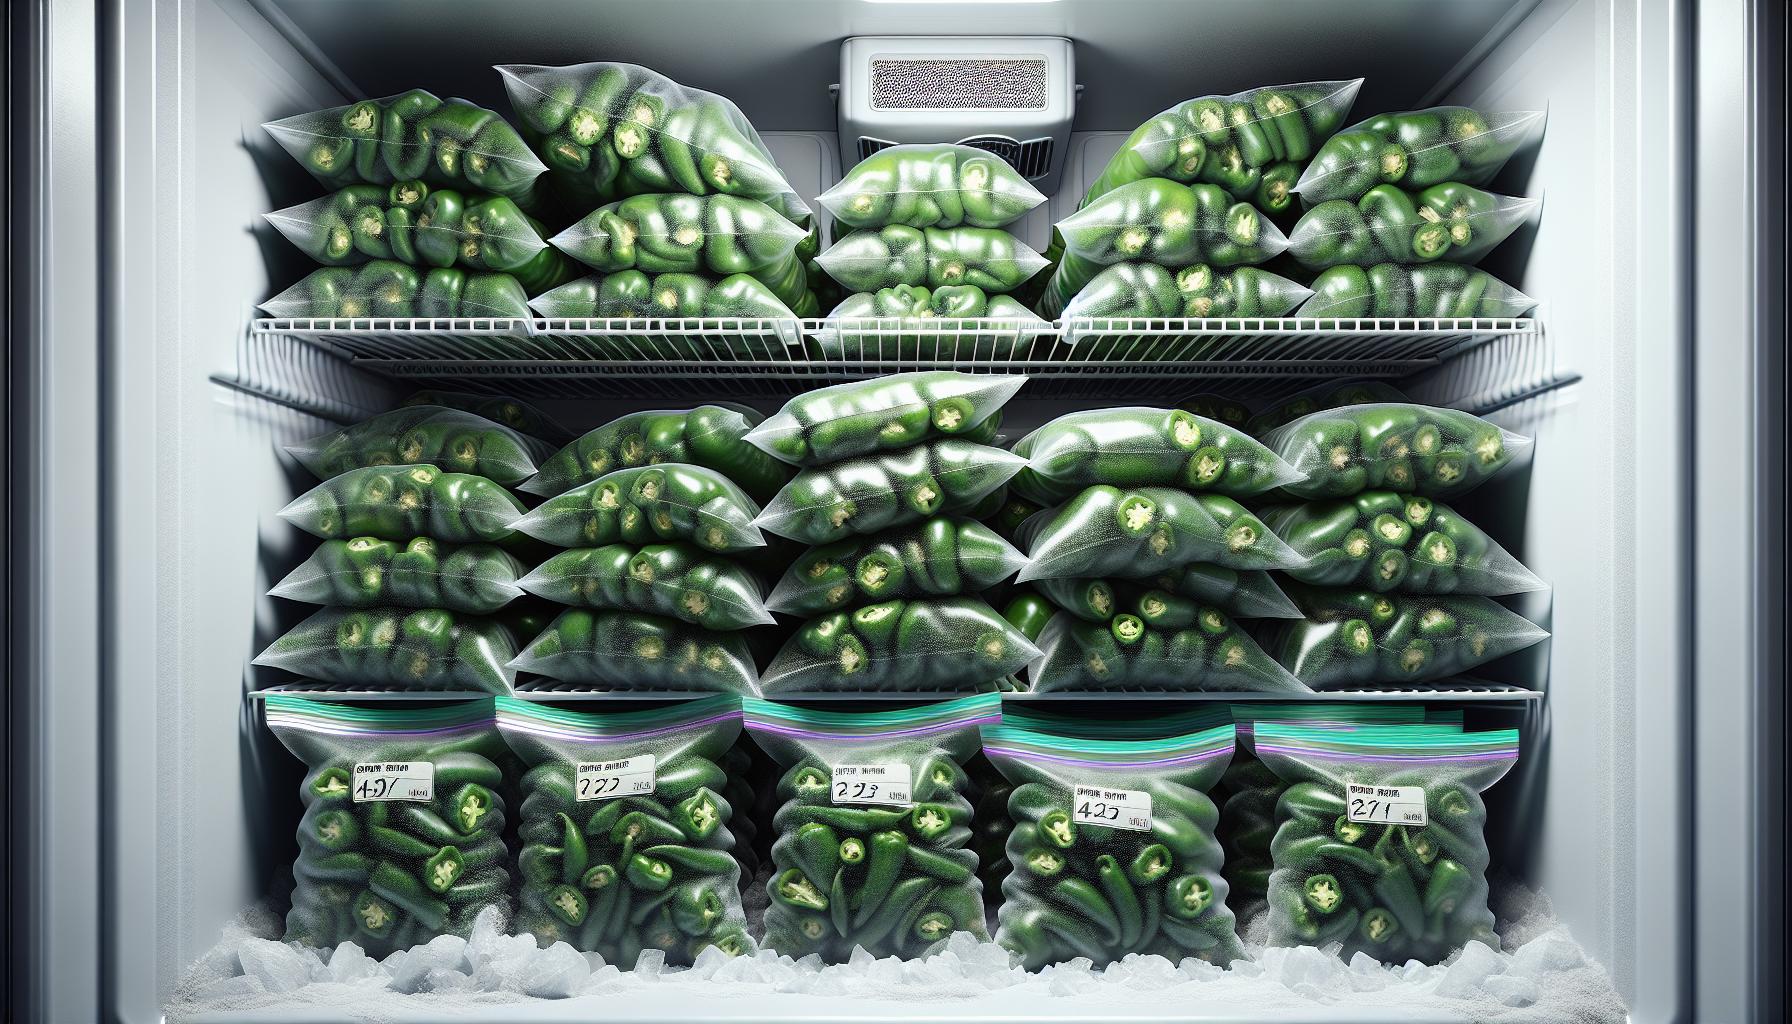
Place frozen poblano peppers in freezer-safe bags, removing as much air as possible before sealing. A vacuum sealer creates the most airtight seal, though pressing air out manually works effectively. Label each bag with the date using a permanent marker.
Pack peppers in portions suitable for recipes: 2-3 whole peppers per bag or 1-cup measurements for sliced peppers. Stack the filled bags flat in the freezer to maximize space. Flat storage allows for quick thawing when needed.
Tips for optimal freezer storage:
- Use heavy-duty freezer bags rated for long-term storage
- Double-bag peppers to prevent freezer burn
- Store bags away from strong-smelling foods
- Position bags horizontally for efficient stacking
- Keep temperature at 0°F (-18°C) or below
Properly packed poblano peppers maintain quality for up to 8 months in the freezer. Multiple smaller portions offer easier access compared to one large bag. Small bags thaw faster reducing waste from unused portions.
5. Remove air and freeze
“
Place the prepared poblano peppers in freezer-safe bags, leaving 1 inch of headspace at the top. Press out excess air by hand, starting from the bottom of the bag and moving toward the seal. For optimal results, use a vacuum sealer to create an airtight seal.
Here’s the most effective layering method:
- Arrange peppers in a single layer within the bag
- Separate multiple layers with wax paper
- Place no more than 4-5 peppers per bag
- Label each bag with contents and date
For storage without a vacuum sealer:
- Use the straw method: seal the bag almost completely
- Insert a straw in the corner
- Suck out remaining air
- Quickly seal the final corner
Place the sealed bags flat in the freezer until completely frozen. Once frozen, stack the bags vertically or horizontally to maximize freezer space. Store away from foods with strong odors to prevent flavor transfer. The peppers maintain optimal quality for 8 months when properly sealed and stored.
| Storage Method | Maximum Storage Time |
|---|---|
| Vacuum Sealed | 8 months |
| Regular Freezer Bag | 6 months |


