Fresh garden peas deliver unmatched sweetness and flavor that store-bought varieties simply can’t replicate. When the harvest comes in abundance freezing becomes an essential skill to preserve that garden-fresh taste for months to come.
Freezing garden peas is a straightforward process that involves blanching the peas briefly in boiling water cooling them quickly and storing them in airtight containers or freezer bags. This method preserves their bright color texture and nutritional value for up to 12 months.
Knowing the right technique for freezing these emerald gems means enjoying summer’s bounty long after the growing season ends. With proper preparation and storage methods gardeners can lock in that fresh-picked taste and ensure their homegrown peas remain a delicious addition to meals throughout the year.
“1. Shell fresh peas
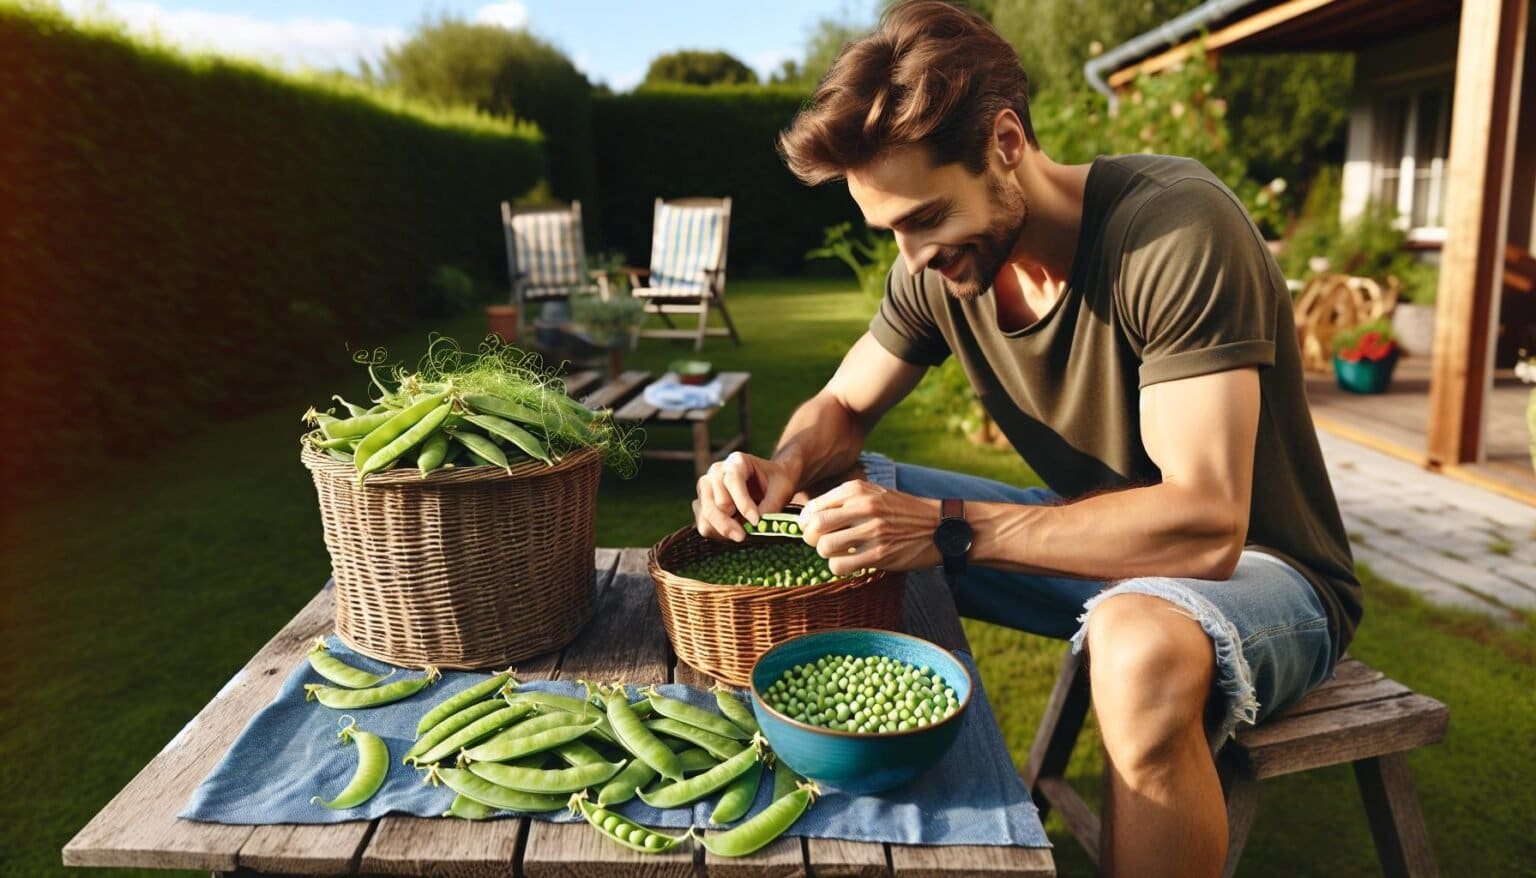
Shell fresh peas from garden pods immediately after harvesting for optimal freshness. Grasp the stem end of each pod between thumb and forefinger, then snap it off. Pull the tough string along the pod’s seam from top to bottom in one fluid motion to unzip it naturally.
Here’s what to look for when shelling:
- Firm green pods with plump peas inside
- Peas that are uniform in size (about 1/4 inch diameter)
- No yellowing or spots on the pod exterior
- Break off stem end first
- Pull string down seam if present
- Open pod along natural split
- Pop peas out with thumb
- Collect in clean bowl
A single pound of pea pods typically yields 1 cup of shelled peas. Work in small batches to maintain freshness, keeping unshelled peas in the refrigerator until ready to process. Remove any damaged or discolored peas during shelling to ensure uniform quality for freezing.
2. Rinse and sort

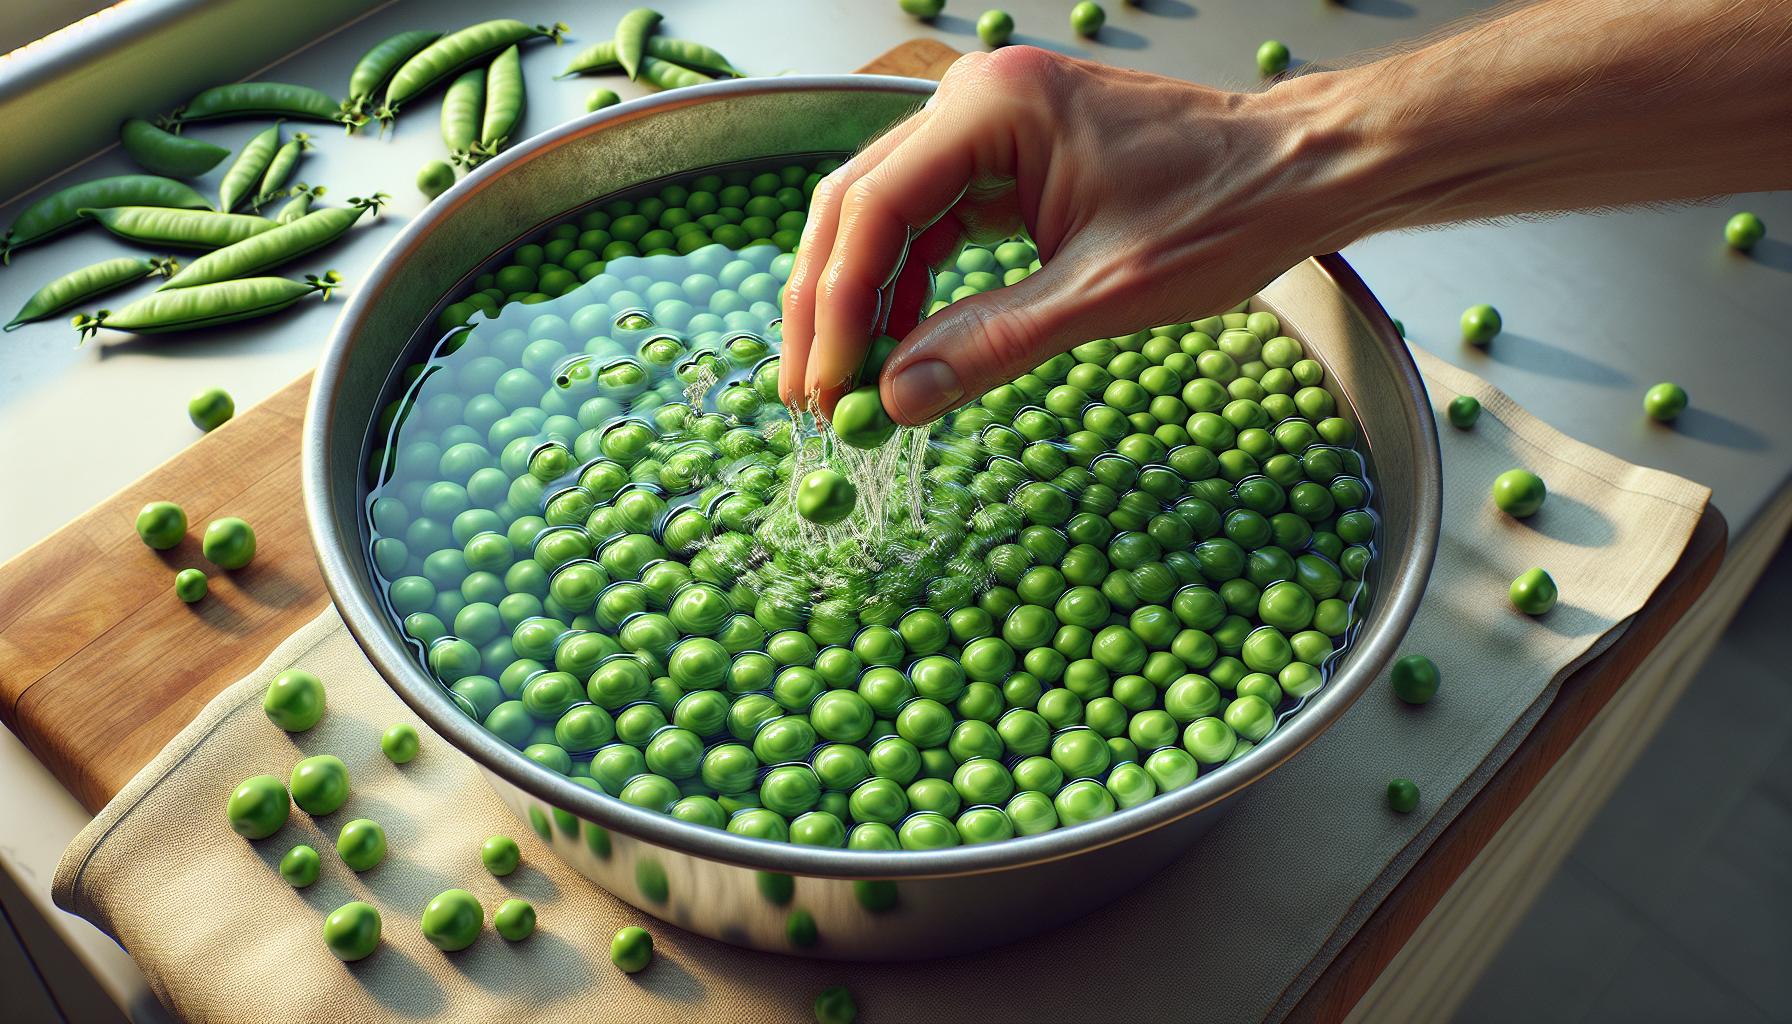
Rinse fresh shelled peas in a large bowl filled with cold water. Place hands in the bowl to gently swish the peas around, allowing dirt and debris to settle at the bottom. Scoop the cleaned peas out with hands rather than draining, leaving the sediment behind.
Sort through the rinsed peas to remove:
- Damaged or discolored peas
- Small debris or plant matter
- Split or cracked peas
- Immature or undersized peas
A quick quality check ensures only the best peas make it to the freezer. Examine the peas on a clean kitchen towel or paper towels to absorb excess moisture. The sorted peas are now ready for the blanching process.
| Pea Type | Sorting Criteria |
|---|---|
| Garden Peas | Plump, bright green |
| Snow Peas | Flat, crisp pods |
| Sugar Snap | Full, crisp pods |
3. Pat dry thoroughly

Proper drying prevents ice crystals from forming on the peas during freezing. Place the blanched peas on a clean kitchen towel or paper towels in a single layer. Pat them gently to remove excess moisture using additional clean towels. Rolling the peas between two kitchen towels helps absorb water efficiently. Once dried, the peas must feel slightly tacky but not wet to the touch.
Here’s a quick checklist for effective drying:
- Spread peas evenly on clean towels
- Pat gently with absorbent materials
- Check for remaining moisture spots
- Roll between towels if needed
- Ensure no water droplets remain visible
⚠️ Important: Excess moisture leads to:
| Issue | Impact |
|---|---|
| Ice crystals | Texture damage |
| Freezer burn | Quality loss |
| Clumping | Difficult portioning |
Leave the peas on the towels for 15-20 minutes at room temperature to complete the air-drying process. This extra step ensures optimal texture preservation during long-term freezer storage.
4. Pack in freezer containers

Transfer flash-frozen peas to airtight freezer containers or heavy-duty freezer bags. Leave 1/2 inch headspace in rigid containers to allow for expansion during freezing. Remove excess air from freezer bags by pressing gently before sealing – this prevents freezer burn.
Storage tips for frozen peas:
- Label containers with date and quantity
- Store at 0°F (-18°C) or below
- Pack in portion-sized containers (2-3 cup servings)
- Use within 8-12 months for best quality
Pack multiple small containers rather than one large container. This allows for easy portioning and prevents repeated freezing and thawing. Double-bag or double-wrap containers for extra protection against freezer burn.
- Rigid plastic freezer containers
- Heavy-duty freezer bags
- Vacuum-sealed bags
- Glass mason jars (leave 1-inch headspace)
Place packed containers in the back of the freezer where temperature remains most consistent. Store containers flat until frozen solid to maintain even distribution and prevent clumping.
5. Leave headspace and freeze”
Place the dried peas in freezer-safe containers or bags, leaving 1/2 inch of headspace at the top for expansion during freezing. For rigid containers, measure the space accurately to prevent pressure buildup. When using freezer bags, compress them gently to remove excess air before sealing.
Consider these container options:
- Heavy-duty freezer bags with double-zip seals
- Rigid plastic containers with airtight lids
- Vacuum-sealed bags for maximum freshness
- Glass mason jars with proper headspace allowance
Label each container with:
- Date of freezing
- Quantity stored
- Type of peas (garden, snow or sugar snap)
Place the containers flat in the back of the freezer where temperatures remain most stable. Avoid stacking containers until contents are completely frozen to maintain even distribution. Store at 0°F (-18°C) for optimal preservation. Pack in small portions of 1-2 cups each to thaw only what’s needed for meals.


