Teething babies often find comfort in frozen pacifiers, which can soothe their sore gums naturally and safely. This gentle remedy has helped countless parents provide relief to their little ones during the challenging teething phase.
Freezing a pacifier requires filling it with water, sealing any holes, and placing it in the freezer for 2-4 hours. Parents should always inspect frozen pacifiers for damage and supervise their use to ensure safety.
While the process might seem straightforward, there are important safety considerations and specific techniques that make freezing pacifiers both effective and safe for babies. From choosing the right type of pacifier to understanding proper cleaning methods before freezing, these details can make a significant difference in providing safe teething relief for infants.
“1. Clean and sterilize thoroughly
Cleaning and sterilizing pacifiers removes harmful bacteria before freezing. Start by washing the pacifier in warm soapy water, focusing on all surfaces including the nipple, shield, and handle. Rinse thoroughly under running water to eliminate soap residue.
Choose from these sterilization methods:
- Dishwasher: Place on the top rack for dishwasher-safe pacifiers like Nippii Freezable
- Boiling: Submerge in boiling water for 5 minutes
- Steam sterilizer: Follow manufacturer’s instructions
- Sterilizing solution: Use food-grade sanitizing tablets or liquid
Let the pacifier air dry completely on a clean paper towel before freezing. Inspect for damage, tears or weak spots during cleaning – discard any damaged pacifiers immediately.
Pro tip: Clean and sterilize multiple pacifiers at once to have backups ready for freezing. Always handle sterilized pacifiers with clean hands to maintain hygiene.
2. Pat completely dry

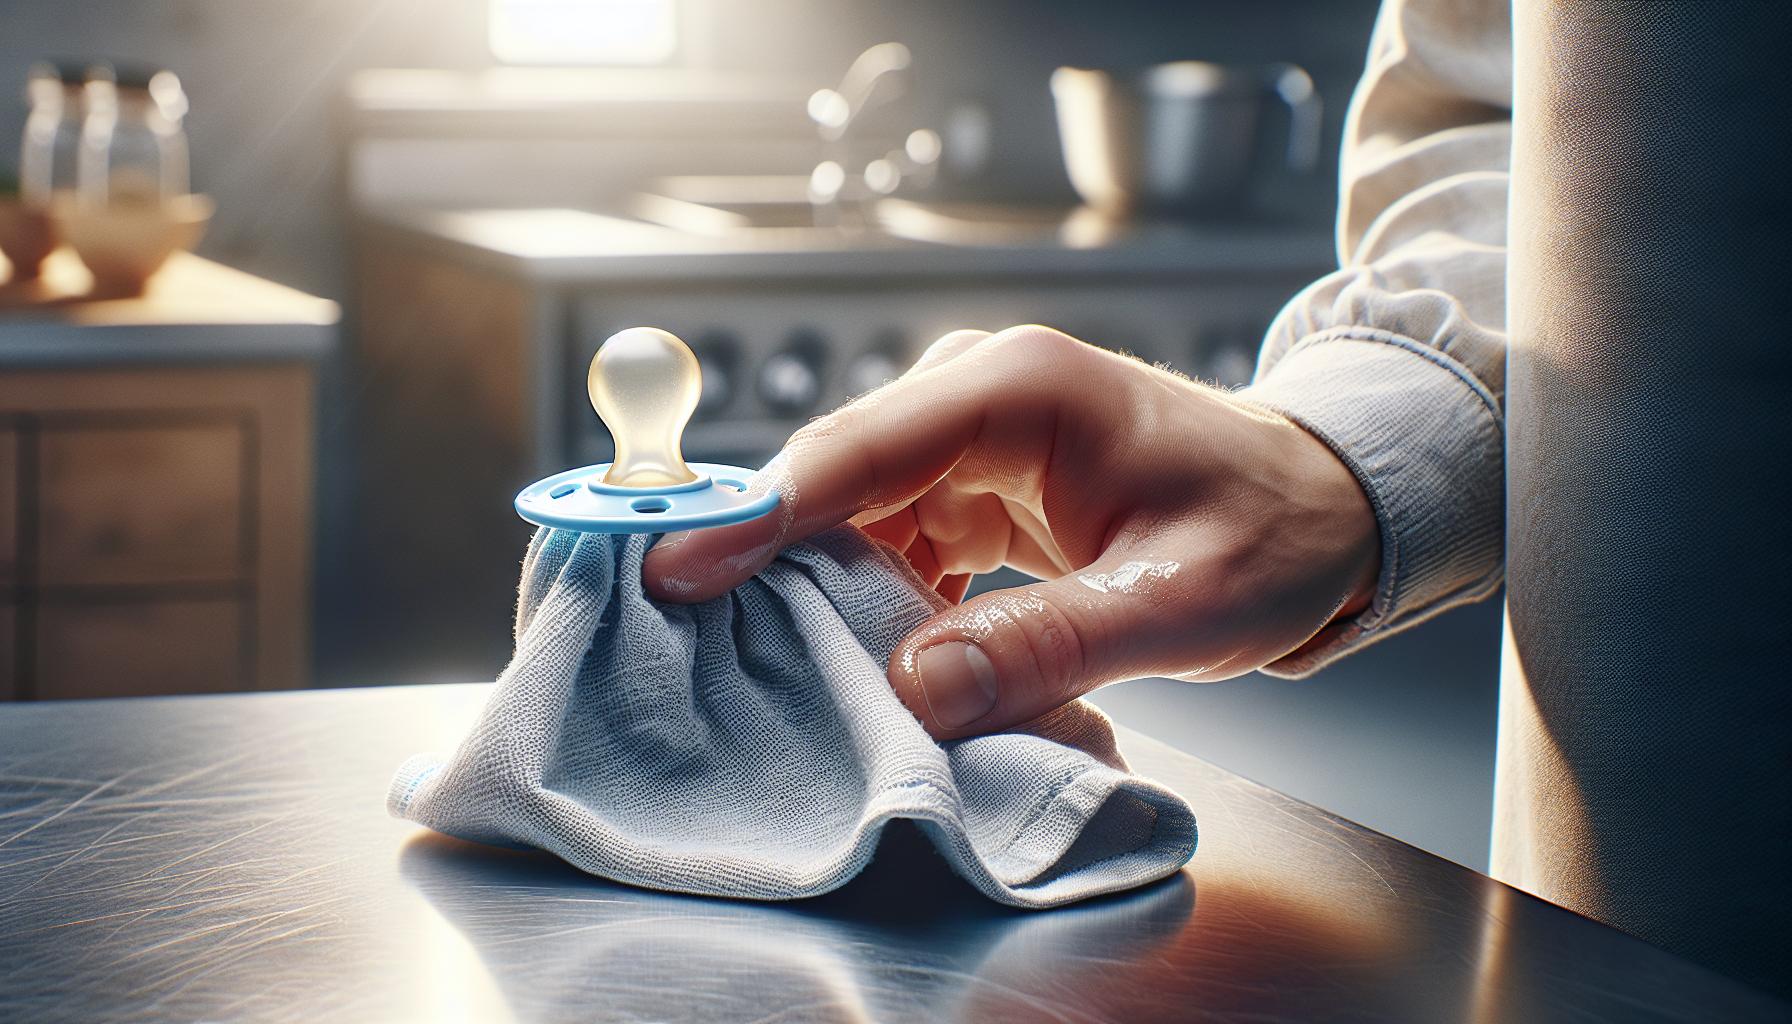
Patting the pacifier completely dry creates a bacteria-free surface before freezing. Use a clean, lint-free cloth to remove all water droplets from the nipple surface including creases and crevices. Water spots left on pacifiers become breeding grounds for harmful bacteria when frozen.
Here’s a quick drying checklist:
- Shake excess water vigorously
- Wipe main nipple surface with lint-free cloth
- Check inside ridges for moisture
- Air dry for 5 minutes after wiping
- Test surface with fingertip for dampness
Double-checking for moisture prevents ice crystals from forming on the pacifier’s surface during freezing. Place the dried pacifier on a clean paper towel for a final moisture inspection before proceeding to the freezer. A thoroughly dried surface ensures even cooling distribution when frozen.
3. Place in clean freezer bag

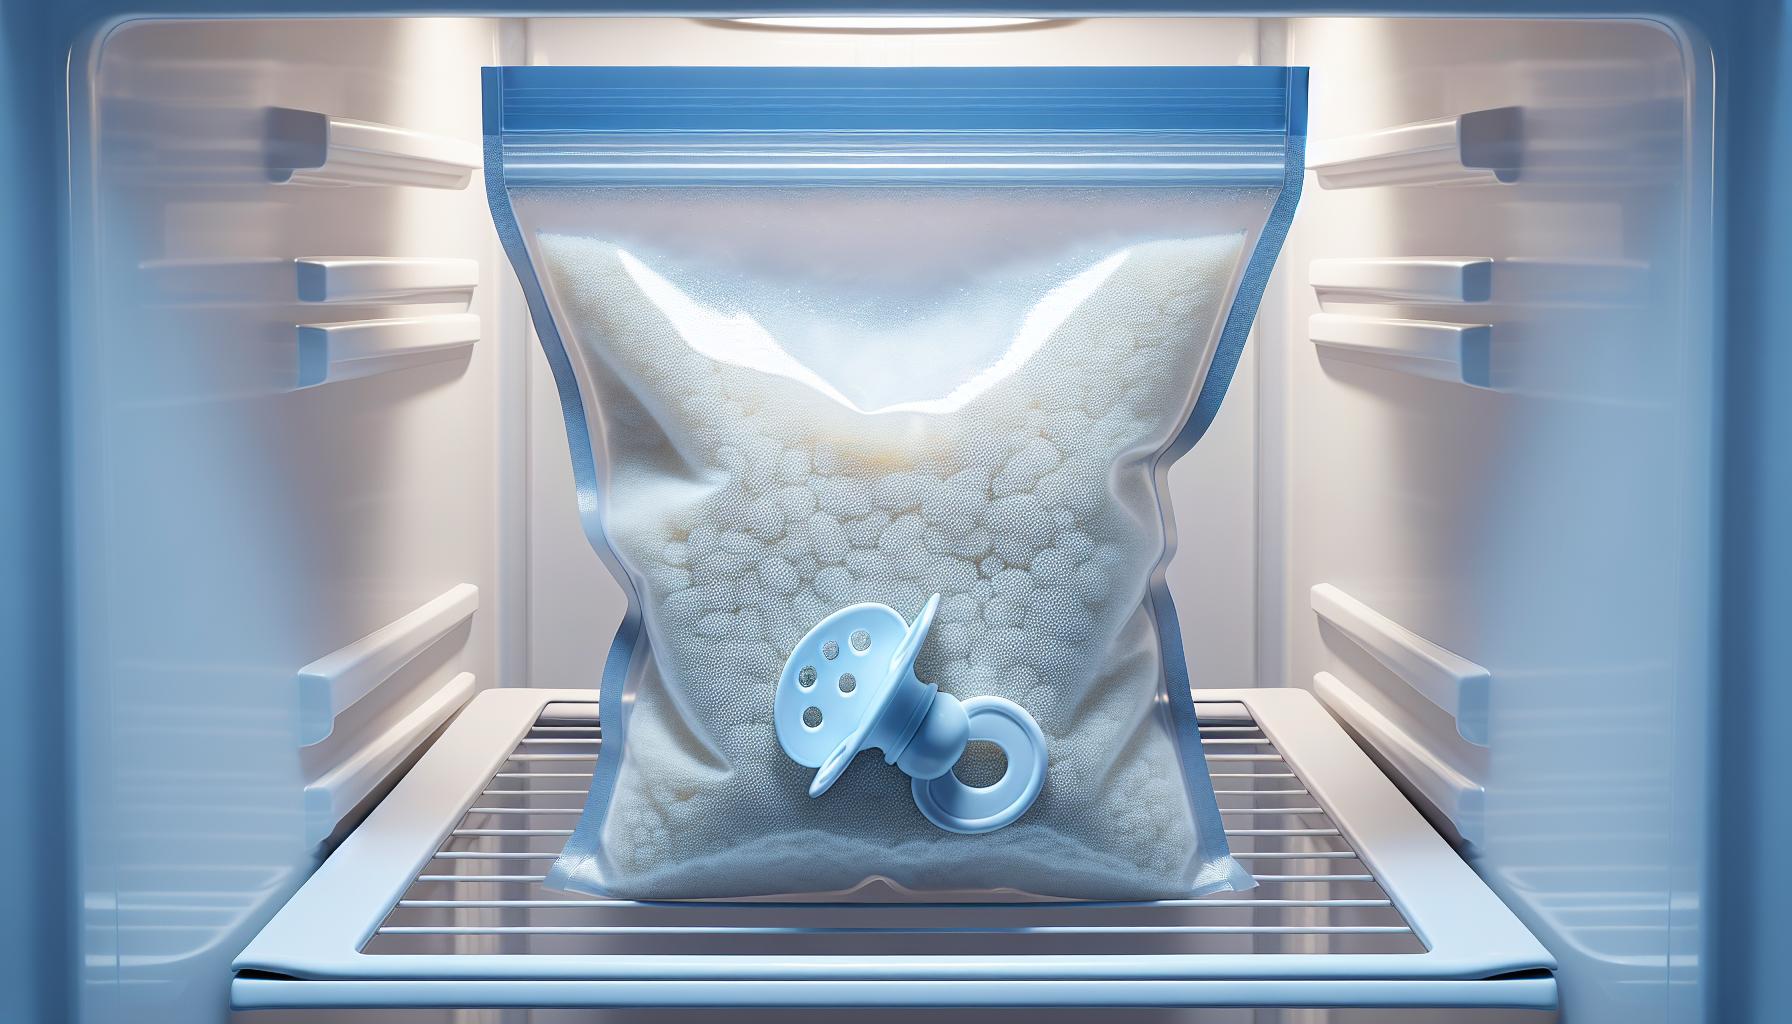
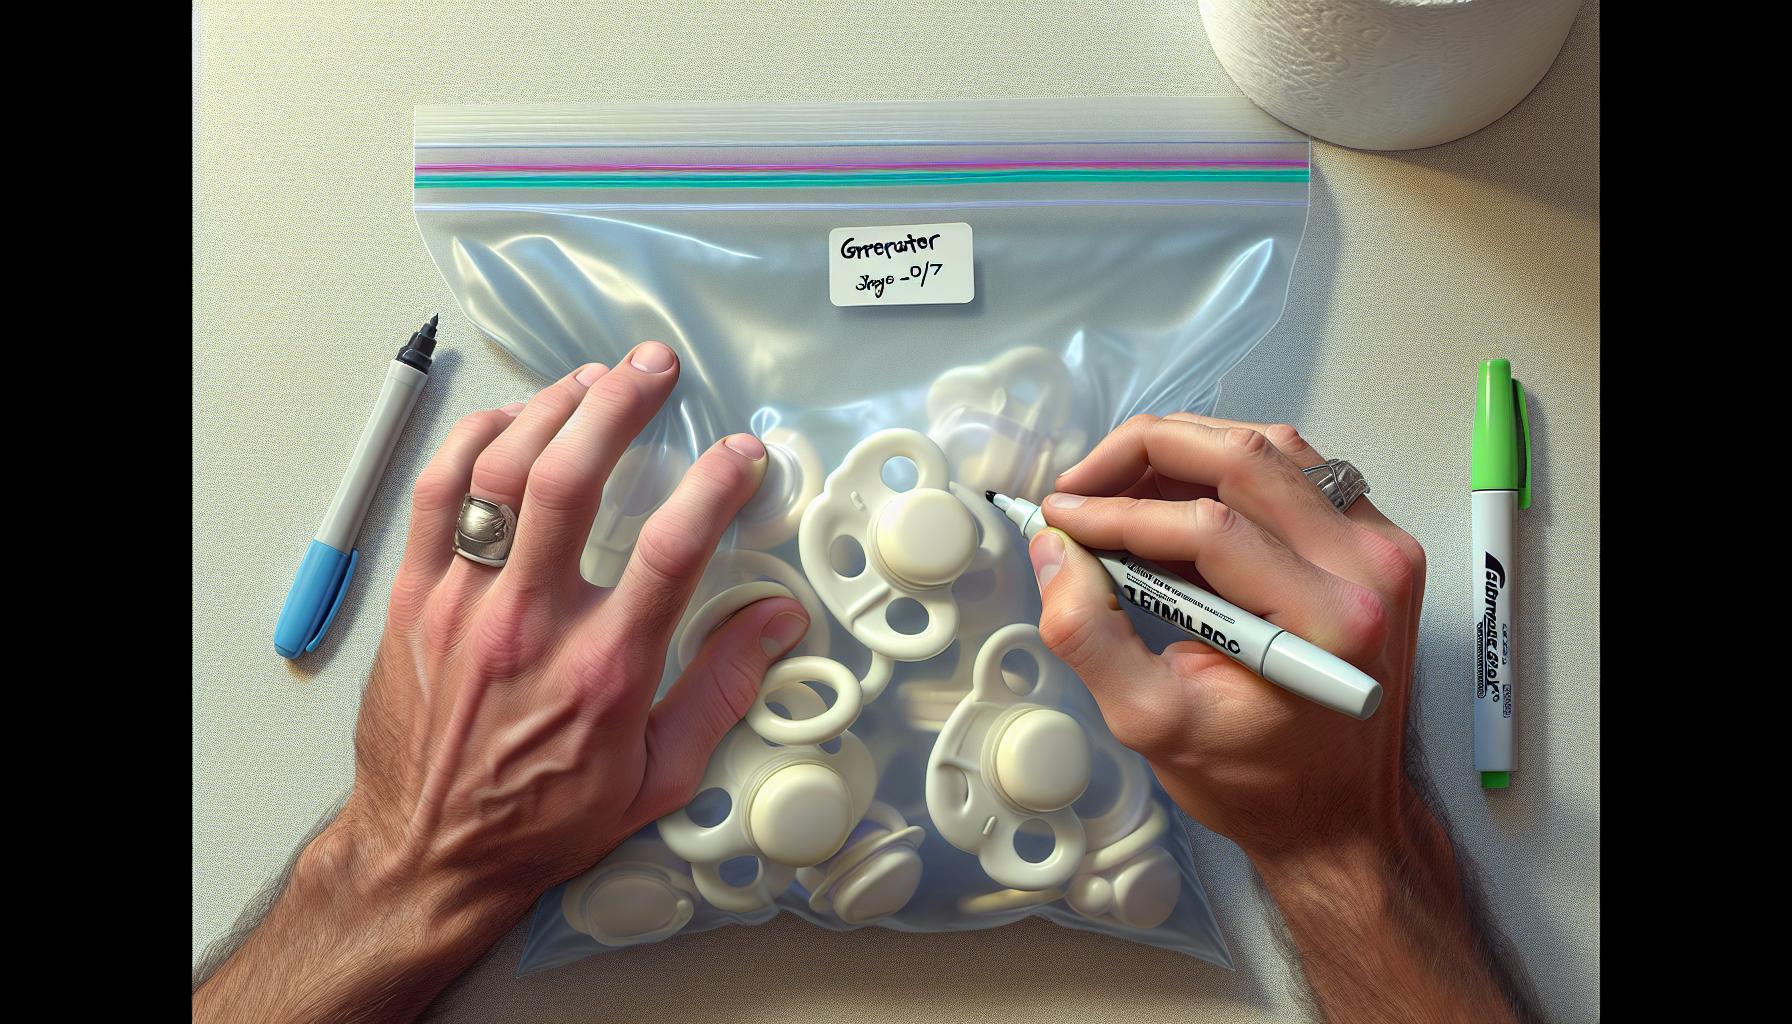
A clean freezer bag creates an optimal storage environment for chilled pacifiers before freezing. Place the completely dry pacifier in a resealable freezer bag labeled with the date of storage. Position the pacifier flat inside the bag to maintain its shape during the freezing process. Remove excess air from the bag before sealing to prevent frost buildup.
- Use BPA-free freezer bags
- Label bags with contents date
- Remove air pockets before sealing
- Store bags flat on freezer shelf
- Keep bags away from raw foods
The sealed freezer bag protects the pacifier from absorbing freezer odors contamination. For multiple pacifiers, use separate bags to maintain cleanliness prevent cross-contamination. Store the bags in a designated section of the freezer at 0°F (-18°C) for optimal results.
| Storage Duration | Temperature | Container Type |
|---|---|---|
| 10-15 minutes | 32-40°F | Freezer bag |
| Short-term | 0°F | Sealed bag |
4. Remove air and seal

Removing air from freezer bags prevents ice crystals from forming around pacifiers during freezing. Hold the bag horizontally at eye level to check for trapped air pockets. Press gently around the pacifier to release any hidden air bubbles. Zip the bag 90% closed, then press firmly from bottom to top, squeezing out remaining air through the small opening.
For optimal sealing:
- Press the entire zipper strip firmly between thumb and forefinger
- Double-check corners for complete closure
- Test the seal by gently pressing the bag
- Label with date using permanent marker
Pro tip: Create a double-seal by folding the top edge down 1 inch after removing air, then securing with a freezer-safe rubber band. This extra barrier prevents air from re-entering during storage.
For multiple pacifiers, place each in individual compartments of a divided freezer container. This method eliminates the need for separate bags while maintaining organization. Secure the container lid tightly, checking that all dividers align properly to prevent cross-contamination between sections.
5. Store in freezer until needed”
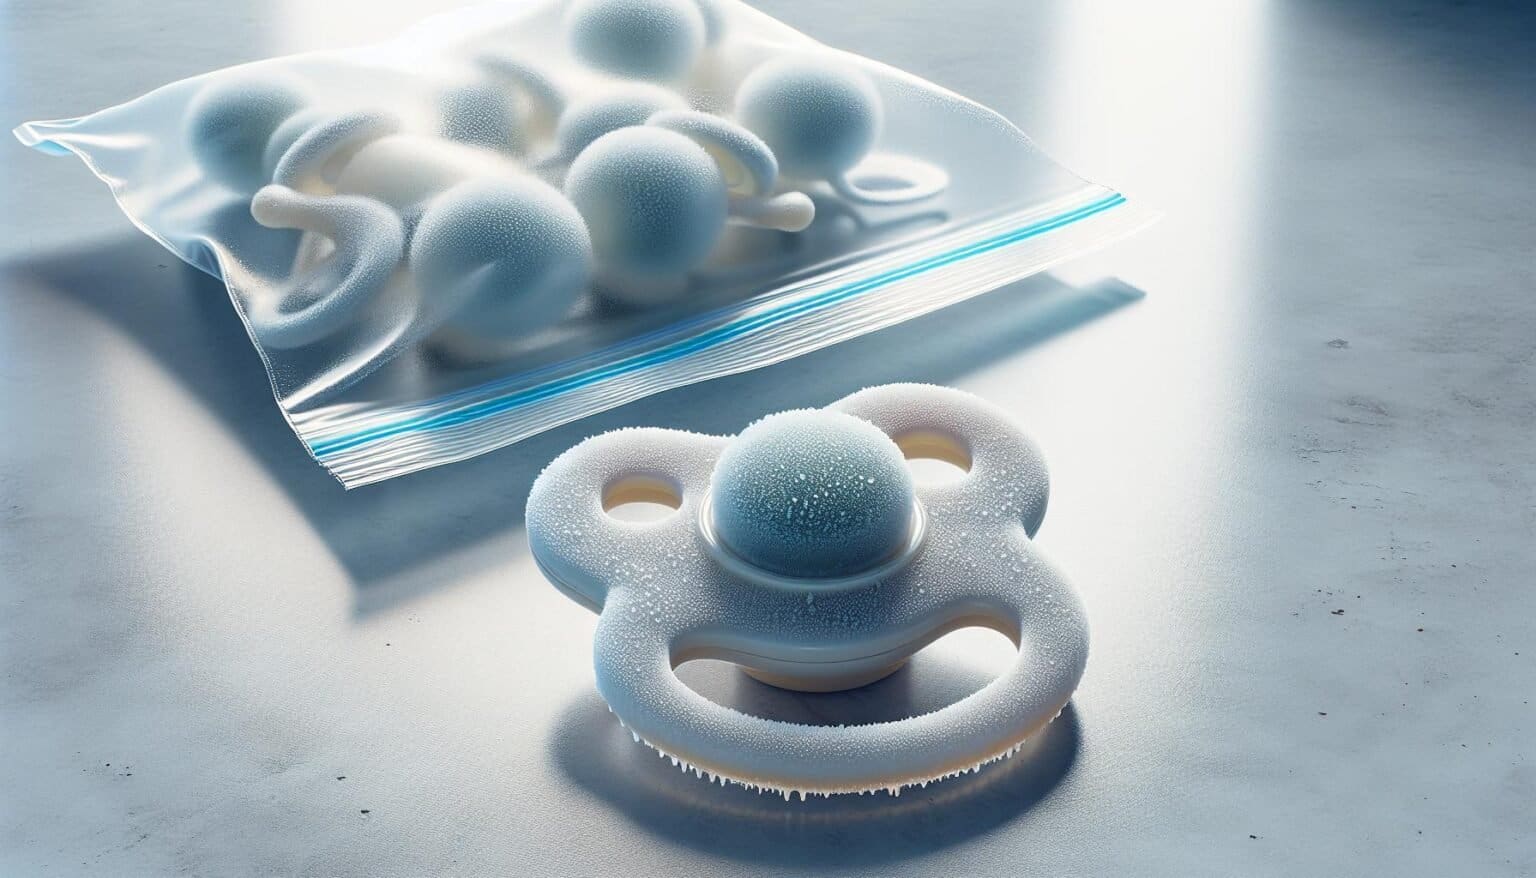
Place the prepared pacifier in the freezer at 0°F (-18°C) for optimal freezing results. Water-filled teething pacifiers freeze solid in 30-45 minutes while regular pacifiers require only 10-15 minutes of cooling time.
Store the pacifier flat in a designated freezer section away from strong-smelling foods to prevent odor absorption. Check the freezing progress after 30 minutes by gently pressing the nipple – it should feel firm but not rock-hard.
Key storage tips:
- Keep frozen pacifiers separate from other frozen items
- Monitor freezing time based on pacifier type
- Avoid storing near foods with strong odors
- Maintain consistent freezer temperature
- Remove only when ready to use
For specially designed freezable pacifiers, like the Nippii:
| Feature | Duration |
|---|---|
| Initial freeze | 30-45 minutes |
| Storage time | Up to 2 hours |
| Cooling effect | 15-20 minutes |
| Refreezing wait | 1 hour |
Monitor the pacifier’s temperature before giving it to the baby – it should feel cool but not intensely cold against adult skin.


