Fresh produce prices can skyrocket during off-seasons, making it essential to preserve vegetables when they’re abundant and affordable. Freezing onions and peppers offers a practical solution for maintaining a steady supply of these cooking staples year-round while saving money and reducing food waste.
Freezing onions and peppers is a straightforward process that requires basic kitchen tools and proper storage containers. When done correctly, these vegetables can maintain their flavor and nutritional value for up to 8 months in the freezer, ready to use in soups, stir-fries, and casseroles.
The key to successfully freezing these vegetables lies in proper preparation techniques and storage methods that prevent freezer burn and preserve texture. Armed with the right knowledge anyone can master this money-saving kitchen skill that transforms seasonal abundance into lasting convenience.
“1. Clean and chop vegetables
Start with clean vegetables to ensure food safety. Onions require removal of papery skin while bell peppers need thorough washing under cool running water.
For onions:
- Cut off the top edge
- Slice from root to tip
- Peel away the papery skin
- Dice or slice based on intended use
- Set aside on a cutting board
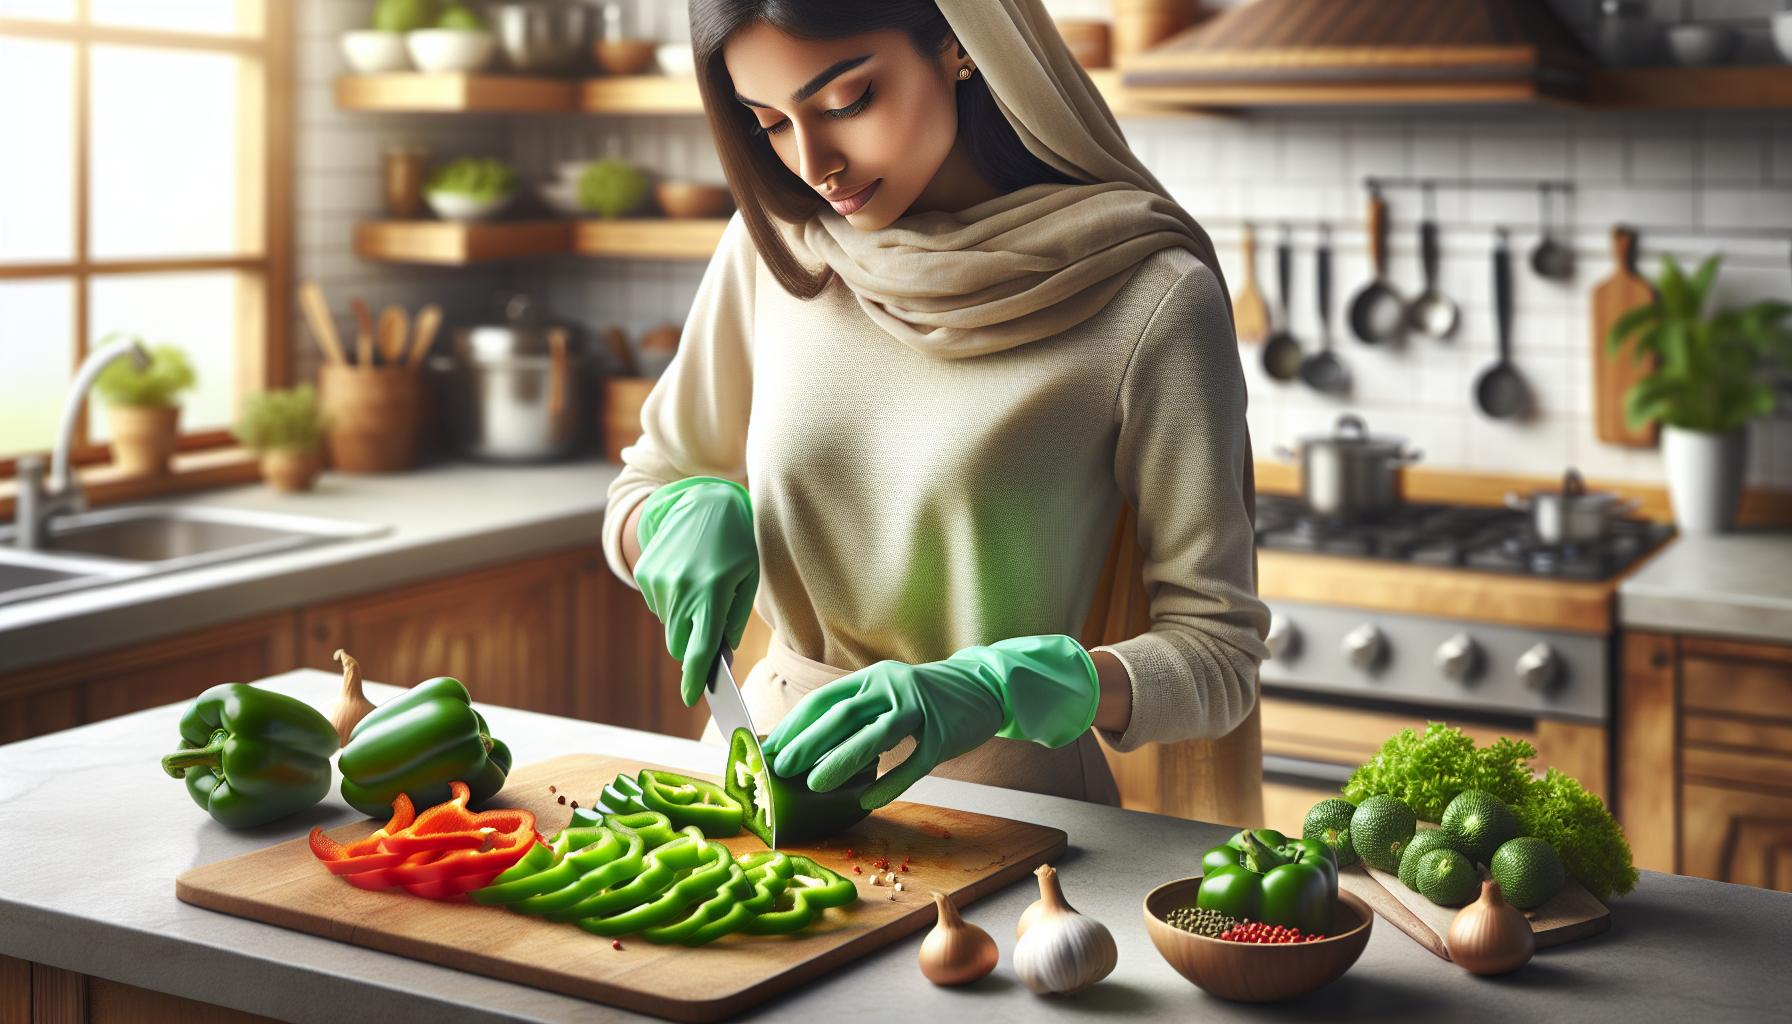
For bell peppers:
- Remove stems with a sharp knife
- Cut in half lengthwise
- Clear out seeds and white ribs
- Slice into strips or dice into chunks
- Place in a separate bowl
For hot peppers:
- Wear kitchen gloves
- Keep whole or slice as needed
- Remove seeds for milder heat
- Handle with care to avoid skin contact
- Store separately from sweet peppers
This preparation method creates uniform pieces for even freezing. Separate containers prevent flavor transfer between onions and peppers during the freezing process.
2. Remove seeds from peppers

Removing seeds from peppers starts with cutting each pepper in half lengthwise to expose the inner cavity. A melon baller or spoon tip efficiently scrapes out the seeds membrane in 2-3 quick motions. For bell peppers, slice off the stem first then pull out the seed pod in one piece.
Here’s an efficient process for seed removal:
- Cut peppers lengthwise from stem to bottom
- Remove stem with a circular cut
- Pull out the white membrane with attached seeds
- Scrape remaining seeds with melon baller
- Discard seeds membrane into compost
- Hold peppers over a bowl to catch loose seeds
- Remove all white ribs to prevent bitter taste
- Wear gloves when handling hot peppers
- Keep peppers upright while cutting to prevent seed scatter
- Use a grapefruit spoon for stubborn seeds
The cleaned pepper halves provide perfect surfaces for slicing into uniform pieces ready for freezing. This thorough seed removal prevents any bitter flavors from developing during storage.
3. Pat completely dry

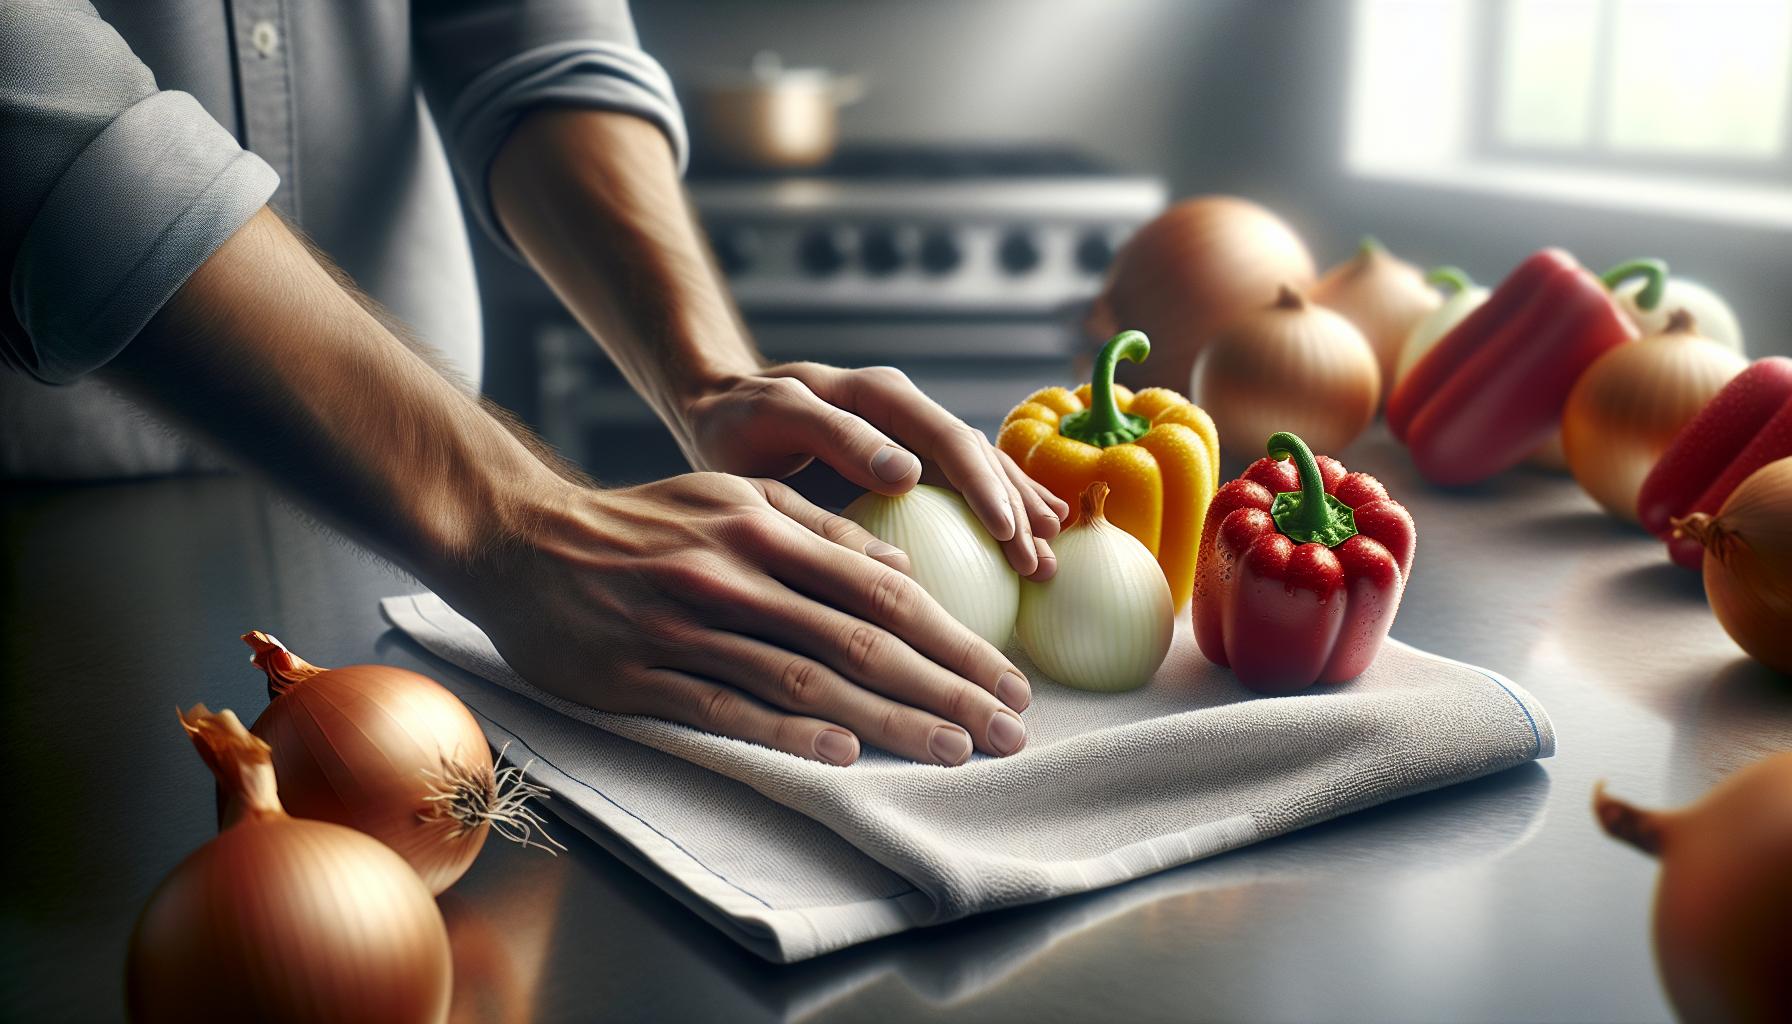
Removing excess moisture prevents ice crystals from forming on onions and peppers during freezing. Place the cut vegetables on clean paper towels or kitchen towels in a single layer. Press additional paper towels on top to absorb moisture from all surfaces. Replace the towels as needed until the vegetables are completely dry.
- Use lint-free kitchen towels to prevent fibers from sticking
- Pat gently to avoid bruising the vegetables
- Allow air circulation between pieces
- Check creases and folds where water collects
- Remove any remaining seeds that appear during drying
The drying process takes 5-10 minutes but saves hours of dealing with clumped frozen vegetables later. Let the vegetables sit at room temperature for 15 minutes after drying to ensure all surface moisture evaporates before moving to the freezing step.
| Vegetable Type | Pat Dry Time | Air Dry Time |
|---|---|---|
| Onions | 5 minutes | 10 minutes |
| Bell Peppers | 7 minutes | 15 minutes |
| Hot Peppers | 5 minutes | 10 minutes |
4. Pack in freezer bags

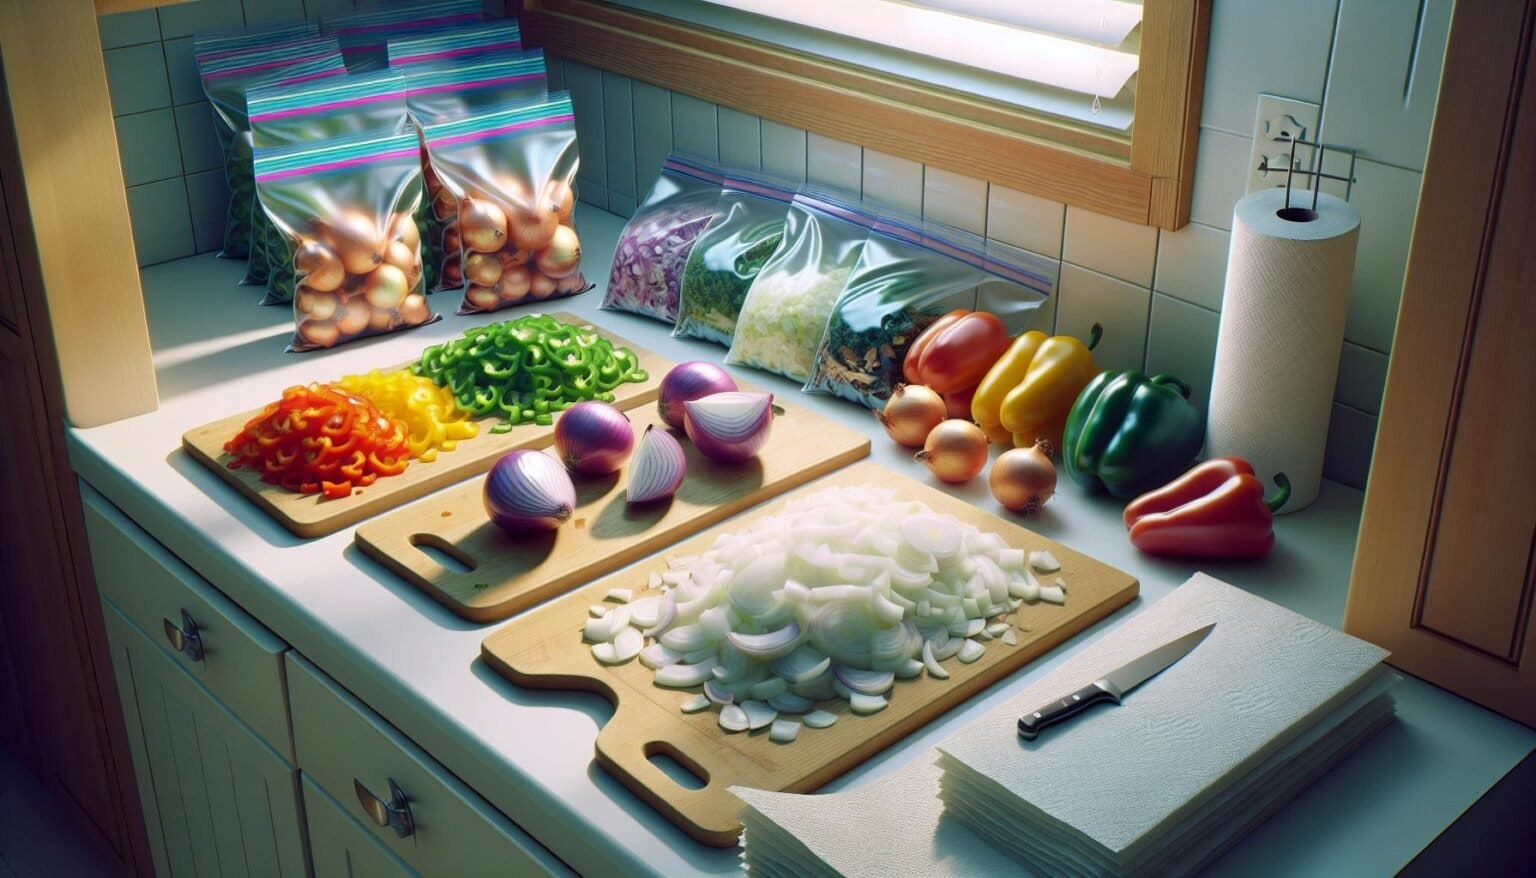
Transfer the frozen onions and peppers from the baking sheet into freezer-safe bags. Press out excess air from the bags before sealing to prevent freezer burn. Label each bag with the contents date using a permanent marker.
Create portion-sized packages based on typical recipe needs:
- 1 cup portions for everyday cooking
- 2 cup portions for larger recipes
- Individual bags for different pepper varieties
- Separate bags for onions to prevent flavor transfer
Arrange the bags flat in a single layer when placing them in the freezer. Once frozen solid, stack the bags vertically to maximize freezer space. The flat storage method prevents the vegetables from clumping together creates easy-to-break-off portions.
Storage tip: Double-bag hot peppers to contain their strong aroma preserve their oils in the freezer.
- Easy portion control
- Quick ingredient access
- Minimal freezer space usage
- Extended storage life
5. Remove air and freeze”
Transfer the cut vegetables to freezer-safe bags or containers after flash freezing. Press firmly on each bag from bottom to top, squeezing out excess air to prevent freezer burn. For optimal storage, arrange the filled bags flat in a single layer when placing them in the freezer.
Label each package with:
- Contents (type of vegetable)
- Date frozen
- Quantity inside
- Use heavy-duty freezer bags rated for long-term storage
- Portion vegetables into 1-cup servings for easy recipe use
- Store onions separate from peppers to prevent flavor transfer
- Double-bag hot peppers to contain their oils
- Stack bags vertically once frozen solid to maximize space
| Vegetable | Storage Time | Optimal Temperature |
|---|---|---|
| Onions | 8 months | 0°F (-18°C) |
| Peppers | 8 months | 0°F (-18°C) |


