Garlic scapes, the curly flower stalks of hardneck garlic plants, offer a delightful seasonal treat with their mild garlic flavor. These tender green shoots appear for just a few weeks each spring making it essential to preserve their unique taste for year-round enjoyment.
Freezing garlic scapes is a simple process that maintains their flavor and texture for up to 12 months. Cut the scapes into manageable pieces, blanch them briefly in boiling water, shock in an ice bath, and store in freezer-safe containers or bags.
Properly frozen garlic scapes retain their versatility in the kitchen, ready to enhance stir-fries, pestos, and soups long after their growing season ends. With the right preparation techniques, these seasonal delicacies can bring their distinctive flavor to countless dishes throughout the year.
“1. Wash and trim ends
Fresh garlic scapes require thorough cleaning under cool running water to remove dirt particles, garden debris or insects. Hold each scape under the stream of water while gently rubbing the surface to dislodge any stuck-on soil.
Two essential trimming steps prepare garlic scapes for freezing:
- Remove the flower head completely at its base where it meets the stem
- Cut off any yellowed, damaged or withered portions
For optimal results, process the scapes immediately after cleaning. A sharp knife creates clean cuts without crushing or damaging the tender stems. The cleaned and trimmed scapes stay fresh in the refrigerator for 2-3 days before freezing when stored in an airtight container.
| Part to Remove | Reason for Removal |
|---|---|
| Flower head | Tough and fibrous |
| Yellow portions | Already degrading |
| Damaged areas | Risk of spoilage |
2. Cut into 1-inch pieces

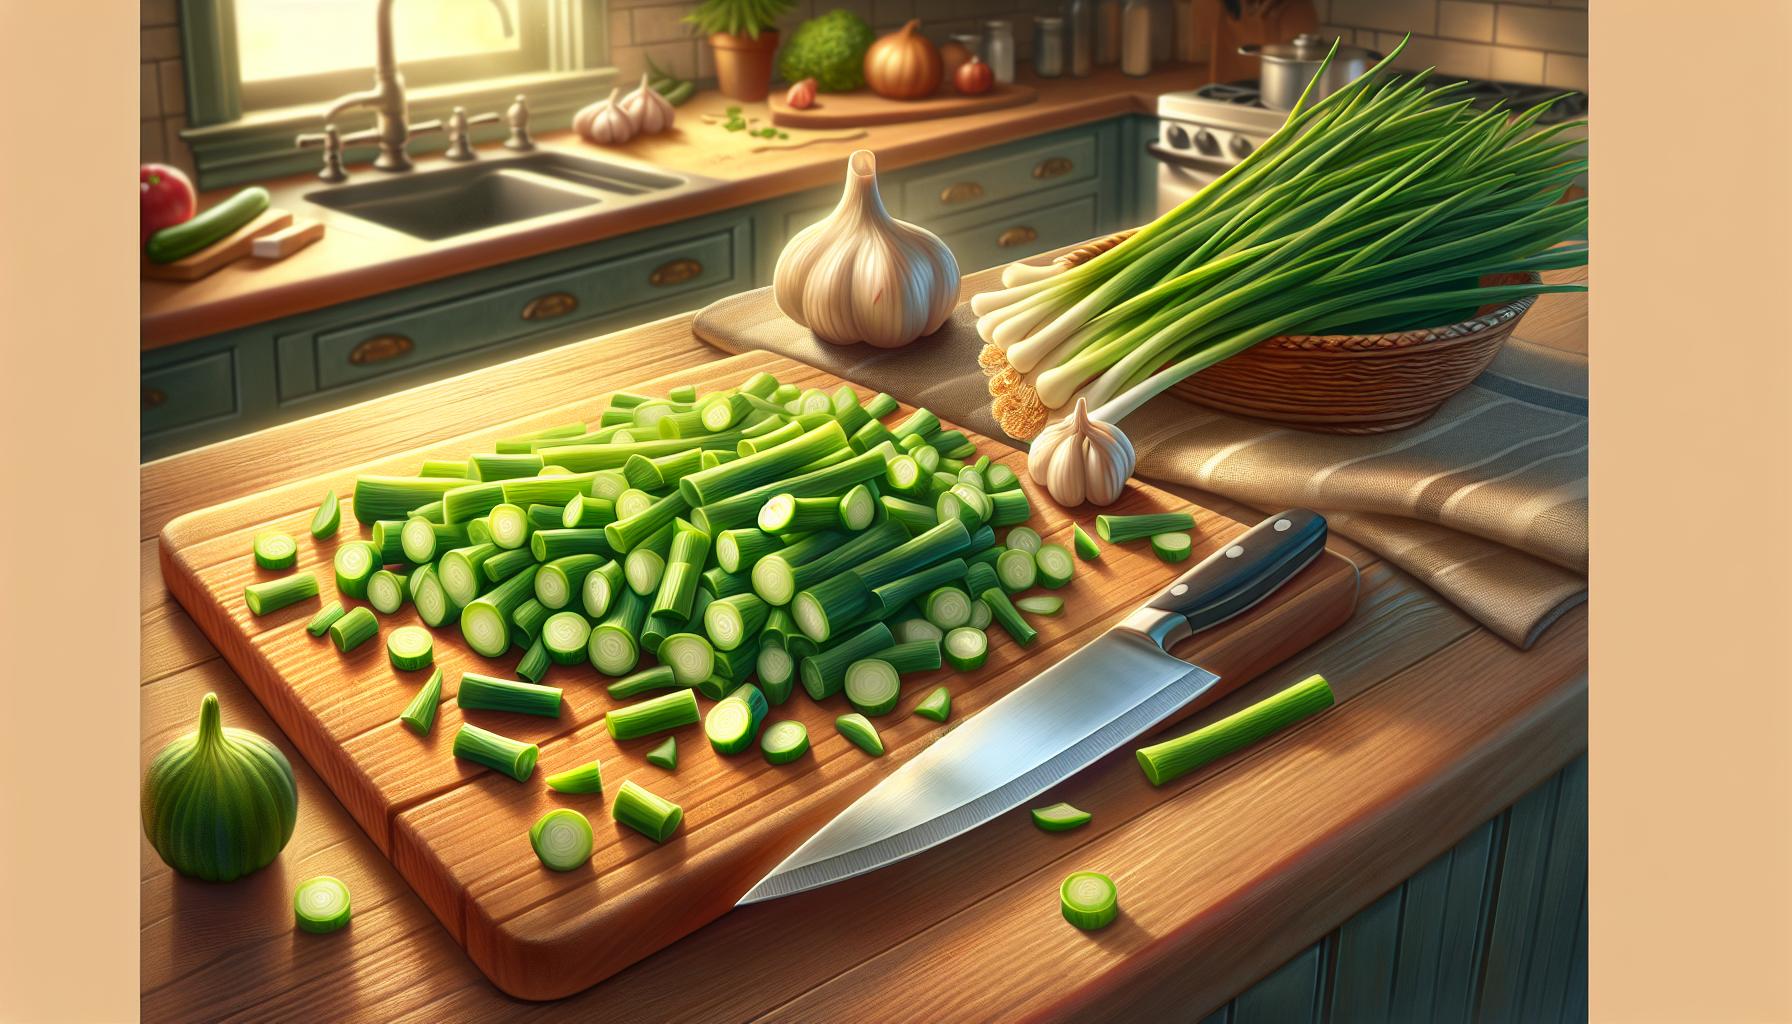
Cutting garlic scapes into uniform pieces creates perfect portions for freezing and future cooking. Place the cleaned scapes on a cutting board and slice them into 1-inch segments using a sharp knife. The consistent size ensures even freezing and makes it convenient to measure portions for recipes later.
Three key points for cutting garlic scapes:
- Remove the tough flower bud at the top
- Make clean, straight cuts through the stems
- Keep pieces uniform at 1-inch lengths for optimal storage
Here’s a breakdown of the parts to cut:
| Section | Length | Usage |
|---|---|---|
| Main stem | 1 inch | Stir-fries, pestos |
| Lower portion | 1 inch | Soups, sauces |
| Flower head | Discard | Not used |
After cutting, the pieces are ready for the next step in the freezing process. The segments maintain their flavor better than whole scapes and take up less freezer space.
3. Spread on baking sheet to flash freeze

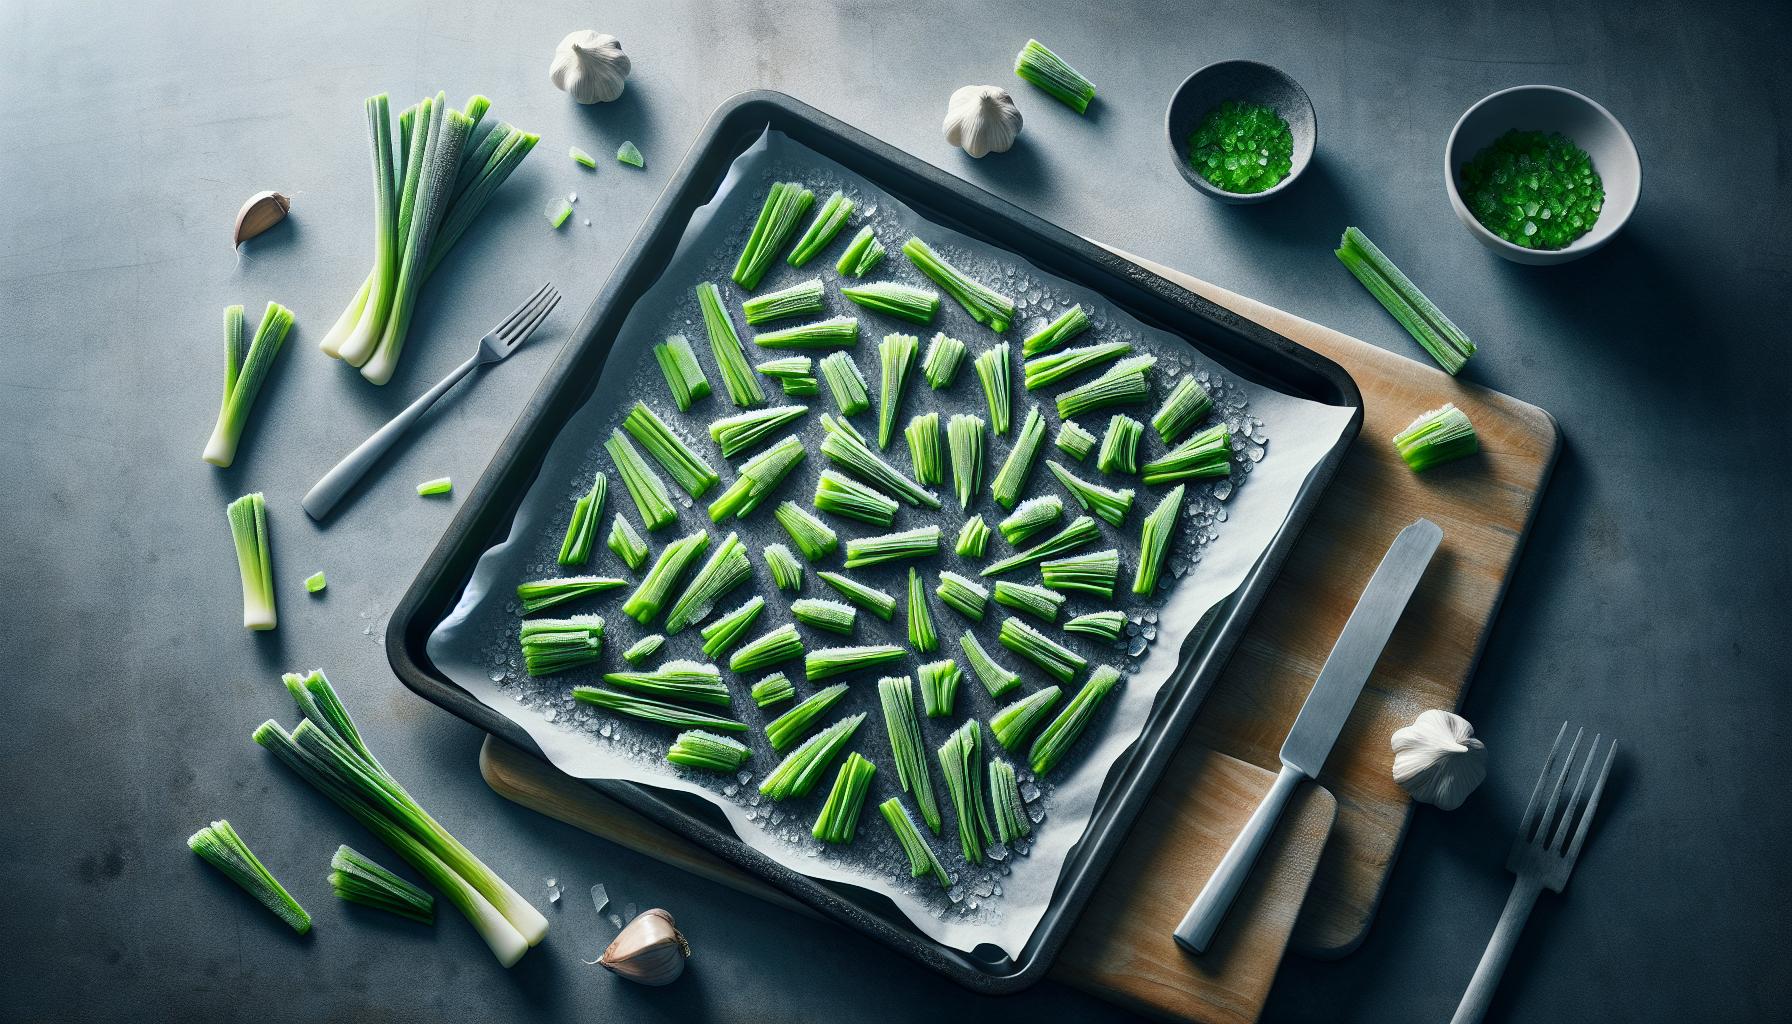
Arrange the prepared garlic scape pieces in a single layer on a parchment-lined baking sheet, leaving 1/2 inch of space between each piece to prevent clumping. Flash freezing preserves the individual shape of each scape piece, making it easier to portion them later.
Place the baking sheet on a flat surface in the freezer for 2-3 hours until the scapes are completely frozen. The flash-freezing method prevents the pieces from sticking together, allowing removal of specific portions without thawing the entire batch.
Three key tips for optimal flash freezing:
- Position the baking sheet away from the freezer walls
- Keep the sheet level to maintain even freezing
- Check that freezer temperature is set at 0°F (-18°C) or below
This method creates individually frozen pieces that maintain their bright green color, crisp texture and fresh garlic flavor. The flash-frozen scapes stay separate rather than forming one solid mass, making them convenient for later use in recipes.
4. Transfer to freezer bags after 2 hours

After flash-freezing garlic scapes for 2 hours, remove the baking sheet from the freezer. Transfer the frozen scape pieces into freezer-safe storage bags or airtight containers. Pack the scapes in quantities suitable for single-use portions like 1/2 cup or 1 cup measurements.
Remove excess air from freezer bags by pressing gently or using a vacuum sealer to prevent freezer burn. Label each container with:
- Date of freezing
- Quantity stored
- Type of processing (blanched/unblanched)
Place filled containers in the back of the freezer where temperatures remain most consistent. Properly stored frozen garlic scapes maintain quality for up to 12 months at 0°F (-18°C).
| Container Type | Maximum Storage Time | Temperature |
|---|---|---|
| Freezer Bags | 12 months | 0°F (-18°C) |
| Airtight Containers | 10-12 months | 0°F (-18°C) |
| Vacuum Sealed | 14-16 months | 0°F (-18°C) |
5. Remove air and freeze up to 10 months”
Transfer the frozen garlic scape pieces to freezer-safe storage containers or heavy-duty freezer bags. Pack the scapes in convenient portion sizes like 1/2 cup or 1 cup measurements for easy access. Remove excess air from storage bags by pressing gently or using a straw to create a vacuum seal.
Storage duration varies by container type:
- Freezer bags: 10-12 months
- Airtight containers: 8-10 months
- Vacuum-sealed bags: 12-14 months
Label each container with:
- Date of freezing
- Quantity stored
- Processing method (blanched/unblanched)
Store containers away from the freezer door to maintain a consistent temperature of 0°F (-18°C). Place newer packages behind older ones to ensure proper rotation. The frozen scapes maintain their bright green color when properly stored with minimal air exposure.
For best results, use frozen garlic scapes within 10 months. Once thawed, the scapes remain fresh in the refrigerator for 2-3 days. Add frozen pieces directly to hot dishes without thawing.


