Fiddleheads, those tightly coiled ferns that emerge in early spring, offer a unique and delicate flavor that many foraging enthusiasts treasure. While their harvest season is brief, freezing these woodland delicacies lets food lovers enjoy their distinctive taste throughout the year.
Freezing fiddleheads involves blanching them in boiling water for 2 minutes, followed by an ice bath, thorough drying, and storing in airtight freezer bags. When properly frozen, they’ll maintain their quality for up to 12 months.
Those who’ve discovered these emerald spirals know they’re worth preserving. With the right freezing technique, it’s possible to capture their fresh, asparagus-like flavor and nutritional benefits long after spring has passed. The process isn’t complicated, but attention to detail ensures the best results for these prized wild vegetables.
“1. Clean and remove brown scales
Start by rubbing off the papery brown scales from each fiddlehead with clean fingers. These scales appear as a protective covering around the tightly coiled fronds. Cut 1/4 to 1/2 inch from the stem ends to eliminate any discolored portions.
Place the trimmed fiddleheads in a large bowl filled with cold water. Agitate them gently to dislodge:
- Dirt particles
- Plant debris
- Hidden insects
- Remaining scales
Rinse the fiddleheads 2-3 times under running water until it runs clear. A salad spinner removes excess moisture efficiently, though paper towels work as an alternative. The cleaned fiddleheads require complete dryness before moving to the next preservation step.
Key cleaning tips:
- Use gentle pressure when removing scales
- Change soaking water if heavily soiled
- Focus on the tight coil areas where debris collects
- Inspect each fiddlehead individually for thorough cleaning
Once clean, place the fiddleheads in a single layer on clean kitchen towels. Pat them dry to remove surface moisture before proceeding with the freezing process.
2. Blanch for 2 minutes

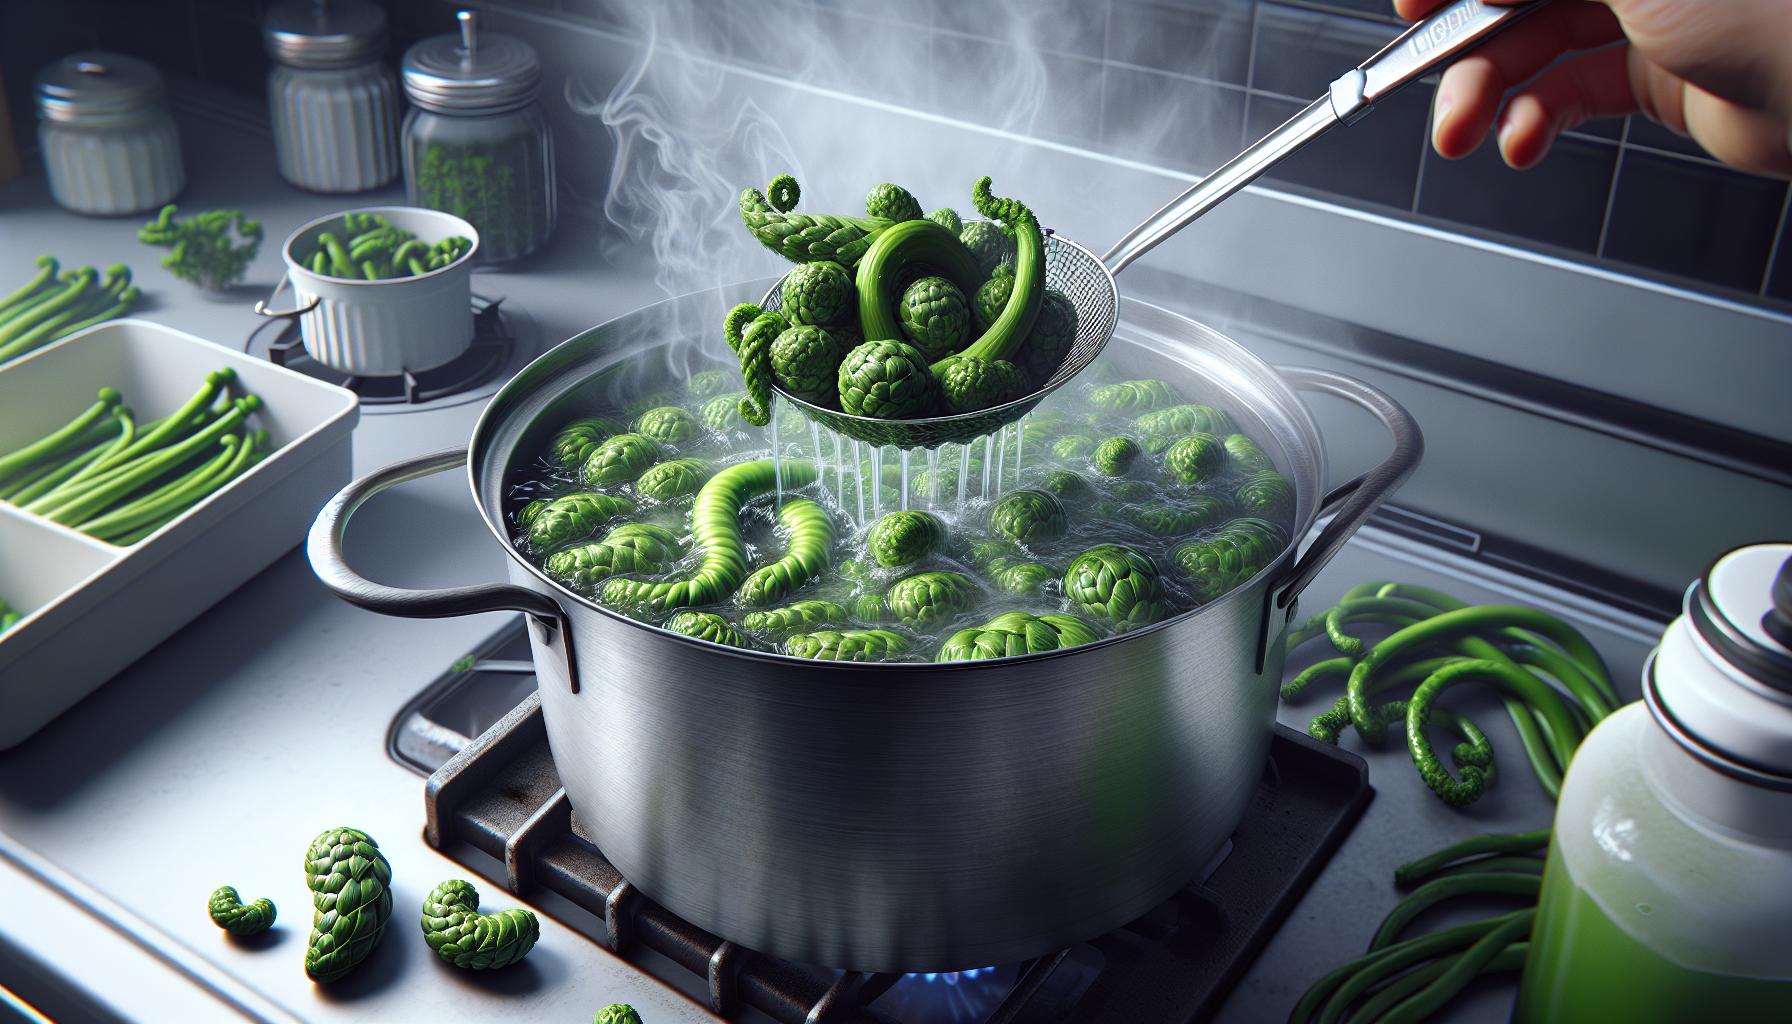
Fill a large pot with water until it reaches 3/4 full. Bring the water to a rolling boil at high heat. Add 1 tablespoon of salt per gallon of water to enhance flavor retention during freezing.
Drop the cleaned fiddleheads into the boiling water in small batches of 2 cups each. This prevents temperature drops that affect blanching effectiveness. Set a timer for exactly 2 minutes once the water returns to a boil.
Keep the fiddleheads submerged using a slotted spoon while blanching. The bright green color intensifies as they cook, indicating proper blanching. Remove them promptly after 2 minutes to avoid overcooking.
Key Blanching Tips:
- Maintain water at a rolling boil throughout
- Work in small batches for consistent results
- Use a large pot to prevent crowding
- Keep timing precise at 2 minutes
- Remove immediately when done
The blanching process kills harmful bacteria while preserving the fiddleheads’ texture, color, and nutrients for freezer storage. This critical step prevents enzyme activity that leads to quality loss during freezing.
3. Ice bath and dry thoroughly

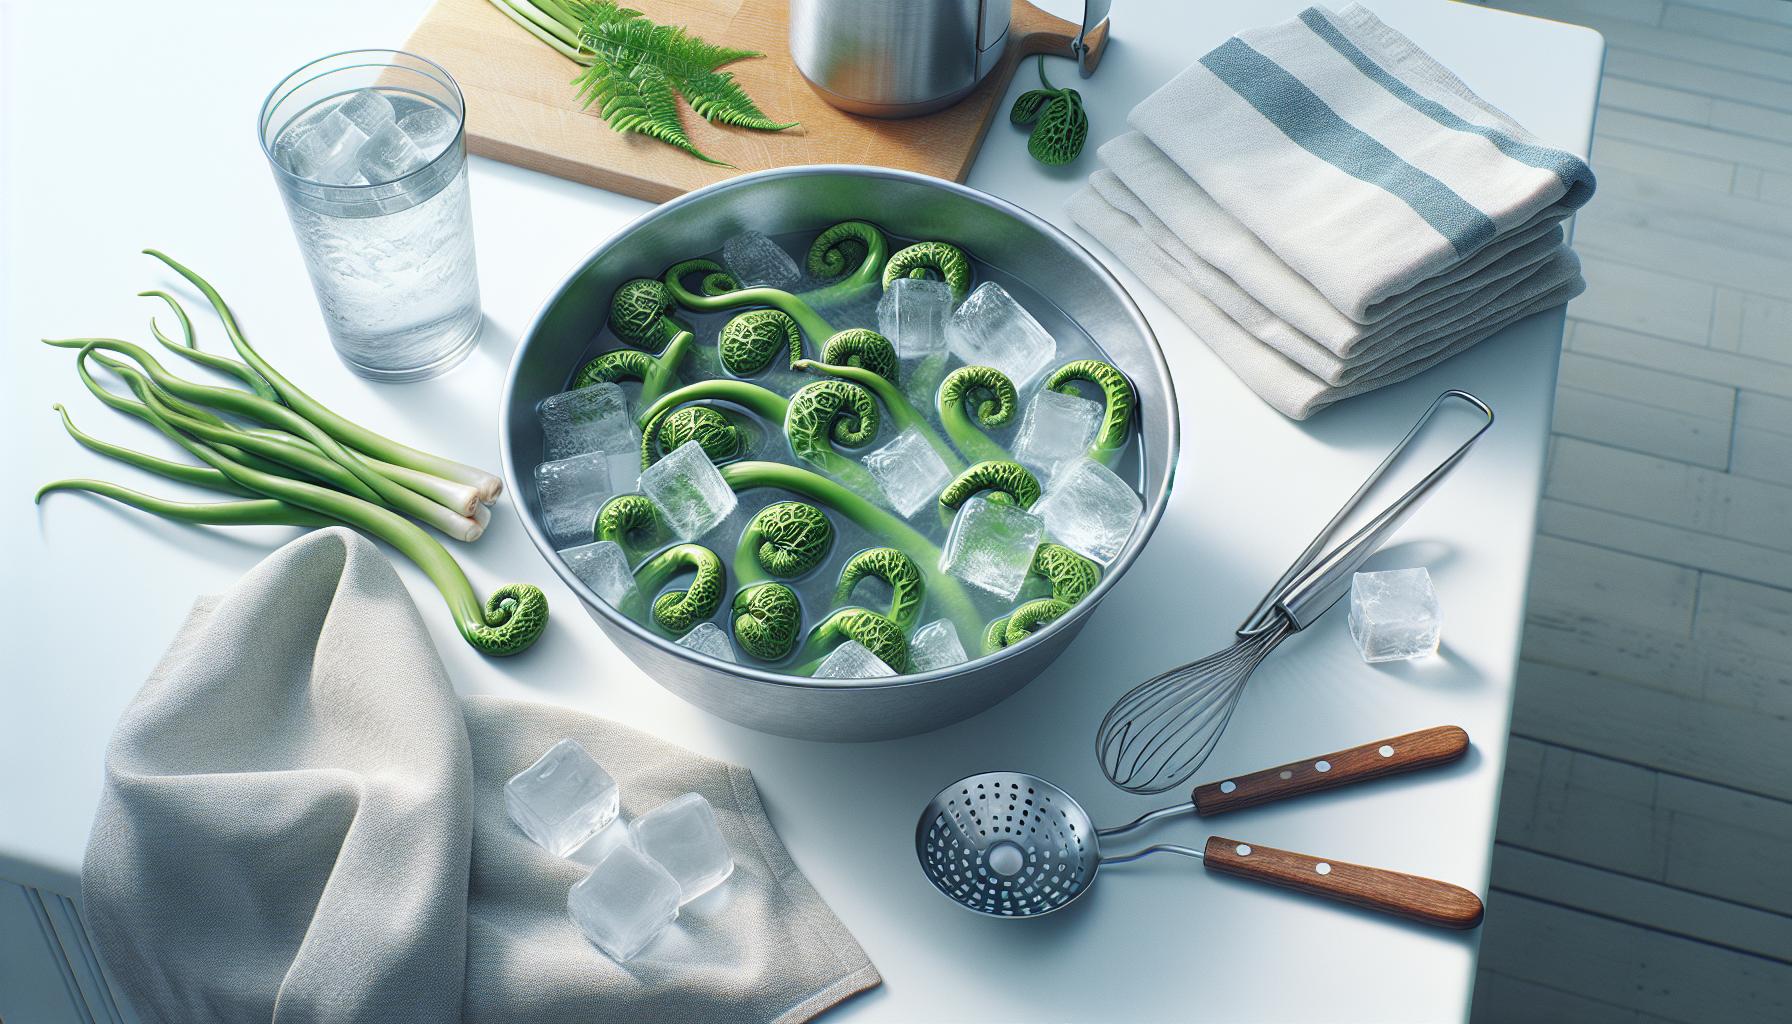
After blanching, transfer the fiddleheads immediately to an ice bath – a large bowl filled with cold water and ice cubes. Keep them submerged for 2-3 minutes to stop the cooking process. This rapid cooling preserves their bright green color and crisp texture.
Remove the fiddleheads from the ice bath using a slotted spoon. Place them in a single layer on clean kitchen towels or paper towels. Pat them dry gently to remove excess moisture. For optimal results, use a salad spinner to eliminate any remaining water droplets.
Key drying tips:
- Spread fiddleheads in a single layer
- Change towels if they become too wet
- Ensure complete dryness to prevent ice crystals
- Allow 15-20 minutes for thorough air drying
Proper drying prevents freezer burn and maintains the quality of frozen fiddleheads. Any remaining moisture creates unwanted ice crystals during freezing, affecting both texture and flavor. The fiddleheads must be completely dry before moving to the freezing stage.
4. Pack in freezer bags

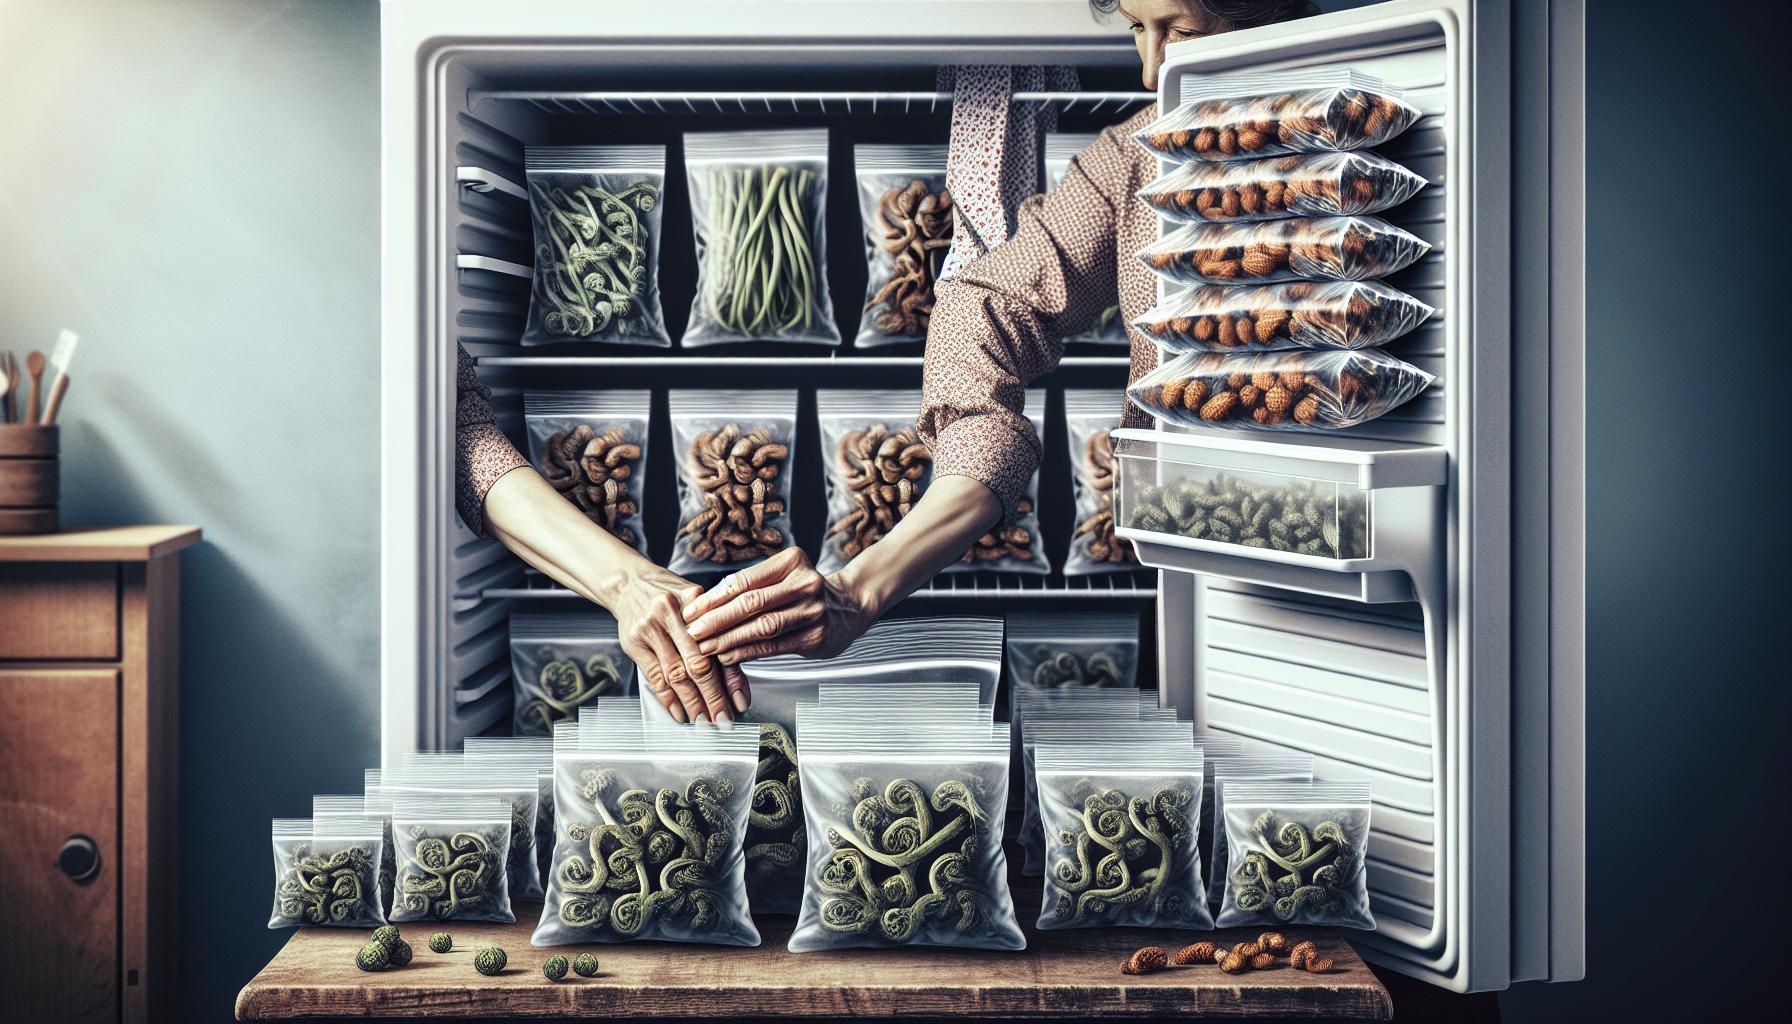
Pack dried fiddleheads in freezer-safe plastic bags or vacuum-sealed containers. Remove excess air from the bags by pressing gently or using a vacuum sealer to prevent freezer burn. Label each package with the date stored to track freshness for up to 12 months.
Storage tips for optimal results:
- Divide fiddleheads into 1-cup portions for convenient meal planning
- Use heavy-duty freezer bags rated for long-term storage
- Press bags flat before sealing to maximize freezer space
- Double-bag fiddleheads to provide extra protection
- Store bags flat in a single layer until frozen solid
Freezer organization methods:
- Place newer packages at the back
- Store older packages in front for first use
- Keep bags horizontal to prevent fiddleheads from clumping
- Maintain temperature at 0°F (-18°C) or below
Pro tip: Flash freeze fiddleheads on a baking sheet for 2 hours before transferring to storage bags to prevent them from sticking together.
5. Remove air and freeze”
Place the dried fiddleheads in freezer-safe bags, leaving 1 inch of headspace at the top for expansion. Remove excess air by pressing gently on the bag from bottom to top, then seal tightly. For optimal results, use a vacuum sealer to eliminate all air pockets.
Arrange the sealed bags in a single layer on a flat surface in the freezer. Once frozen solid, stack the bags horizontally to save space. Store fiddleheads at 0°F (-18°C) or below for up to 12 months.
Pro storage tips:
- Label each bag with the date
- Portion into 1-cup servings
- Double-bag for extra protection
- Place newer packages at the back
- Keep bags flat to prevent clumping
For best results, flash freeze fiddleheads:
- Spread on a parchment-lined baking sheet
- Freeze uncovered for 2 hours
- Transfer to storage bags
- Remove air and seal
This individual quick freeze method prevents fiddleheads from sticking together, making it easier to remove small portions as needed for cooking.


