Freezing eggs in ice cube trays offers a practical solution for preserving excess eggs and avoiding food waste. This simple method helps home cooks save money while maintaining a ready supply of eggs for future baking and cooking needs.
Eggs can be frozen in ice cube trays by cracking them individually, beating them lightly, and pouring them into clean ice cube compartments. Once frozen, transfer the egg cubes to freezer bags for storage up to one year.
Smart storage solutions transform everyday kitchen items into versatile tools, and ice cube trays prove perfect for portioning eggs into convenient, ready-to-use servings. With minimal equipment and proper technique, anyone can master this money-saving kitchen hack that professional chefs and home cooks rely on throughout the year.
“1. Crack eggs into bowl
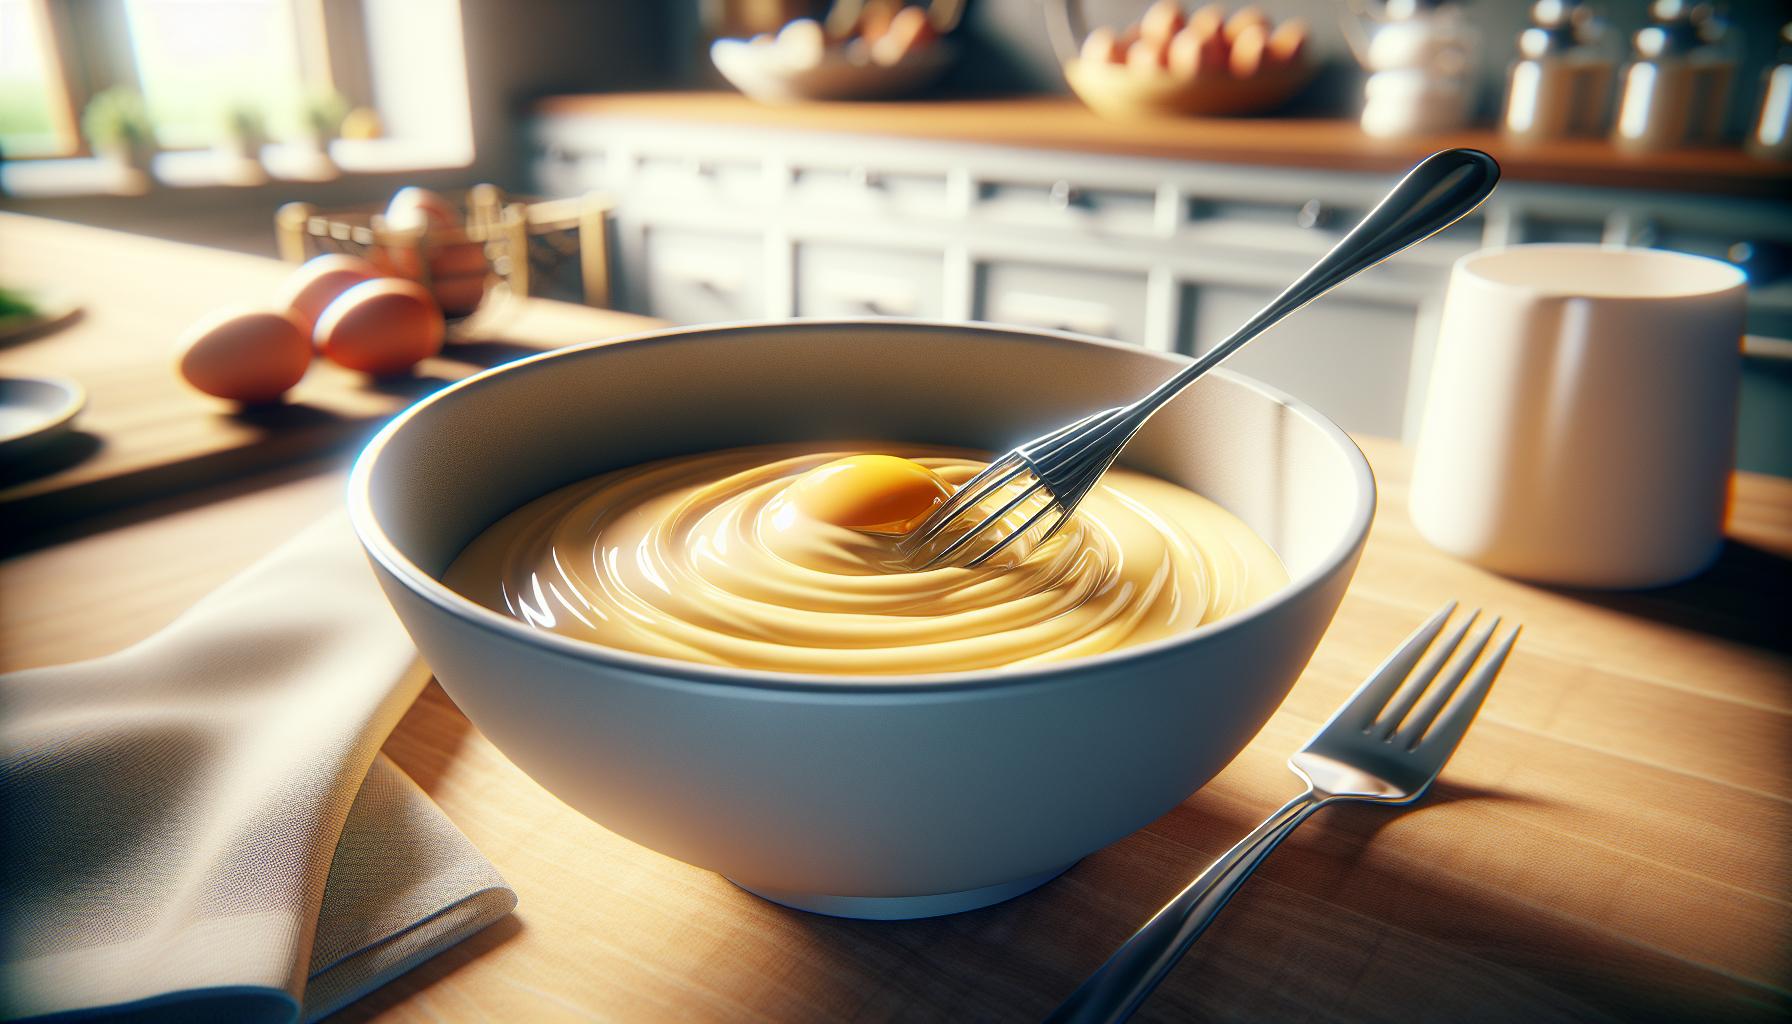
Cracking eggs properly forms the foundation of successful egg freezing. Break each egg into a large mixing bowl, ensuring no shell fragments fall into the mixture. The bowl needs enough space to accommodate multiple eggs plus room for whisking.
A gentle whisking combines the yolks and whites into a uniform mixture. This step prevents the yolks from becoming gelatinous during freezing, which makes them unusable after thawing.
Key steps for cracking and mixing:
- Tap each egg firmly against a flat surface
- Open the shell over the bowl with clean hands
- Remove any shell pieces that fall in
- Whisk until yolks and whites blend together
- Avoid creating air bubbles or foam
| Egg Components | Why Mix Them |
|---|---|
| Egg whites | Prevents separation |
| Egg yolks | Stops gelatin formation |
| Combined mixture | Ensures even freezing |
Note: Eggs with broken yolks mix more easily than those with intact yolks. The goal is a smooth, homogeneous mixture without overbeating.
2. Whisk gently

Crack the eggs into a medium-sized bowl and whisk them with smooth, gentle strokes until the yolks merge completely with the whites. Avoid vigorous beating as it introduces excess air bubbles, which alter the texture of frozen eggs. A uniform mixture ensures proper freezing and maintains egg quality during storage.
Three key whisking techniques:
- Use a fork or whisk in a figure-eight motion
- Break up yolks first, then blend with whites
- Stop mixing once the color appears consistent
| Whisking Method | Effect on Frozen Eggs |
|---|---|
| Gentle Whisking | Smooth, usable texture |
| Vigorous Beating | Air bubbles, grainy texture |
| Under-mixing | Separation during freezing |
The whisked eggs remain suitable for cooking once thawed, matching the consistency of fresh eggs in recipes. Label the mixture to track the number of eggs whisked together, creating precise portions for future use.
3. Pour into ice cube trays

Pour the whisked egg mixture into prepared ice cube trays carefully to avoid spillage. Each standard ice cube compartment holds approximately 2 tablespoons of liquid, equivalent to 1 large whole egg. Fill each compartment leaving 1/4 inch of space at the top to allow for expansion during freezing.
Here’s a measurement guide for precise portioning:
- 1 standard ice cube slot = 1 whole egg
- 2 tablespoons of mixture = 1 large egg
- 1/4 inch headspace = proper expansion room
Tips for pouring:
- Use a small measuring cup or ladle for controlled pouring
- Tap the tray gently on the counter to remove air bubbles
- Wipe any spills immediately to prevent egg from freezing between compartments
- Label each tray with the date and number of eggs used
- Place the filled tray on a level surface in the freezer
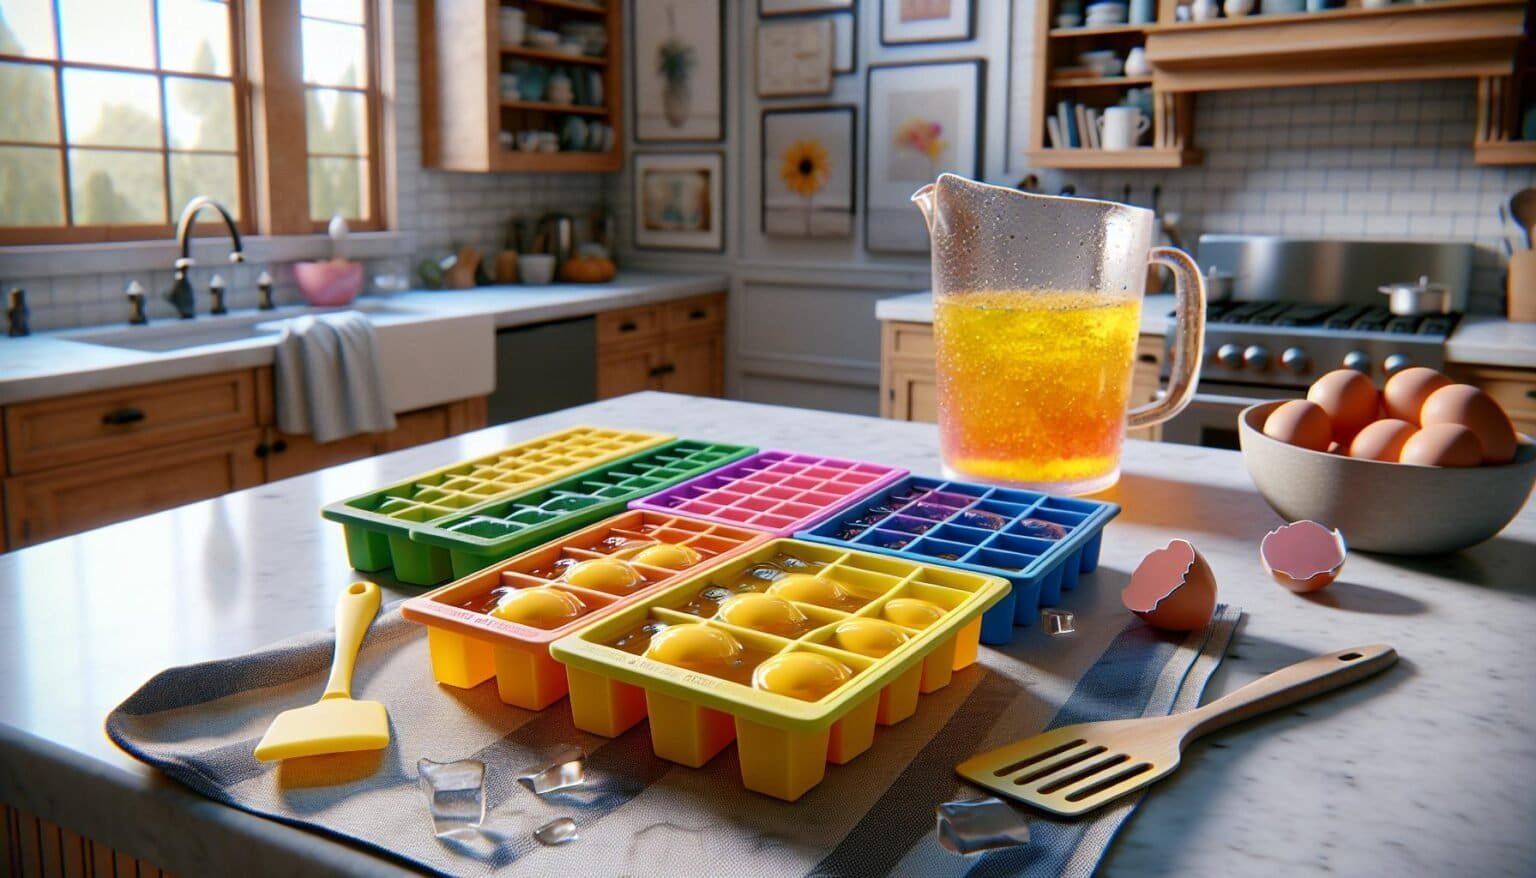
The silicone trays flex easily for transferring the mixture without mess. For regular plastic trays, a spouted measuring cup provides better control while filling the compartments.
4. Freeze until solid

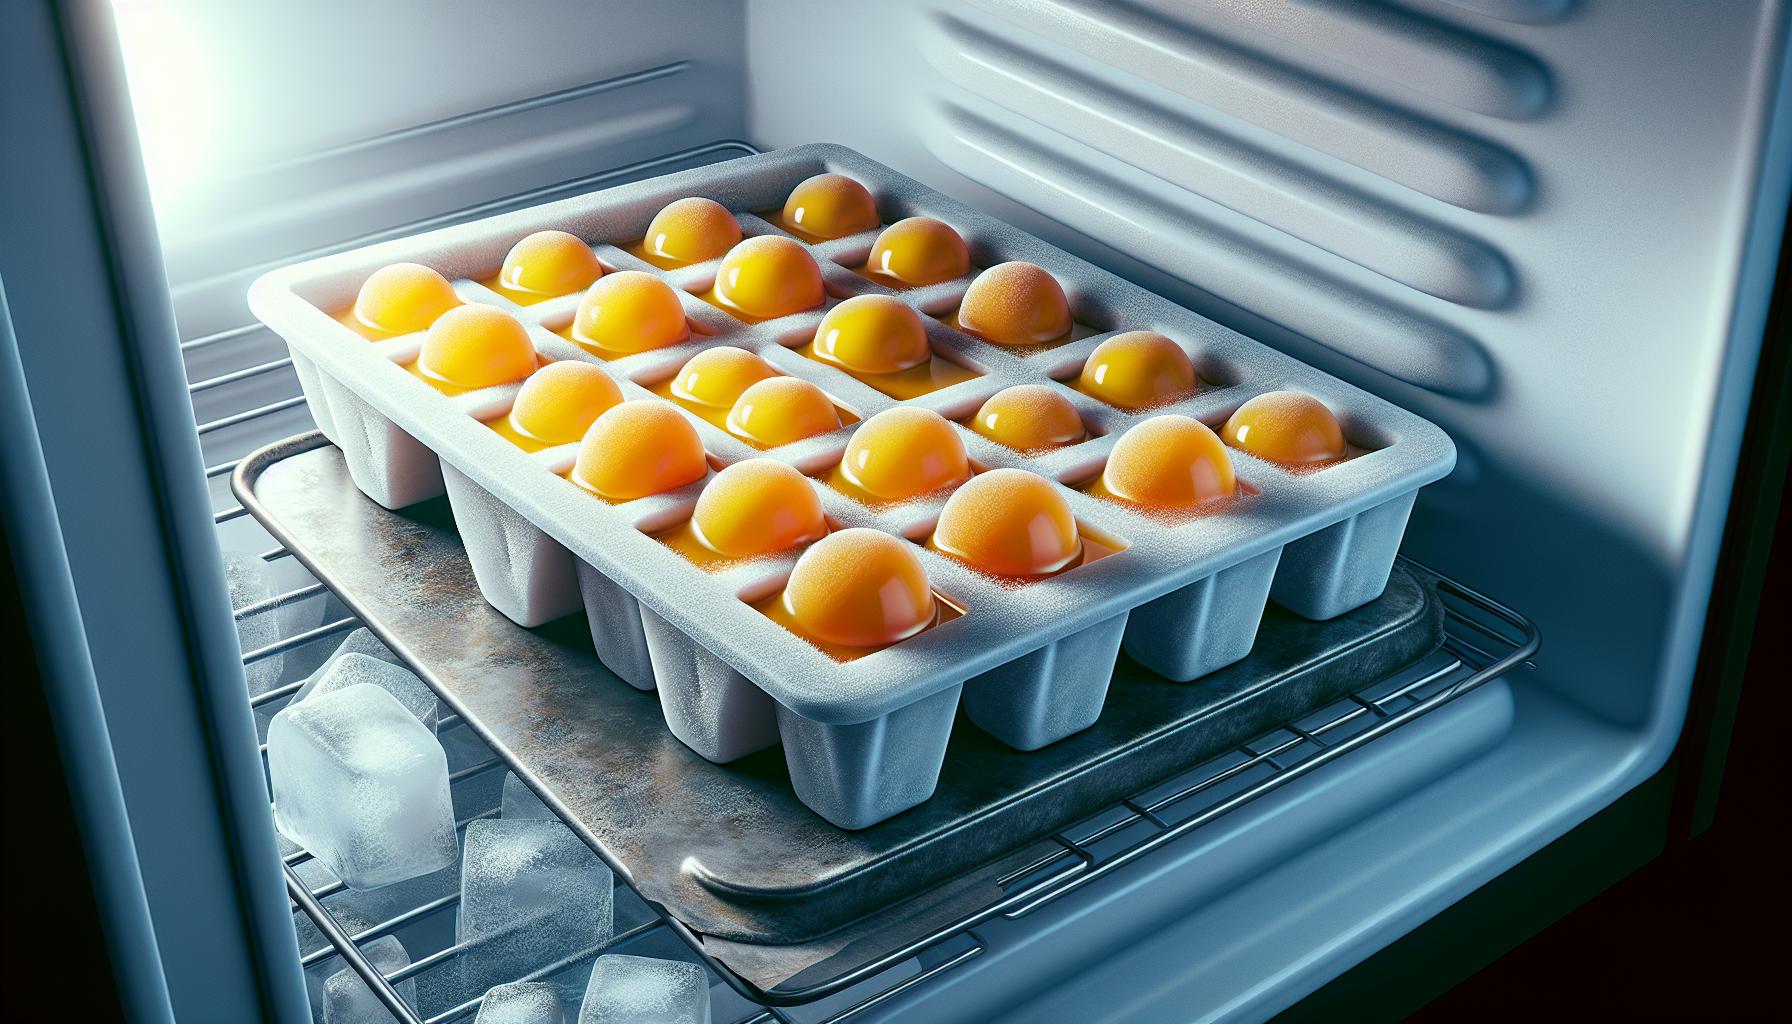
Place the filled ice cube trays on a level surface in the freezer at 0°F (-18°C) for 3-4 hours. The eggs need complete freezing to maintain their quality during storage. A flat position prevents spillage while the mixture solidifies.
Here’s what to look for during the freezing process:
- Edges start freezing first within 1 hour
- Center takes 2-3 hours to completely solidify
- Surface appears matte instead of glossy when frozen
- Texture feels firm with no liquid spots
- Keep trays away from the freezer door to avoid temperature fluctuations
- Place trays on a baking sheet for easier handling
- Check doneness by gently pressing the center with a finger
- Remove any ice crystals that form on top
Once frozen solid, the egg cubes maintain their shape during transfer to storage containers. Each standard ice cube compartment holds about 2 tablespoons or 1 large whole egg equivalent for easy measuring later.
5. Transfer to freezer bags”
Pop out frozen egg cubes from the ice cube trays by twisting or flexing the tray gently. Place the frozen egg cubes into labeled freezer bags immediately after removal. Mark each bag with:
- Date of freezing
- Number of eggs per cube
- Total number of cubes
Remove excess air from the freezer bags before sealing to prevent freezer burn. Press the bag flat starting from the bottom while gradually zipping it closed. Stack the filled freezer bags horizontally to maximize freezer space.
Storage guidelines for frozen eggs:
| Storage Method | Maximum Storage Time | Temperature |
|---|---|---|
| Freezer Bags | 12 months | 0°F (-18°C) |
Store frozen egg cubes away from foods with strong odors. Place heavier items underneath the egg bags to prevent crushing. The frozen eggs maintain optimal quality for cooking when stored at a consistent temperature.


