Freeze-drying Jolly Ranchers transforms these beloved hard candies into a unique, crunchy treat that melts instantly in your mouth. This innovative candy modification has gained popularity among food enthusiasts and DIY snack creators looking to experiment with different textures and flavors.
Freeze-drying Jolly Ranchers requires a freeze-dryer machine to remove moisture through sublimation, creating a light, crispy texture while maintaining the candy’s intense flavor and bright colors. The process typically takes 20-24 hours but yields remarkable results.
The science behind freeze-drying these colorful candies involves carefully controlling temperature and pressure to preserve their original shape while completely altering their texture. Food enthusiasts and curious candy lovers can master this technique with the right equipment and attention to detail.
“1. Place candies on freeze dryer tray
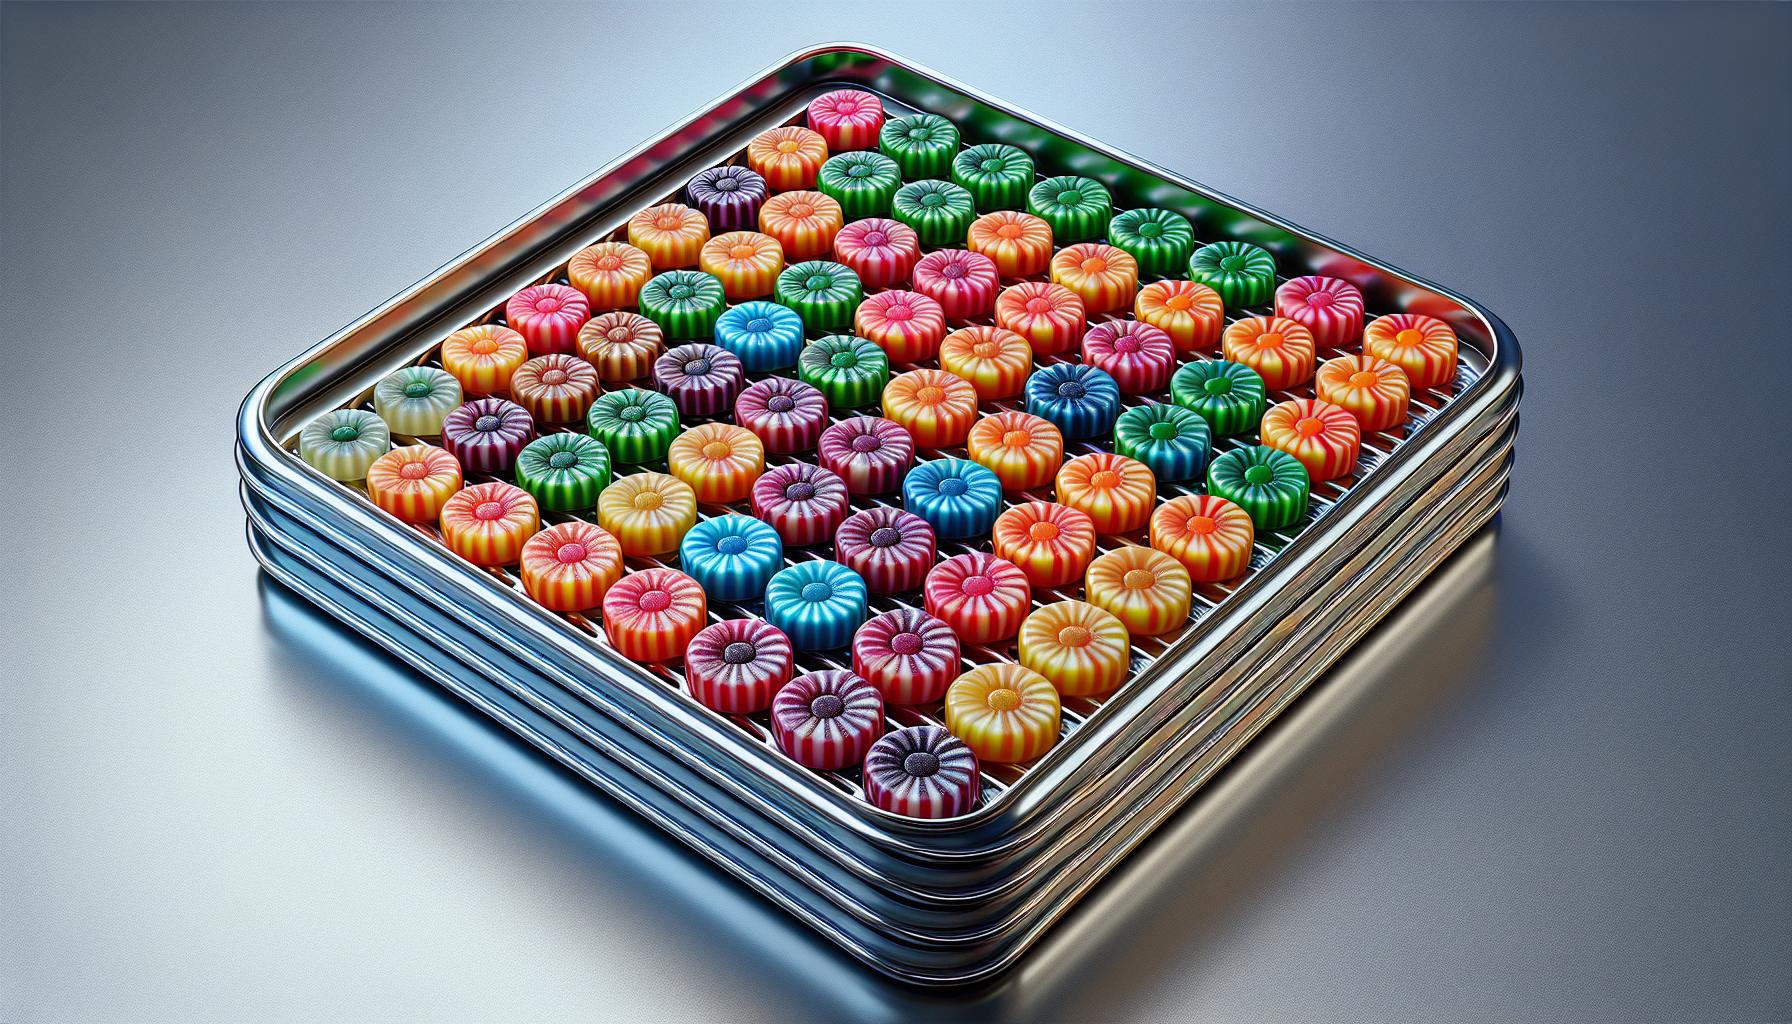
Spacing Jolly Ranchers correctly on freeze dryer trays creates optimal drying conditions. Place unwrapped candies 1 inch apart on each tray to allow proper airflow between pieces. Cut larger Jolly Ranchers in half before arranging them to maximize tray space while maintaining consistent drying.
Here’s the optimal arrangement pattern:
- Place candies flat side down
- Leave gaps between each piece
- Align pieces in straight rows
- Avoid overlapping edges
- Position similar flavors together
| Tray Size | Maximum Candy Count | Processing Time |
|---|---|---|
| Standard | 20-25 whole pieces | 20-24 hours |
| Standard | 35-40 half pieces | 18-22 hours |
Pre-cooling the trays in the freezer for 15 minutes prevents the candies from sticking during placement. Remove any broken pieces or candy dust from the trays before loading to maintain even freeze-drying results.
2. Space evenly, not touching

Proper spacing of Jolly Ranchers creates optimal freeze-drying conditions for each piece. Place each candy 1 inch apart on the freeze dryer trays to prevent sticking or clumping during the process.
Here’s the spacing layout for maximum efficiency:
- Arrange candies in straight rows
- Position flat side down
- Leave 1-inch gaps between pieces
- Avoid overlapping edges
- Create uniform spacing in all directions
The spacing requirements reduce the total number of candies per tray:
| Tray Size | Maximum Candy Count |
|---|---|
| Standard (18″ x 20″) | 35-40 pieces |
| Small (14″ x 16″) | 20-25 pieces |
Pre-cooling the trays for 15 minutes before arranging the candies prevents immediate melting or sticking. Large Jolly Ranchers benefit from being cut in half prior to placement, ensuring even freeze-drying throughout each piece.
3. Run freeze dry cycle (15-20 hours)

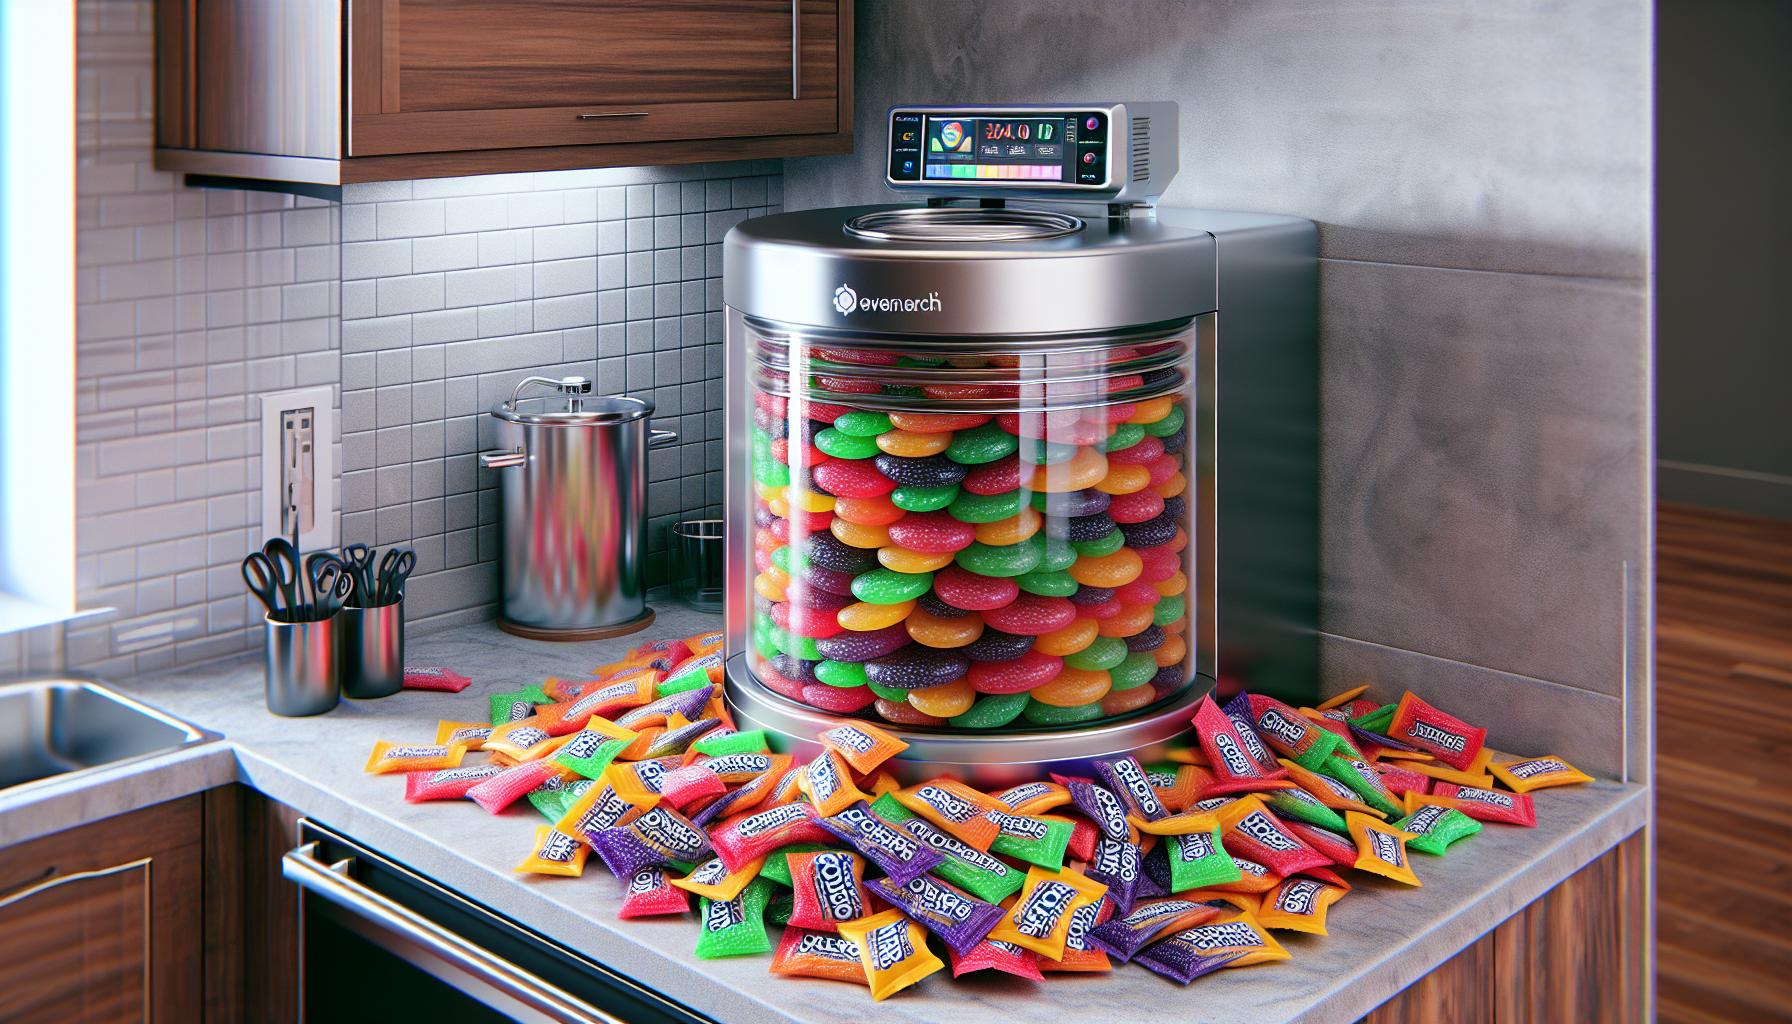
The freeze-drying cycle starts with a 15-minute chamber freezing period followed by the candy mode activation. During the initial phase, the freeze dryer maintains a temperature of 150°F to preserve the Jolly Ranchers’ vibrant colors.
Here’s a breakdown of the cycle times:
| Phase | Duration | Temperature |
|---|---|---|
| Initial Freeze | 15 minutes | Below 32°F |
| Drying Phase | 3-6 hours | 150°F |
| Final Phase | 11-14 hours | 150°F |
The machine operates continuously through these phases:
- Primary Stage: Freezes candies completely solid
- Vacuum Stage: Removes air creating optimal drying conditions
- Heating Phase: Maintains 150°F temperature throughout
- Monitoring Phase: Machine indicates completion when moisture extraction ends
The process continues automatically until the candy reaches its optimal dried state. The freeze dryer’s digital display shows real-time progress including temperature pressure readings. This automated cycle ensures consistent results across batches while preserving the candy’s structural integrity.
4. Check for complete dryness

Testing freeze-dried Jolly Ranchers for proper dryness involves three clear indicators:
- Physical Touch Test
- The candies feel completely dry with no sticky spots
- Break one piece in half – it snaps cleanly without flexibility
- Surface texture appears matte rather than glossy
- Temperature Check
- Candies reach room temperature
- No cold spots remain when touched
- Even temperature distribution throughout each piece
- Visual Inspection
- Color remains vibrant without dark or wet patches
- No visible condensation inside the candy
- Uniform appearance across all pieces
| Testing Method | Pass Criteria | Fail Criteria |
|---|---|---|
| Touch | Snaps cleanly | Bends or feels sticky |
| Temperature | Room temp (68-72°F) | Cold spots present |
| Visual | Even color | Dark/wet patches |
A properly freeze-dried Jolly Rancher transforms into a light, crispy texture while maintaining its original flavor profile. When tapped against a hard surface, it produces a distinct hollow sound. If any moisture remains, return the trays to the freeze dryer for an additional 30-minute drying cycle at 150°F.
5. Store in airtight container”
Properly storing freeze-dried Jolly Ranchers requires airtight containers to maintain their crispy texture. A vacuum-sealed bag or Mason jar with a tight-fitting lid creates an optimal storage environment. Glass containers with rubber gasket seals protect the candies from moisture exposure that causes them to become sticky or lose their crunch.
Storage tips for freeze-dried Jolly Ranchers:
- Place moisture absorbers or food-grade silica packets in containers
- Store at room temperature (65-75°F)
- Keep containers away from direct sunlight
- Label containers with freeze-drying date
- Separate different flavors to prevent taste mixing
The storage containers must remain sealed between uses to prevent humidity absorption. Properly stored freeze-dried Jolly Ranchers maintain their quality for up to 12 months. Opening the container exposes the candies to air, reducing shelf life to 2-3 weeks even when resealed.
| Storage Method | Shelf Life | Temperature |
|---|---|---|
| Vacuum Sealed | 12 months | 65-75°F |
| Mason Jar | 6-8 months | 65-75°F |
| Opened Container | 2-3 weeks | 65-75°F |


