Freeze-drying food at home doesn’t require expensive equipment or professional expertise. While commercial freeze dryers can cost thousands of dollars, several alternative methods can achieve similar results using common household items and simple techniques.
Freeze-drying food without a machine involves using a combination of your regular freezer, dry ice, and proper storage containers. This process helps remove moisture from food while preserving its nutrients, flavor, and texture – making it ideal for long-term food storage.
Professional freeze dryers may offer more consistent results, but DIY methods can still effectively preserve various foods from fruits and vegetables to complete meals. These budget-friendly alternatives help make food preservation accessible to anyone interested in building their emergency supplies or reducing food waste.
“1. Pre-freeze food completely
Pre-freezing establishes the foundation for successful home freeze-drying. The process starts with proper food preparation before placing items in the freezer.
- Food Preparation Steps:
- Clean food thoroughly under running water
- Cut into uniform 1/4-inch pieces
- Remove any damaged sections
- Pat dry with paper towels
- Freezing Setup:
- Arrange pieces on stainless steel baking sheets
- Keep 1/2 inch space between pieces
- Line trays with parchment paper
- Place in single layers only
The freezer temperature requires adjustment to its lowest setting, typically -10°F or below. Proper spacing between food pieces allows cold air circulation, creating optimal conditions for moisture removal through sublimation.
| Food Type | Pre-freeze Time | Temperature |
|---|---|---|
| Fruits | 24 hours | -10°F |
| Vegetables | 48 hours | -10°F |
| Meats | 72 hours | -10°F |
Monitor the freezing process every 8 hours during the initial freeze. The food transforms into solid, completely frozen pieces with a matte appearance when ready for the next phase.
2. Place in vacuum chamber

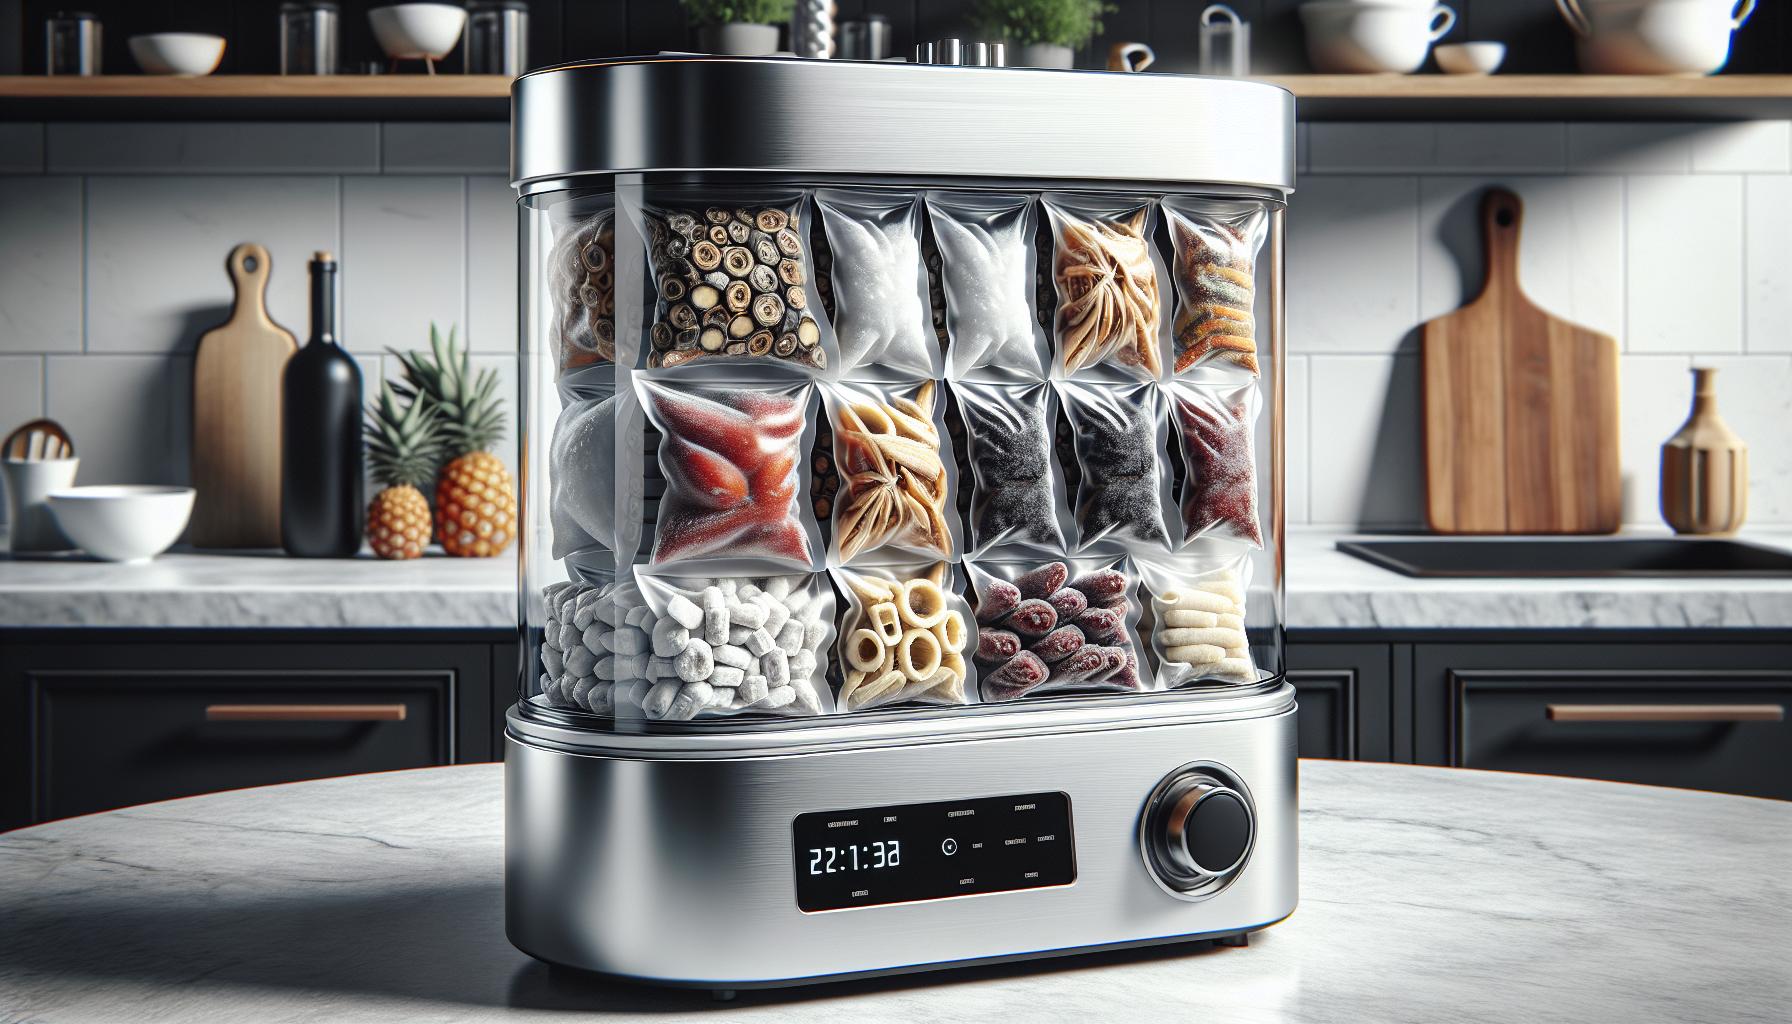
Place the frozen food items in a vacuum chamber or vacuum-sealed bag to remove remaining moisture through sublimation. A standard vacuum sealer with freezer-safe bags creates an optimal environment for the sublimation process.
Here’s what to monitor during the vacuum process:
- Air removal: Ensure all air pockets around the food disappear
- Seal integrity: Check for complete, unbroken seals on all edges
- Food spacing: Keep items separated to prevent clumping
- Temperature: Maintain freezing conditions during transfer
For larger quantities:
| Container Type | Maximum Capacity | Process Duration |
|---|---|---|
| Vacuum Bags | 2-3 pounds | 4-6 hours |
| Chamber Sealer | 5-7 pounds | 6-8 hours |
| Manual Pump | 1-2 pounds | 2-3 hours |
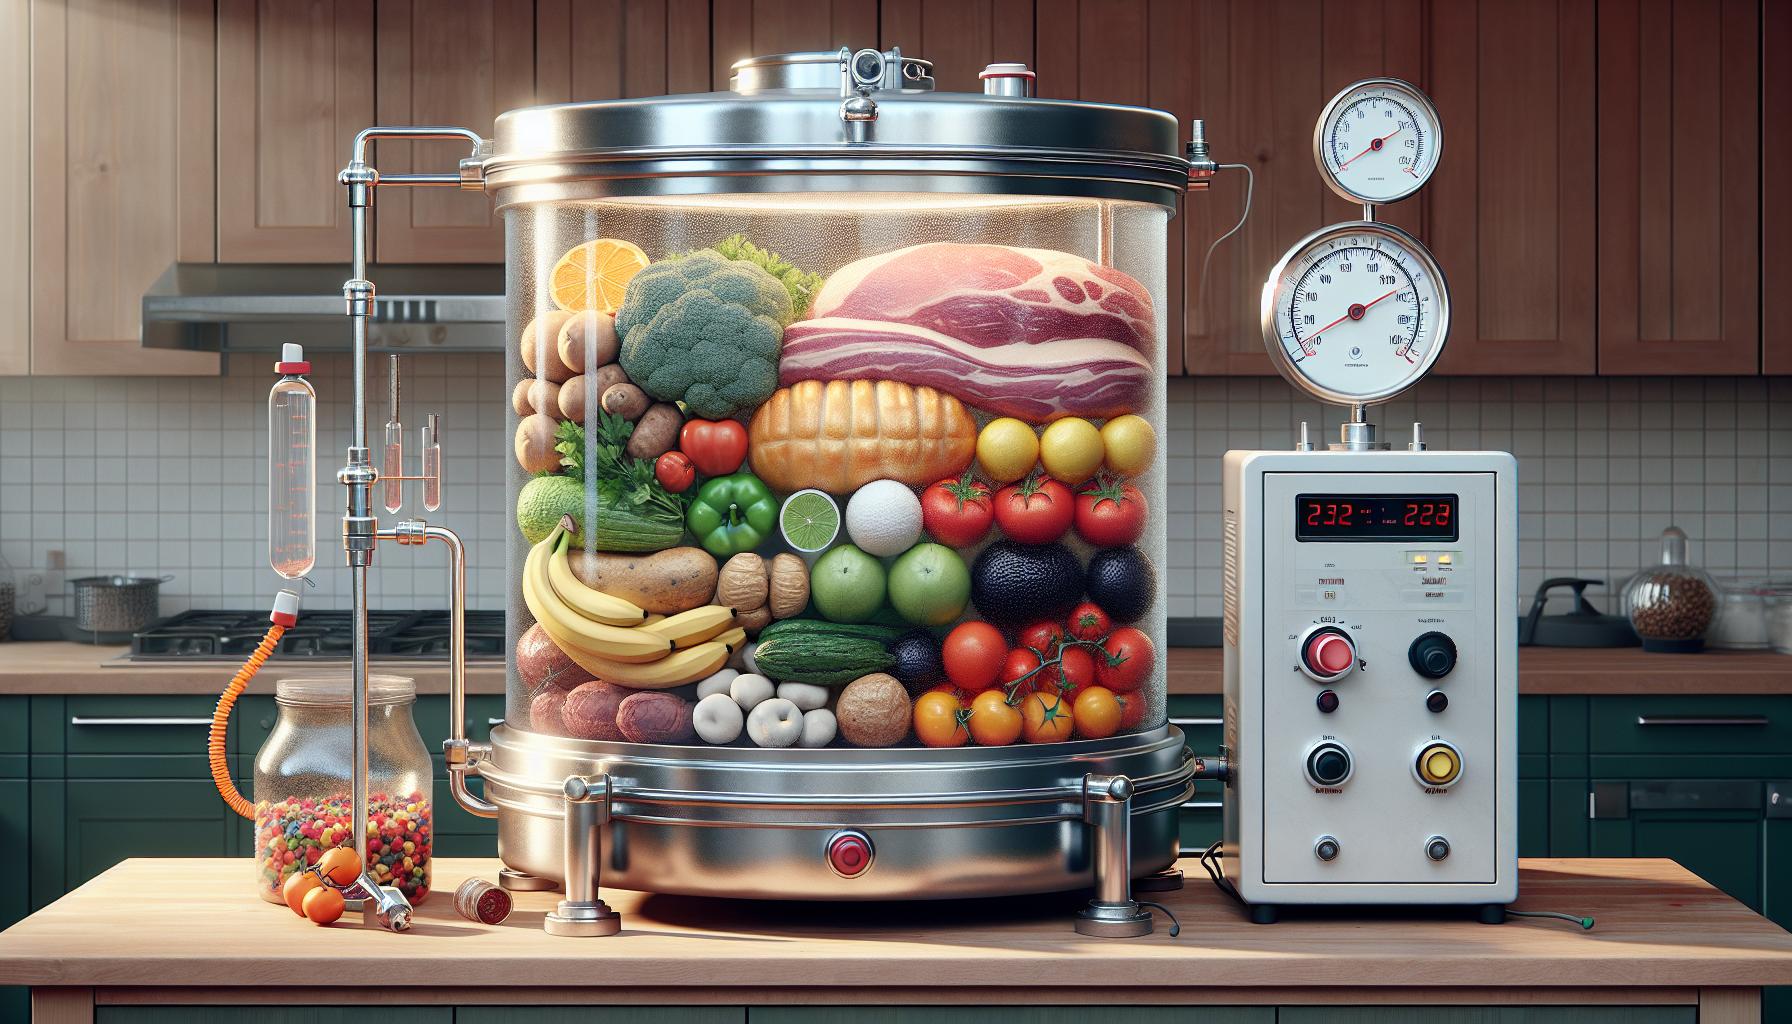
The vacuum chamber phase extracts remaining moisture through pressure changes, preserving the food’s cellular structure. A vacuum pressure of 10-100 millitorr produces optimal results. Multiple vacuum cycles enhance moisture removal, with 3-4 cycles typically sufficient for most foods.
3. Add desiccant packets

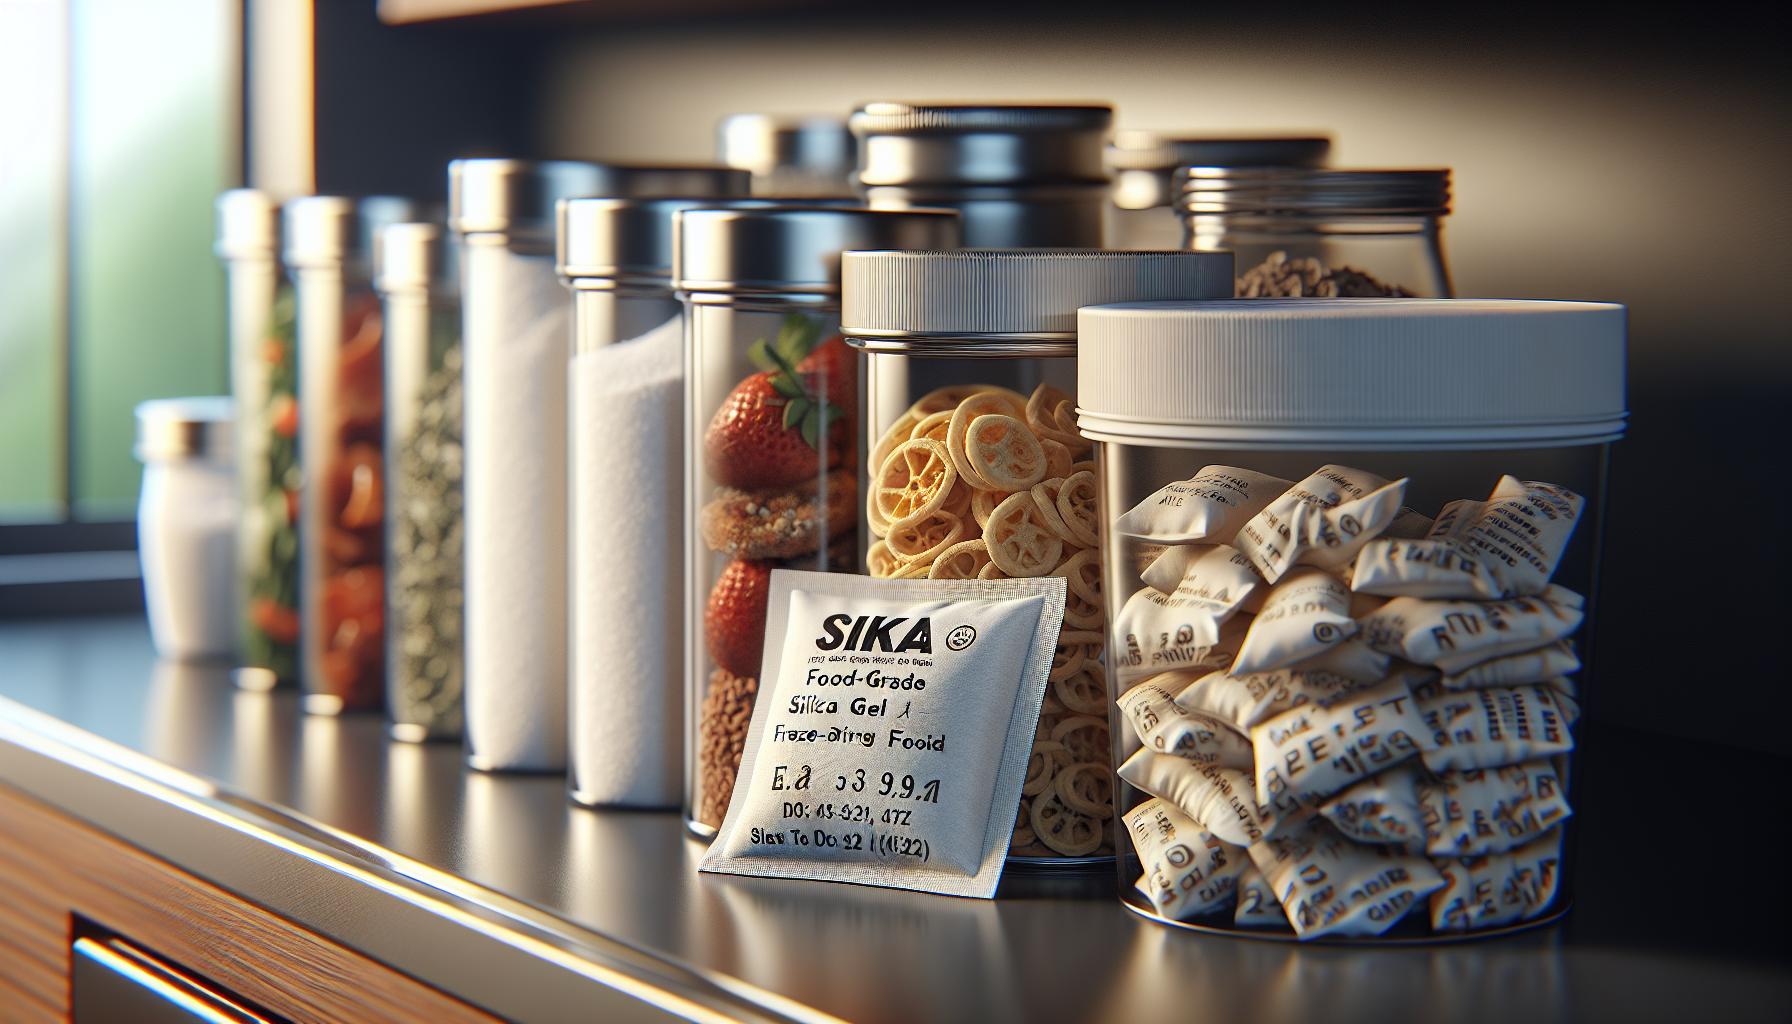
Desiccant packets play a vital role in the home freeze-drying process by absorbing residual moisture. Food-grade silica gel packets create an ultra-dry environment inside storage containers, preventing moisture from rehydrating freeze-dried foods.
Place 2-3 silica gel packets at the bottom of each storage container before adding the frozen food. For optimal moisture absorption, use:
- 5-gram packets for containers under 32 ounces
- 10-gram packets for containers up to 64 ounces
- 20-gram packets for containers over 64 ounces
Critical tip: Position the desiccant packets strategically around the food items, not directly touching them. This creates an even distribution of moisture absorption throughout the container.
Replace desiccant packets every 3-4 months to maintain their effectiveness. Look for color-indicating silica gel that changes from blue to pink when saturated with moisture, signaling time for replacement.
Note: Only use food-safe desiccants marked explicitly for food storage. Regular craft or packaging desiccants contain harmful chemicals unsuitable for food preservation.
4. Maintain vacuum 24-48 hours

Maintaining constant vacuum pressure removes water molecules through sublimation during the freeze-drying process. The food items remain inside the vacuum chamber for 24-48 hours, depending on their moisture content. Dense vegetables require 48 hours while fruits typically complete in 24 hours.
Key monitoring points during vacuum maintenance:
- Check chamber pressure every 4-6 hours
- Look for frost accumulation on food surfaces
- Ensure temperature stays below freezing
- Monitor vacuum seal integrity
- Note any changes in food appearance
A vacuum gauge indicates successful moisture removal when readings stabilize. Foods appear lighter in weight with a dry, porous texture. Remove items from the chamber after the recommended time period only if they feel completely dry to touch with no ice crystals present.
| Food Type | Vacuum Time |
|---|---|
| Fruits | 24 hours |
| Vegetables | 36 hours |
| Meat | 48 hours |
| Fish | 48 hours |
5. Store in airtight containers”
Proper storage transforms freeze-dried food into long-lasting provisions. Transfer the fully dried food into food-grade containers with airtight seals within 30 minutes of completing the drying process. Here’s the optimal storage approach:
- Use mylar bags with oxygen absorbers for items lasting 12+ months
- Select glass mason jars with rubber gaskets for 6-8 month storage
- Pack vacuum-sealed bags for items consumed within 3 months
Critical storage parameters include:
| Factor | Requirement |
|---|---|
| Temperature | Below 75°F |
| Humidity | Under 15% |
| Light Exposure | Minimal to none |
| Container Fill | 80% maximum |
Label each container with:
- Item name
- Freeze-dry date
- Expected shelf life
- Original weight
- Rehydration instructions
Position containers in a dark pantry or cabinet away from heat sources such as ovens stoves or direct sunlight. Check seals monthly for integrity by pressing gently on container lids – any air release indicates compromised storage.


