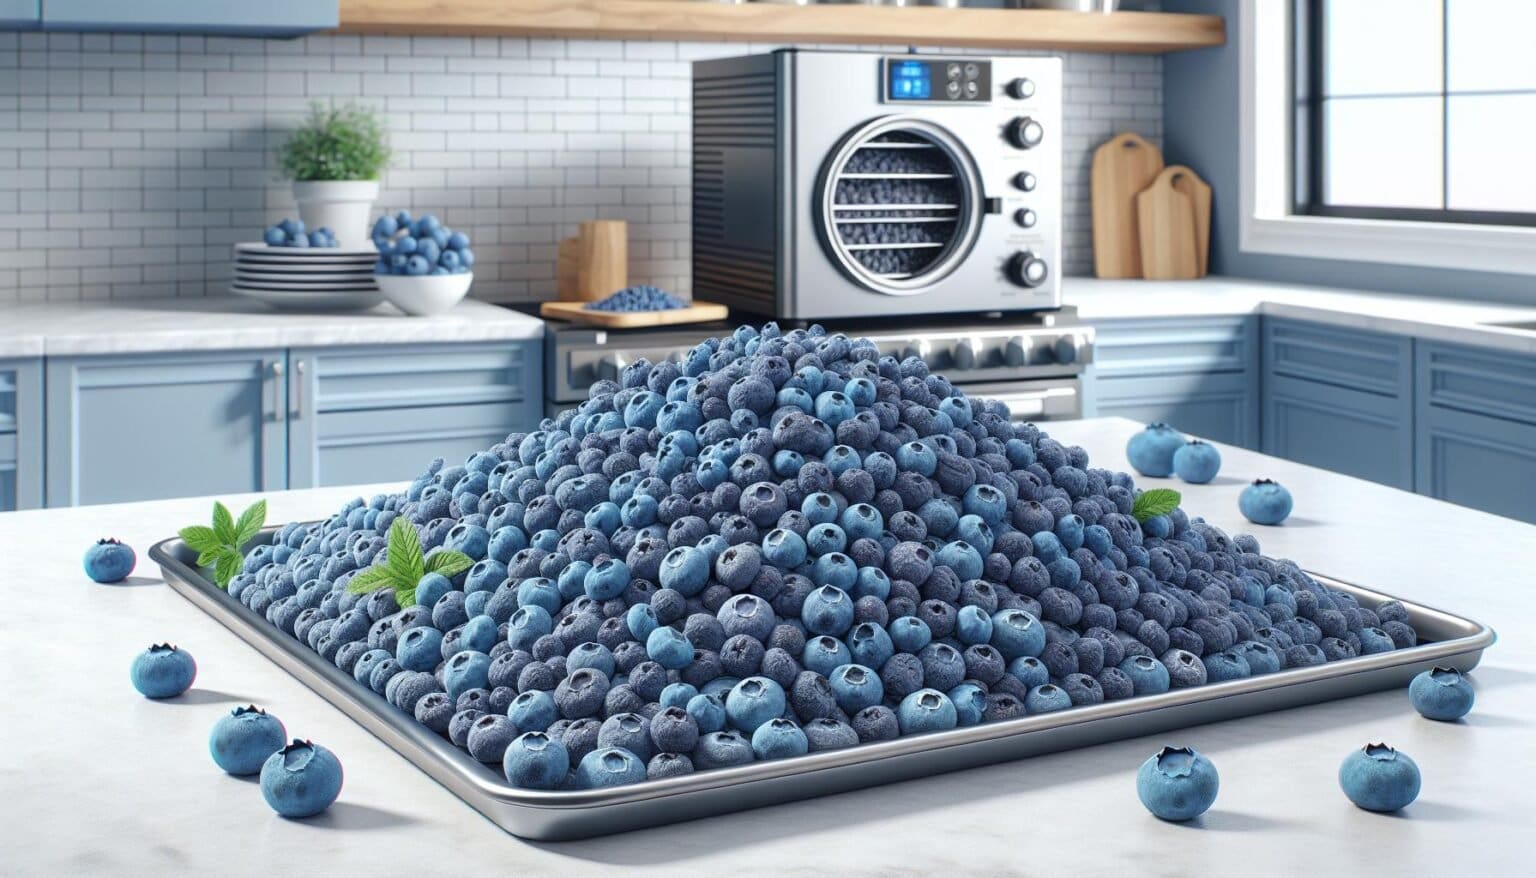
Freeze-drying blueberries preserves their vibrant color, sweet flavor and nutritional benefits while creating a lightweight, shelf-stable snack that can last for years. This method removes moisture through sublimation, transforming fresh berries into crispy gems perfect for baking, smoothies, or trail mix.
Freeze-drying blueberries requires either a home freeze-dryer or professional service. The process takes 20-40 hours and involves freezing the berries at extremely low temperatures before gradually removing moisture through vacuum pressure and controlled heat.
While conventional freezing can lead to mushy berries, freeze-drying maintains their original shape and concentrated flavor profile. Modern home freeze-dryers have made this commercial preservation technique accessible to households looking to store seasonal blueberries for long-term use.
“1. Clean and sort berries
Fresh blueberries require thorough cleaning before freeze-drying begins. Rinse the berries under cool running water to remove dirt particles pesticide residue debris. Place them in a colander to drain excess water.
Essential sorting steps:
- Remove stems leaves twigs
- Discard moldy damaged berries
- Select firm ripe berries with uniform size
- Pat dry with paper towels or lint-free cloth
| Characteristic | Ideal Condition |
|---|---|
| Color | Deep blue with silvery bloom |
| Texture | Firm not soft |
| Size | Medium to large (1/4 – 1/2 inch) |
| Ripeness | Fully ripe not overripe |
Once cleaned patted dry spread the berries in a single layer on a clean dry surface. Inspect each berry for punctures splits which affect the freeze-drying process. Set aside any berries showing signs of damage to ensure optimal results during freezing.
2. Place on freeze dryer trays

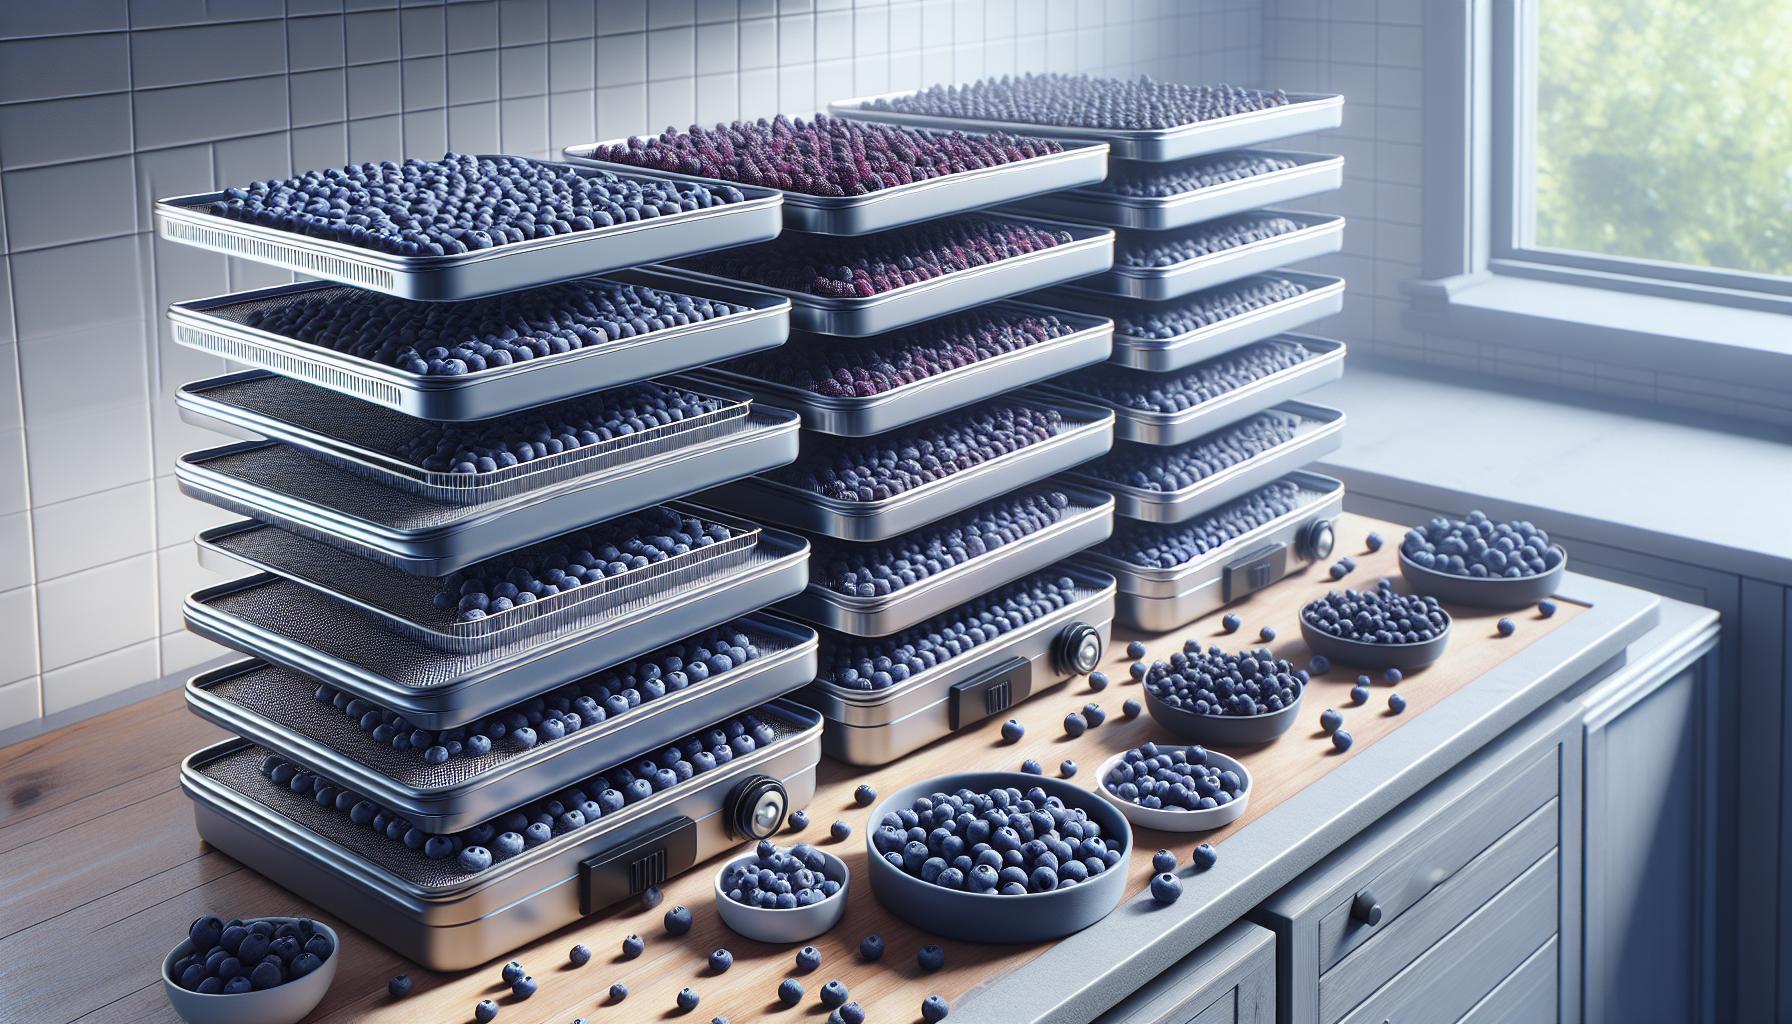
Arrange the prepared blueberries in a single layer on freeze dryer trays, leaving 1/4 inch of space between each berry for optimal airflow. Place pierced or halved berries cut-side up to enhance moisture removal during the process.
Here’s how to position blueberries correctly:
- Space berries evenly across the tray surface
- Avoid stacking or overlapping fruit
- Fill trays to capacity while maintaining proper spacing
- Remove any crushed or damaged berries
- Check tray edges for proper clearance
Each tray holds approximately:
| Tray Size | Capacity |
|---|---|
| Standard (15″ x 15″) | 2-3 cups |
| Large (18″ x 18″) | 4-5 cups |
- Ensure trays are clean & dry
- Level trays to prevent rolling
- Position berries away from tray edges
- Balance weight distribution across trays
- Load trays directly into freeze dryer after arranging
3. Run freeze dry cycle (24-36 hours)

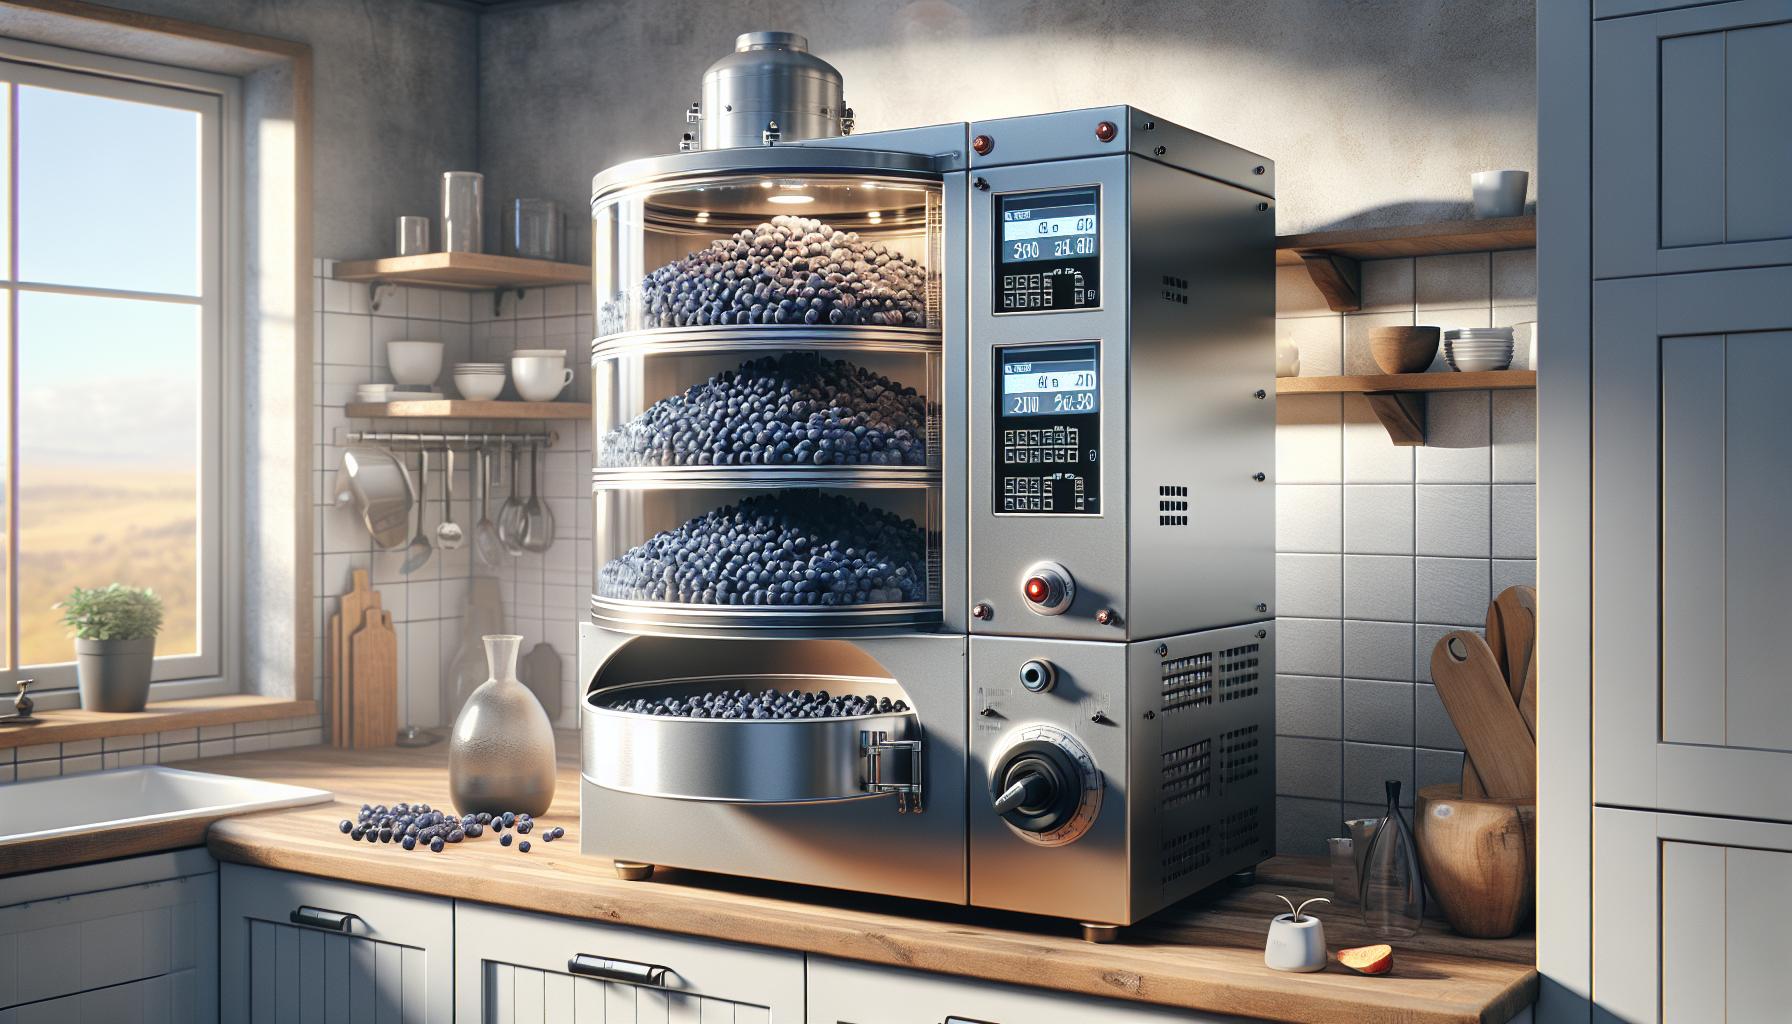
The freeze-dry cycle operates through distinct temperature phases to extract moisture from blueberries effectively. A standard freeze-drying cycle consists of three main stages:
Initial Freeze: -40°F (-40°C) for 9-12 hours
Primary Drying: -10°F (-23°C) for 12-16 hours
Final Drying: 20°F (-6°C) for 3-8 hours
The machine monitors internal pressure settings automatically, maintaining optimal conditions throughout each phase. During the process, blueberries transform from frozen to completely dry while retaining their original shape size.
Key monitoring points during the cycle:
- Check chamber pressure remains at 500-1000 millitorr
- Monitor temperature readings stay within programmed ranges
- Observe condensing unit frost patterns
- Watch for completion indicator lights
Signs of completion include:
- Berries feel completely dry with no cold spots
- Break test shows crisp snap rather than bend
- No visible frost or ice crystals remain
- Internal temperature reaches final stage setting
- Initial moisture content
- Batch size
- Whether berries were pre-frozen
- Ambient humidity levels
- Machine capacity specifications
4. Check for complete dryness

Testing freeze-dried blueberries for complete dryness involves three specific methods. The snap test determines readiness by breaking a berry in half – properly dried blueberries snap cleanly with a crisp sound. The temperature test requires checking that berries are at room temperature with no cold spots. The visual inspection confirms berries appear light purple with a matte finish.
Here’s a reliable testing process:
- Select several berries from different tray locations
- Press firmly between fingers – no moisture should release
- Break berries in half to check internal moisture
- Look for consistent color throughout
- Verify absence of cold or frozen sections
| Moisture Test | Pass Criteria | Fail Criteria |
|---|---|---|
| Snap Test | Clean break, crisp sound | Bends, tears, or feels rubbery |
| Temperature | Room temp throughout | Cold spots or varying temps |
| Visual Check | Matte finish, light purple | Shiny spots, dark patches |
A batch requires additional drying time if any berries fail these tests. Testing multiple berries from various tray locations ensures consistent results across the entire batch.
5. Store in airtight containers”
Freeze-dried blueberries require proper storage in airtight containers to maintain their quality for 15-20 years. Glass mason jars with oxygen absorbers offer optimal protection against moisture. Here’s a practical storage approach:
- Use food-grade mylar bags with 300cc oxygen absorbers for long-term storage
- Select glass containers with rubber-sealed lids for pantry storage
- Pack smaller portions in vacuum-sealed bags for regular use
Storage Container Options:
| Container Type | Storage Duration | Best Usage |
|---|---|---|
| Mylar Bags | 15-20 years | Long-term storage |
| Mason Jars | 2-5 years | Pantry storage |
| Vacuum Bags | 6-12 months | Regular use |
Store containers in a cool dark place at 65-70°F. Label each container with the packaging date for proper rotation. Monitor containers for signs of moisture – any cloudiness indicates compromised seals requiring immediate repackaging.
Handle stored berries with dry utensils to prevent moisture introduction. Open containers release stored berries’ crispness within 4-6 hours due to humidity exposure.


