Freezing crepes preserves their delicate texture and allows home cooks to enjoy these delightful French treats anytime. Whether made in bulk for future breakfasts or prepared ahead for special occasions storing crepes properly ensures they maintain their quality and taste.
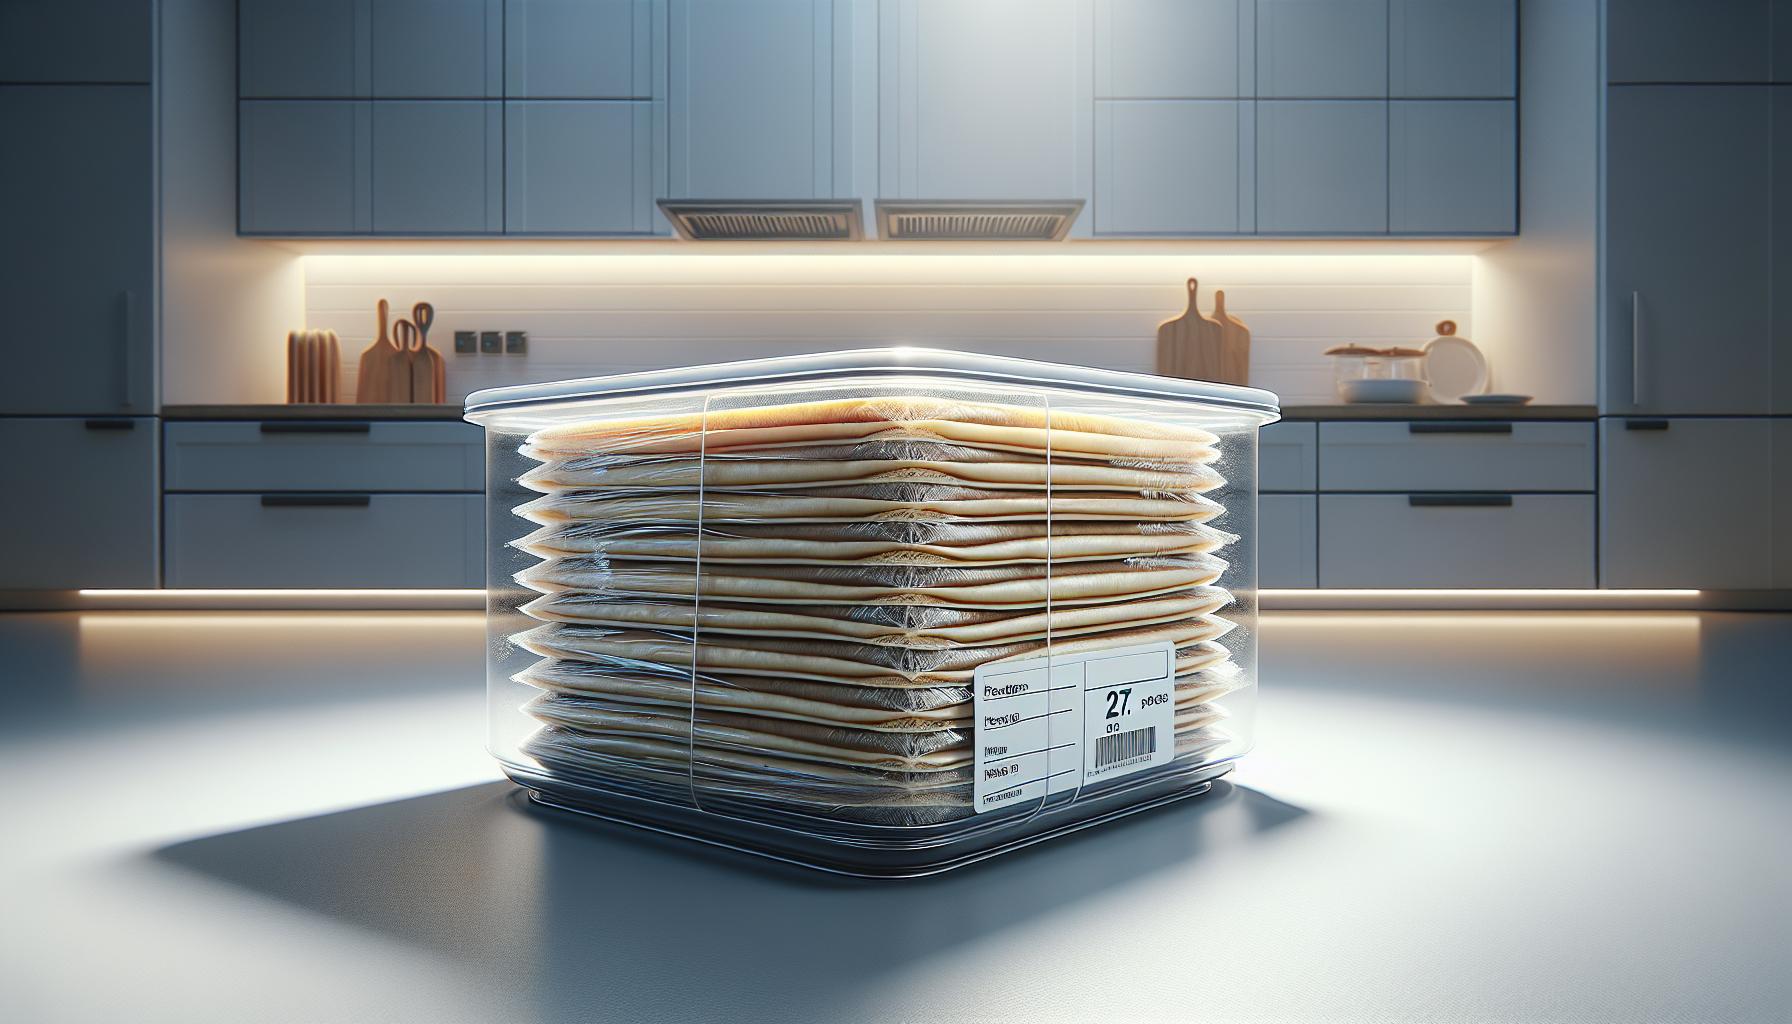
The best way to freeze crepes is to stack them with wax paper between each layer wrap them tightly in plastic wrap and aluminum foil then place them in an airtight container or freezer bag. When stored correctly crepes stay fresh for up to 2 months in the freezer.
These versatile thin pancakes defrost quickly and can be filled with sweet or savory ingredients making them perfect for meal prep. With the right freezing technique their signature light and tender texture remains intact ready to transform into elegant dishes at a moment’s notice.
“1. Cool crepes completely
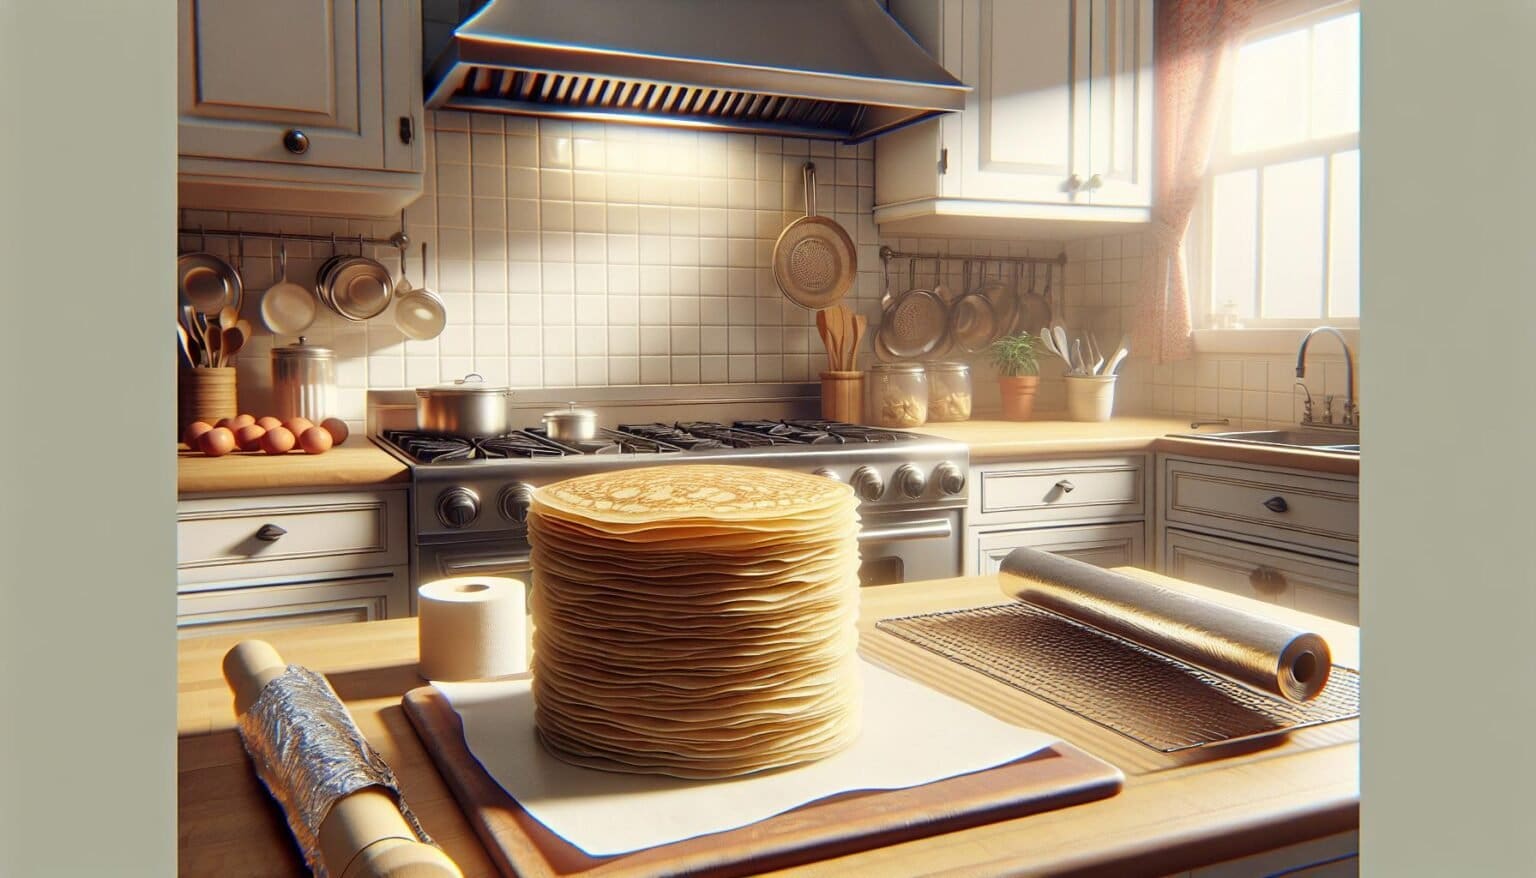
Proper cooling prevents moisture buildup between crepes during freezing. Place each freshly cooked crepe on a wire rack in a single layer at room temperature for 30 minutes. A cooling rack allows air circulation beneath the crepes, preventing condensation from forming.
Here’s how to check if crepes are properly cooled:
- Touch the surface – it should feel room temperature
- Check for steam – none should be visible
- Lift edges – no moisture should appear underneath
- Test flexibility – crepes should bend without sticking
⚠️ Common cooling mistakes to avoid:
- Stacking crepes while warm
- Covering with plastic wrap before cooling
- Placing in the refrigerator immediately
- Rushing the cooling process
The cooling process creates a barrier against freezer burn by removing excess moisture. Properly cooled crepes maintain their delicate texture through the freezing process. Testing each crepe’s temperature before stacking ensures consistent results.
2. Layer with wax paper

Cut sheets of wax paper or parchment paper to fit between each crepe. Place a protective layer on the bottom of the stack before adding the first crepe. Position paper between each crepe as you stack them, ensuring complete coverage to prevent sticking. Add a final protective sheet on top of the last crepe.
- Cut paper slightly larger than the crepes for full coverage
- Press gently to remove air bubbles between layers
- Align crepes consistently in the center of each paper
- Keep edges of paper neat and even for proper stacking
The layering technique creates barriers that stop the crepes from freezing together. This method enables easy removal of individual crepes when needed, preserving their delicate texture. The papers also absorb any excess moisture during the freezing process.
| Paper Options | Benefits |
|---|---|
| Wax Paper | Non-stick surface, moisture resistant |
| Parchment Paper | Heat resistant, naturally non-stick |
| Paper Towels | Moisture absorbing, economical |
3. Wrap stack in plastic

Wrap the cooled crepe stack tightly in plastic wrap using a double-layer technique for maximum protection. Create the first layer by wrapping the stack horizontally then add a second layer vertically to ensure complete coverage. Place the wrapped stack in a freezer-safe container or heavy-duty freezer bag.
Three effective wrapping methods include:
- Direct plastic wrap around the entire stack
- Plastic wrap on a freezer-safe plate before placing in container
- Half-fold method for small batches in zip-top bags
Remove excess air from the container or bag before sealing to prevent freezer burn. Label the package with:
- Date of freezing
- Number of crepes
- Type of crepes (if multiple varieties)
The tight plastic wrap creates an airtight seal that protects the crepes’ delicate texture during freezing. This method preserves freshness while preventing moisture from forming ice crystals between layers.
4. Place in freezer bag

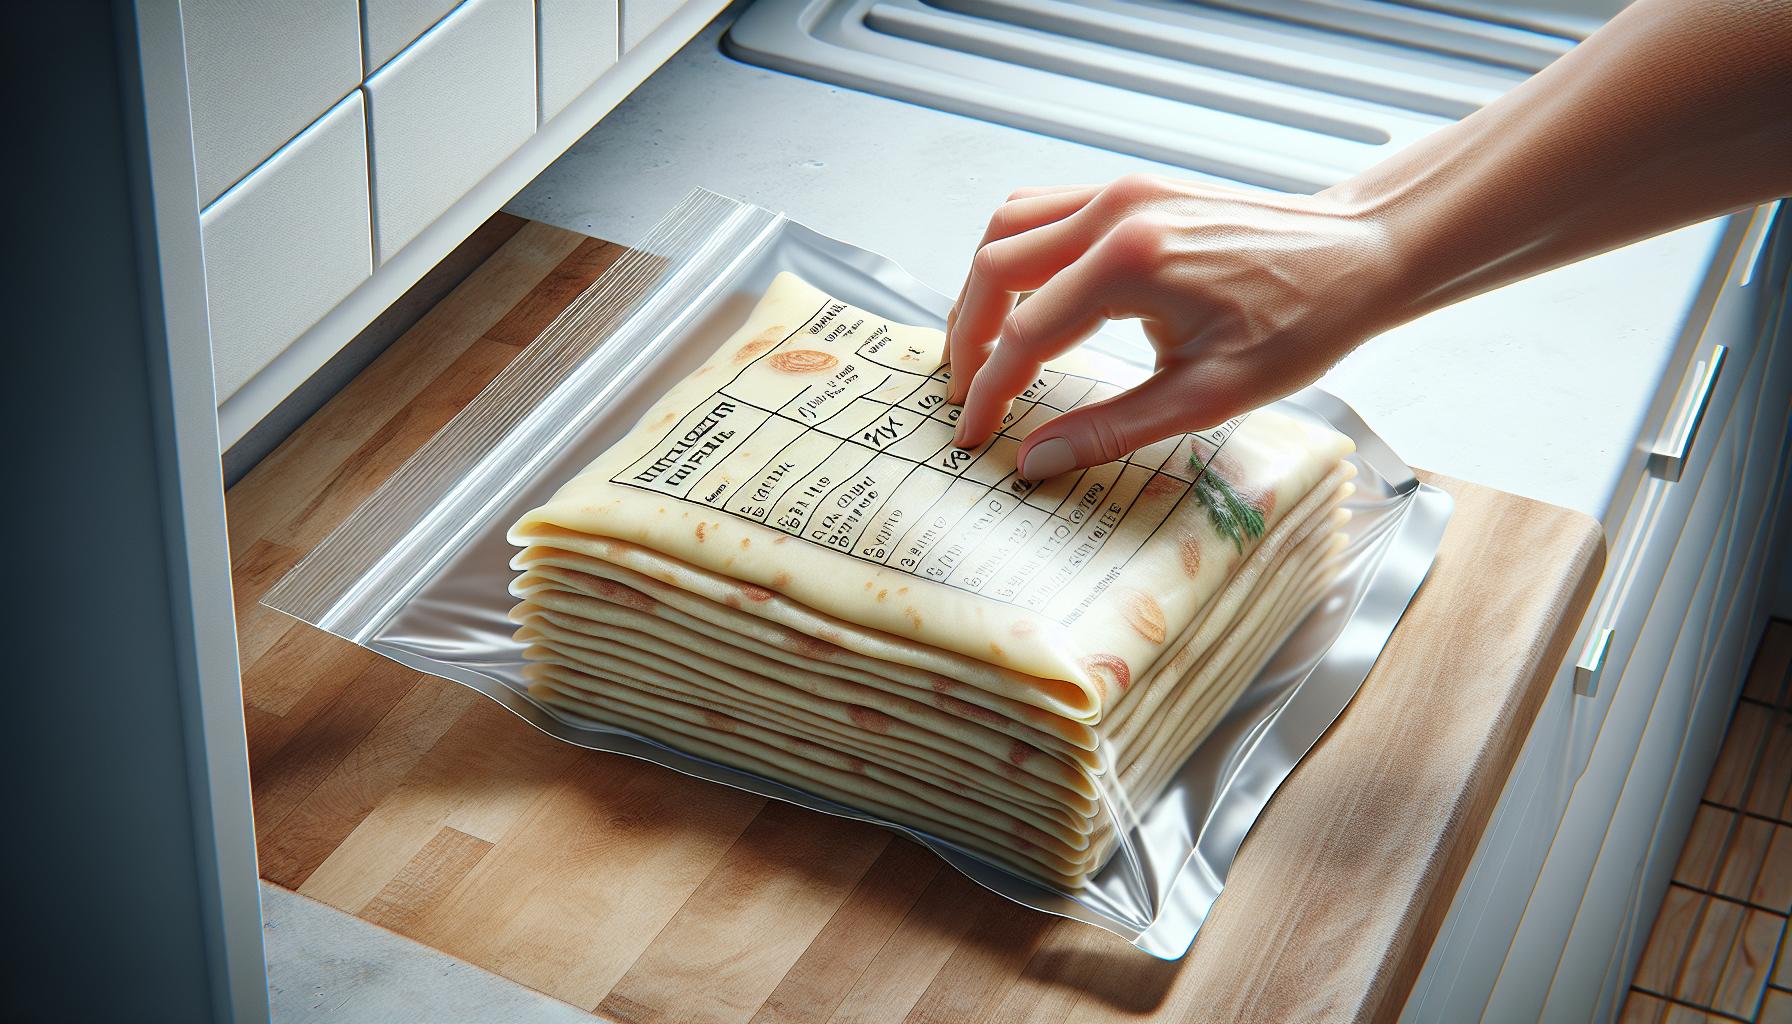
Transfer the wrapped crepe stack into a freezer-safe resealable bag. Remove excess air from the bag by pressing gently from bottom to top before sealing. Label the bag with:
- Date of freezing
- Number of crepes
- Type of filling (if pre-filled)
Place the bag flat in the freezer, avoiding crushing or bending the crepes. Store multiple bags by stacking them horizontally to maximize freezer space. A properly sealed freezer bag creates an additional barrier against freezer burn protecting the crepes’ delicate texture.
| Storage Time | Temperature | Quality Result |
|---|---|---|
| 1-2 months | 0°F/-18°C | Best quality |
| 2-3 months | 0°F/-18°C | Good quality |
| 3+ months | 0°F/-18°C | May dry out |
Position the bag away from strong-smelling foods like onions fish as crepes absorb odors easily. Keep the bag in the main freezer compartment rather than the door to maintain consistent temperature.
5. Freeze up to 2 months”
Properly frozen crepes maintain optimal quality for 2-3 months in the freezer at 0°F (-18°C). The storage duration depends on these critical factors:
- Temperature stability: Keep crepes in the main freezer compartment away from the door
- Packaging quality: Double-wrapped crepes with proper air removal last longer
- Storage position: Flat storage prevents crushing or breaking
- Freezer environment: Place away from strong-smelling foods to avoid odor absorption
| Storage Duration | Quality Level | Storage Temperature |
|---|---|---|
| 1-2 months | Best quality | 0°F (-18°C) |
| 2-3 months | Good quality | 0°F (-18°C) |
| Beyond 3 months | May dry out | 0°F (-18°C) |
Label each package with:
- Freezing date
- Number of crepes
- Type of crepes (if multiple varieties)
Store multiple bags horizontally to maximize freezer space while maintaining the crepes’ shape. Position the bags in a single layer on a flat freezer shelf for optimal preservation.


