Fresh creamed corn captures summer’s sweetness but doesn’t last forever without proper storage. Freezing this beloved side dish preserves its rich flavor and creamy texture for up to 6 months allowing families to enjoy homemade creamed corn throughout the year.
Freezing creamed corn requires cooling the prepared dish completely mixing in stabilizing ingredients and storing it in airtight freezer containers or bags with proper headspace for expansion during freezing.
Whether using fresh corn from the garden or taking advantage of seasonal sales freezing creamed corn ensures this comfort food staple stays ready for holiday dinners quick weeknight meals or anytime the craving strikes. Learning the proper freezing technique helps maintain the dish’s signature taste and consistency while preventing freezer burn.
“1. Cool corn completely
Cooling creamed corn properly prevents ice crystals from forming during freezing. After blanching or cooking, spread the creamed corn in a single layer on a baking sheet lined with parchment paper. Let the corn reach room temperature for 20 minutes before transferring it to the refrigerator for 1 hour.
Three reliable methods for cooling creamed corn:
- Sheet Pan Method: Spread corn evenly on a large baking sheet, creating maximum surface area for quick cooling
- Ice Bath Technique: Place the cooking pot in a larger container filled with ice water, stirring occasionally
- Shallow Container Method: Transfer corn to multiple shallow containers, increasing air exposure
| Cooling Method | Time Required | Temperature Goal |
|---|---|---|
| Sheet Pan | 20 minutes | Room temperature |
| Ice Bath | 10 minutes | 40°F (4°C) |
| Shallow Container | 30 minutes | Room temperature |
Stirring the corn every 5-10 minutes during cooling promotes even temperature distribution. The mixture is ready for freezing when it’s completely cool to the touch without any warm spots.
2. Portion into containers

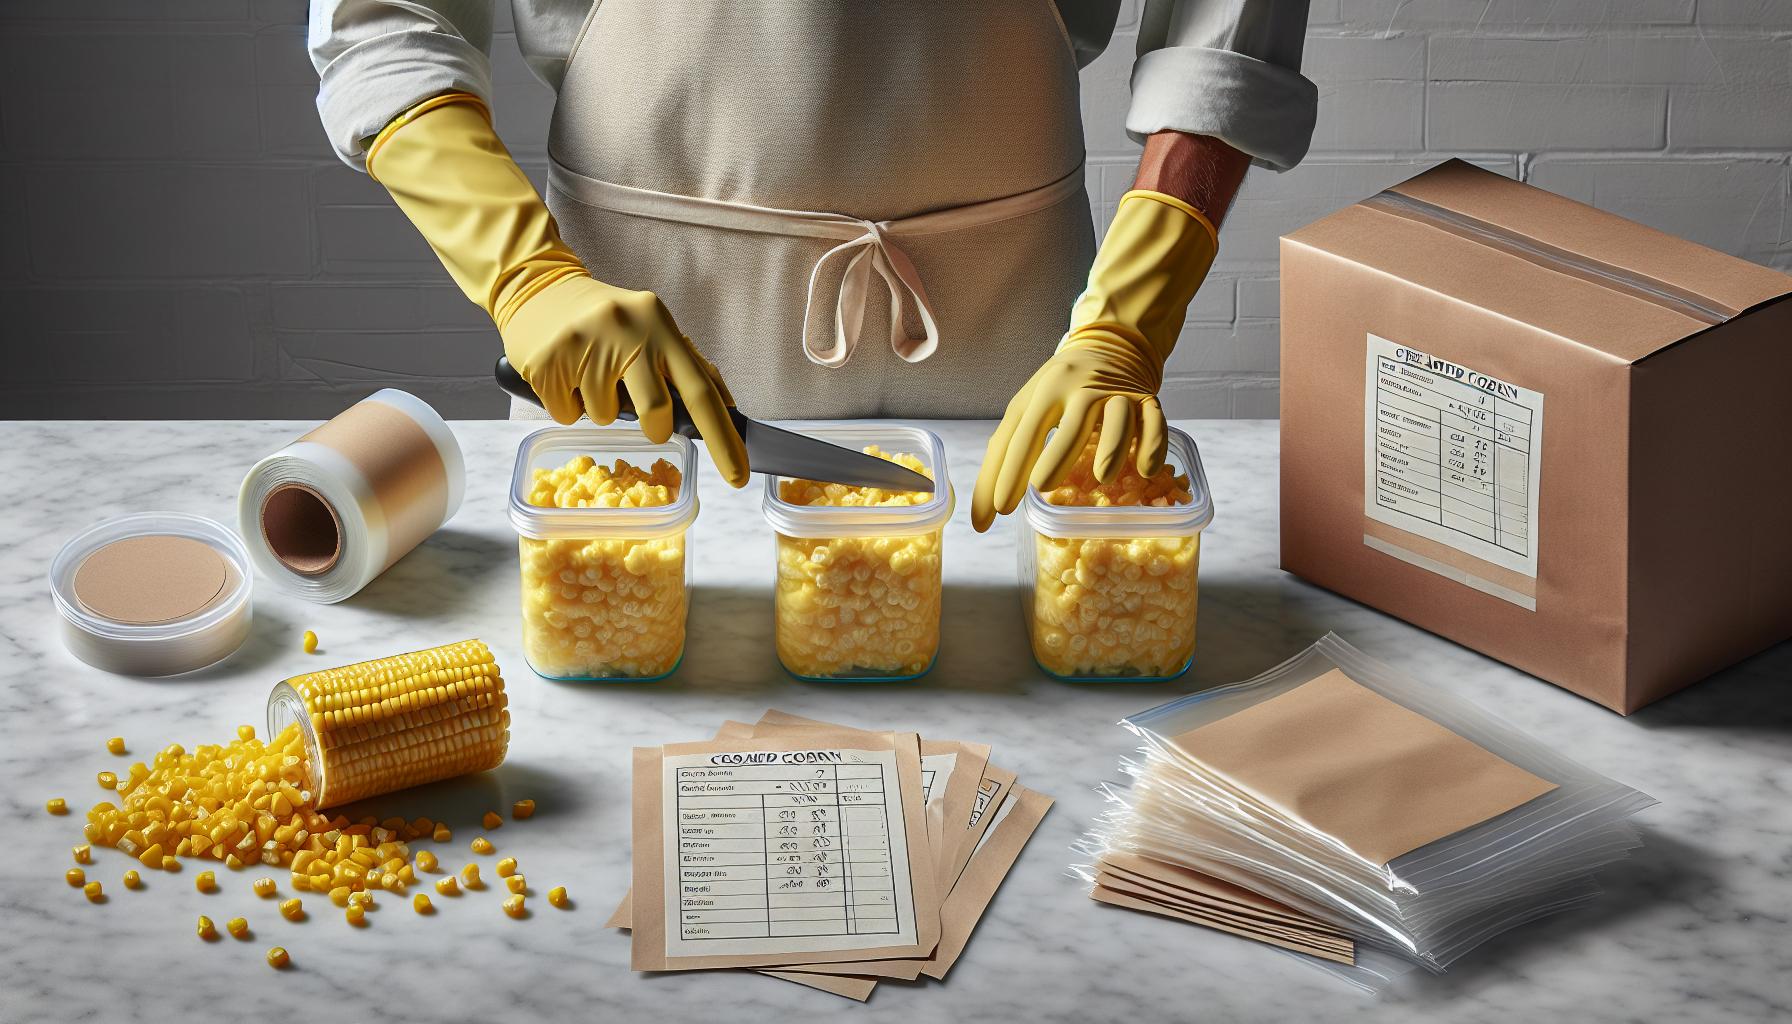
Divide the cooled creamed corn into serving-size portions using measuring cups or a ladle. Fill freezer-safe containers or bags with 1-2 cup portions, leaving 1/2 inch of headspace at the top for expansion during freezing.
Here’s a portion guide for different uses:
- Family meals: 2 cups per container
- Individual servings: 1 cup per container
- Recipe ingredients: 1/2 cup portions
Label each container with:
- Contents
- Date packaged
- Portion size
- Remove air bubbles by gently tapping containers on the counter
- Press plastic freezer bags flat before sealing to create stackable packages
- Use containers with tight-fitting lids to prevent freezer burn
- Double-wrap portions in plastic wrap then foil for extra protection
- Keep similar portion sizes together for easier organization
Store creamed corn portions in the coldest part of the freezer at 0°F (-18°C) or below for optimal preservation.
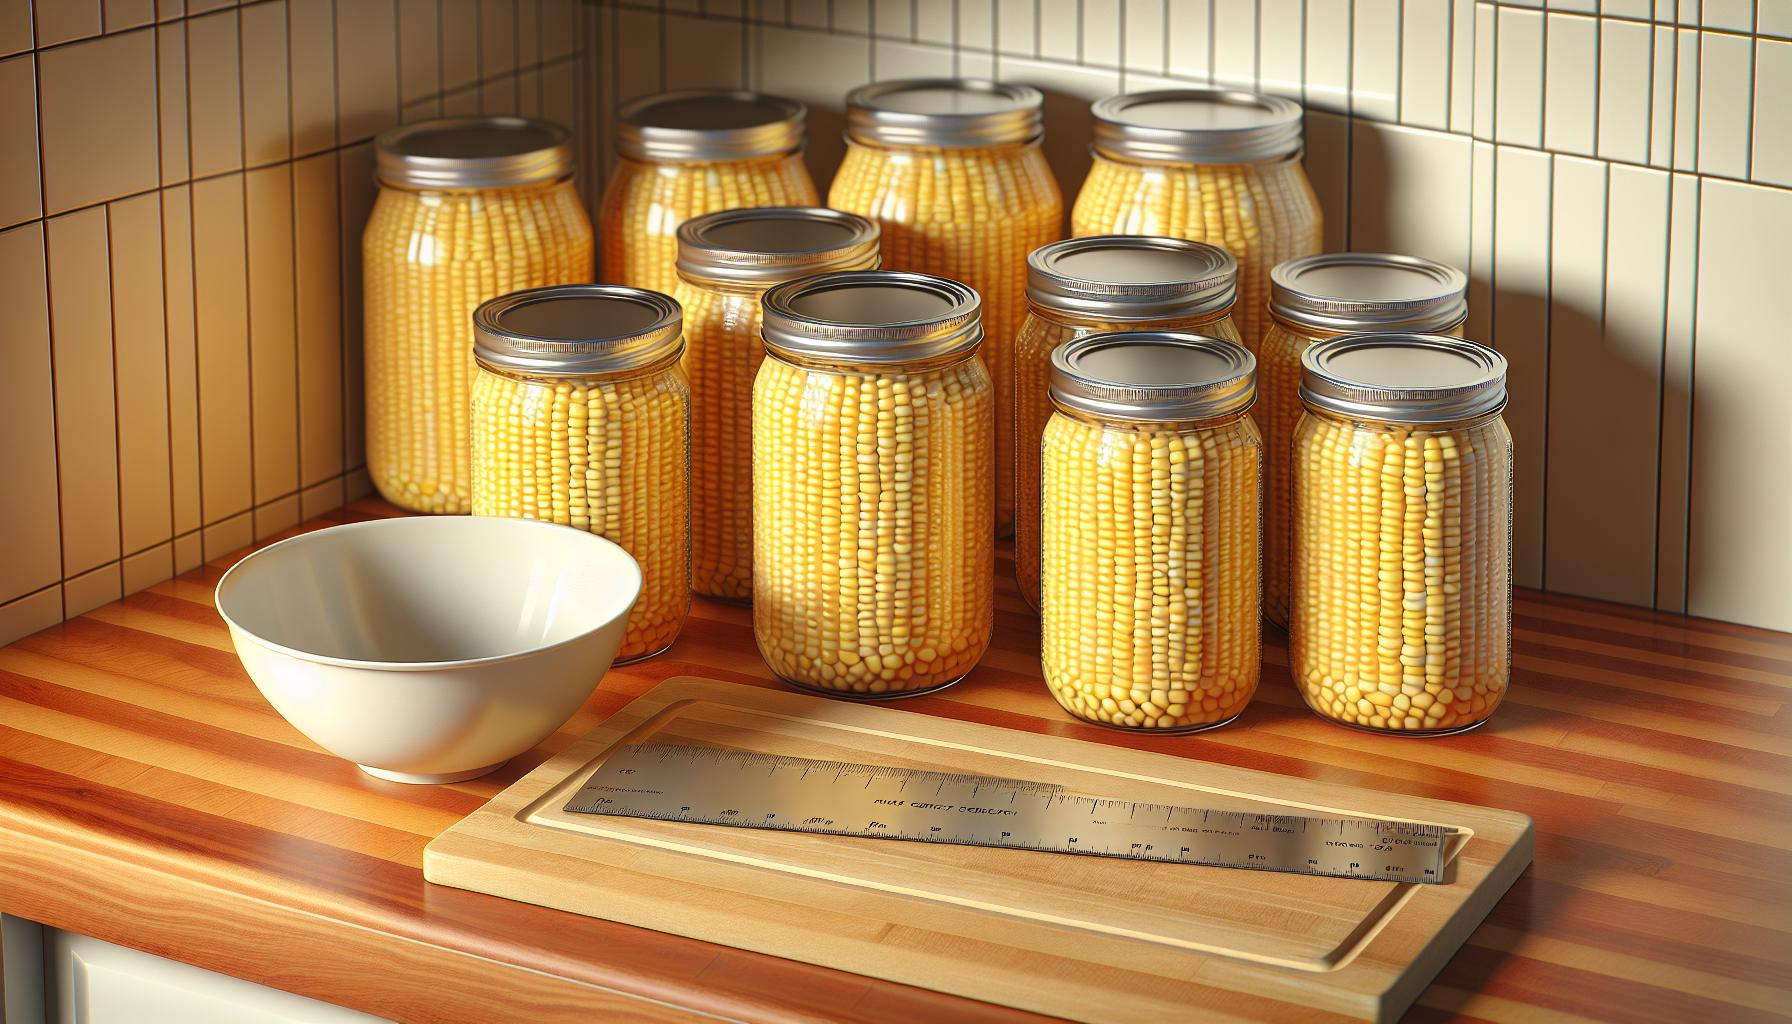
3. Leave ½ inch headspace

Leaving ½ inch of space at the top of containers prevents splitting during the freezing process. The creamed corn expands as it freezes, requiring adequate room for expansion. Overfilled containers risk cracking or bursting in the freezer.
Here’s how to measure the correct headspace:
- Fill containers to the marked fill line
- Remove trapped air bubbles by gently tapping container on counter
- Measure ½ inch from top with a clean ruler
- Wipe container rim clean before sealing
For various container sizes:
| Container Size | Headspace Required |
|---|---|
| 1 pint | ½ inch |
| 1 quart | ½ inch |
| ½ gallon | ½ inch |
A proper headspace creates an airtight seal while accommodating the natural expansion of the creamed corn during freezing. This measurement applies to both plastic freezer containers and freezer bags when laid flat. Improper headspace leads to freezer burn and compromised texture.
4. Seal and label

Seal each container tightly after filling, ensuring all edges are completely secure. Wipe container rims with a clean paper towel to remove any corn residue before sealing for an airtight closure. Press out excess air from freezer bags by smoothing from bottom to top before sealing.
Label containers with:
- Contents: “Creamed Corn”
- Date packaged
- Portion size
- Method used (blanched/unblanched)
Use a permanent marker on freezer-safe labels or write directly on containers. Place clear tape over written labels to prevent smudging in the freezer. Position labels on the container sides rather than lids for better visibility when stacked.
Storage guidelines:
| Container Type | Maximum Storage Time | Temperature |
|---|---|---|
| Plastic Containers | 6 months | 0°F (-18°C) |
| Freezer Bags | 4-6 months | 0°F (-18°C) |
Store containers in a single layer until frozen solid. After 24 hours, stack containers to maximize freezer space. Keep creamed corn away from strong-smelling foods to prevent odor absorption.
5. Freeze up to 6 months”
Creamed corn maintains optimal flavor quality in the freezer for up to 6 months at 0°F (-18°C). Label each container with the packaging date to track storage duration. Position containers in a single layer until frozen solid, then stack them to maximize freezer space.
Storage tips for maximum freshness:
- Place containers in the back of the freezer where temperature remains consistent
- Keep creamed corn away from strong-smelling foods to prevent odor absorption
- Store similar-sized containers together for efficient organization
- Use oldest packages first following FIFO (First In First Out) method
| Storage Method | Maximum Duration | Temperature |
|---|---|---|
| Plastic Containers | 6 months | 0°F (-18°C) |
| Freezer Bags | 4-6 months | 0°F (-18°C) |
Check containers monthly for signs of freezer burn or damage. Remove packages with ice crystals forming inside or those showing discoloration. Frozen creamed corn stays fresh for cooking holiday meals spring side dishes or quick weeknight dinners when stored properly.


