Freezing cooked collard greens offers a practical solution for preserving this nutritious Southern staple. Whether you’ve prepared too much or want to save time on future meal prep, proper freezing techniques ensure these leafy greens maintain their flavor and texture for months to come.
Cooked collard greens can be frozen for up to 12 months when properly stored in airtight containers or freezer bags with excess air removed. The key to success lies in cooling them completely before freezing and protecting them from freezer burn.
Mastering the art of freezing collard greens not only reduces food waste but also provides convenient access to homemade sides throughout the year. While the process is straightforward, following specific steps ensures the best results and preserves the greens’ distinctive taste and nutritional benefits.
“1. Cool greens completely
Cooling cooked collard greens properly prevents ice crystal formation that damages texture. Place the hot greens in an ice water bath for 3-5 minutes until they reach room temperature. The rapid cooling process helps maintain the greens’ vibrant color texture.
Here’s how to set up an effective ice bath:
- Fill a large bowl halfway with ice cubes
- Add cold water until the ice floats
- Transfer hot greens using a slotted spoon
- Stir occasionally for even cooling
- Test temperature with a food thermometer
The greens are ready for the next step when they reach 40°F (4°C). Avoid letting them sit in the ice bath longer than 10 minutes to prevent waterlogging. A properly cooled batch of greens maintains its firm texture ensures better freezer storage results.
| Stage | Temperature |
|---|---|
| Starting | 165°F (74°C) |
| Ice Bath | 40°F (4°C) |
| Ready to Package | Room temp |
2. Drain excess liquid

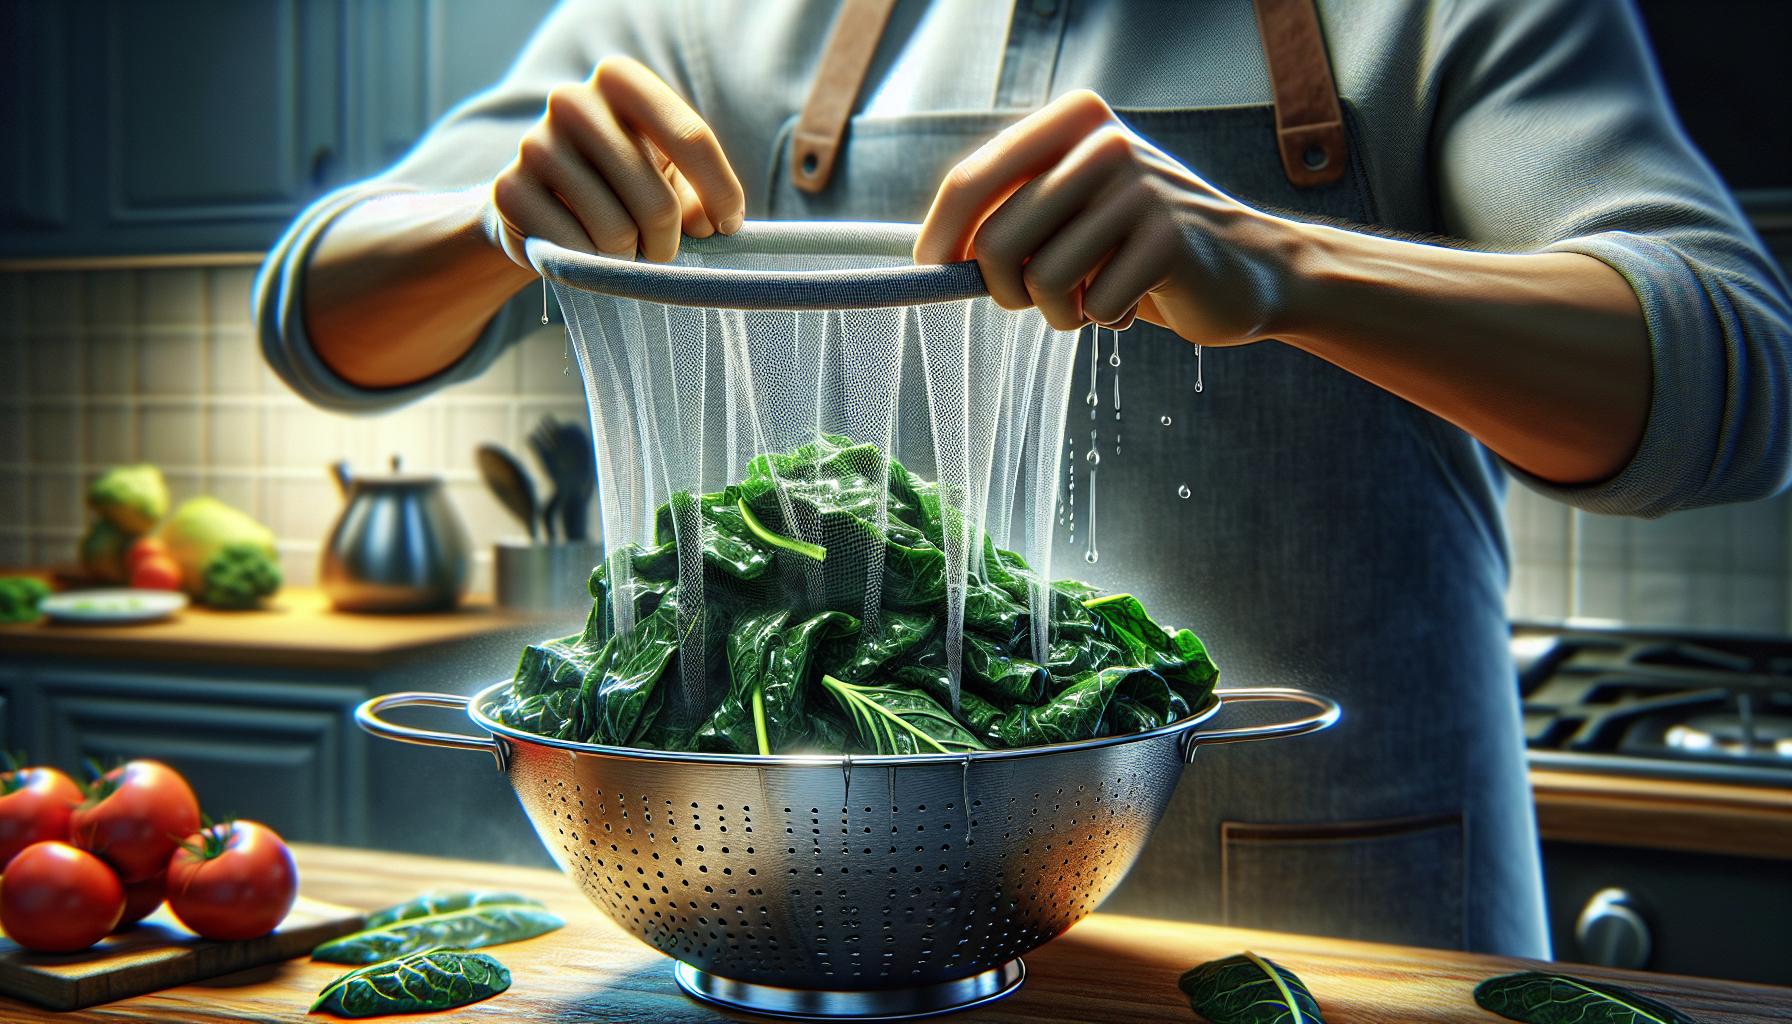
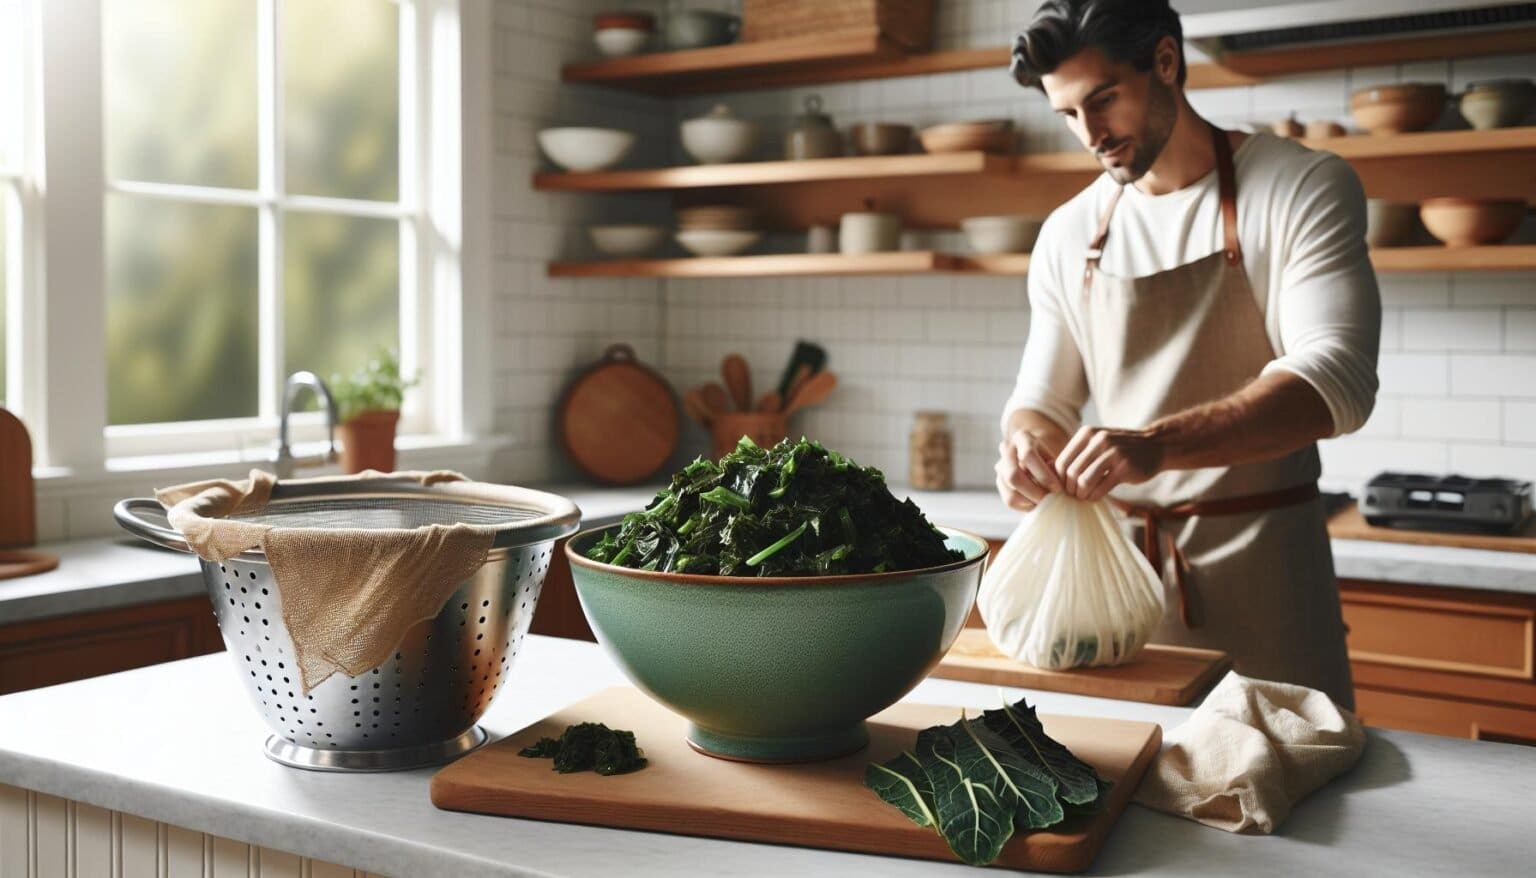
Proper draining removes surplus moisture from cooked collard greens, preventing ice crystals during freezing. Place the cooled greens in a colander, pressing gently with the back of a spoon to release liquid. For optimal results, let the greens sit in the colander for 5 minutes to ensure thorough draining.
Here’s an effective draining process:
- Line a colander with cheesecloth or paper towels
- Transfer greens using tongs or a slotted spoon
- Press down lightly to extract moisture
- Allow natural drainage for 5 minutes
- Pat dry with clean paper towels
Important: Avoid squeezing or pressing too hard, which damages the greens’ texture. Extra moisture trapped in frozen greens leads to mushiness when thawed. Properly drained greens maintain their structure through the freezing process.
| Draining Method | Duration | Benefits |
|---|---|---|
| Colander Rest | 5 minutes | Natural drainage |
| Gentle Press | 1-2 minutes | Removes excess water |
| Pat Dry | 1 minute | Prevents freezer burn |
3. Portion into containers

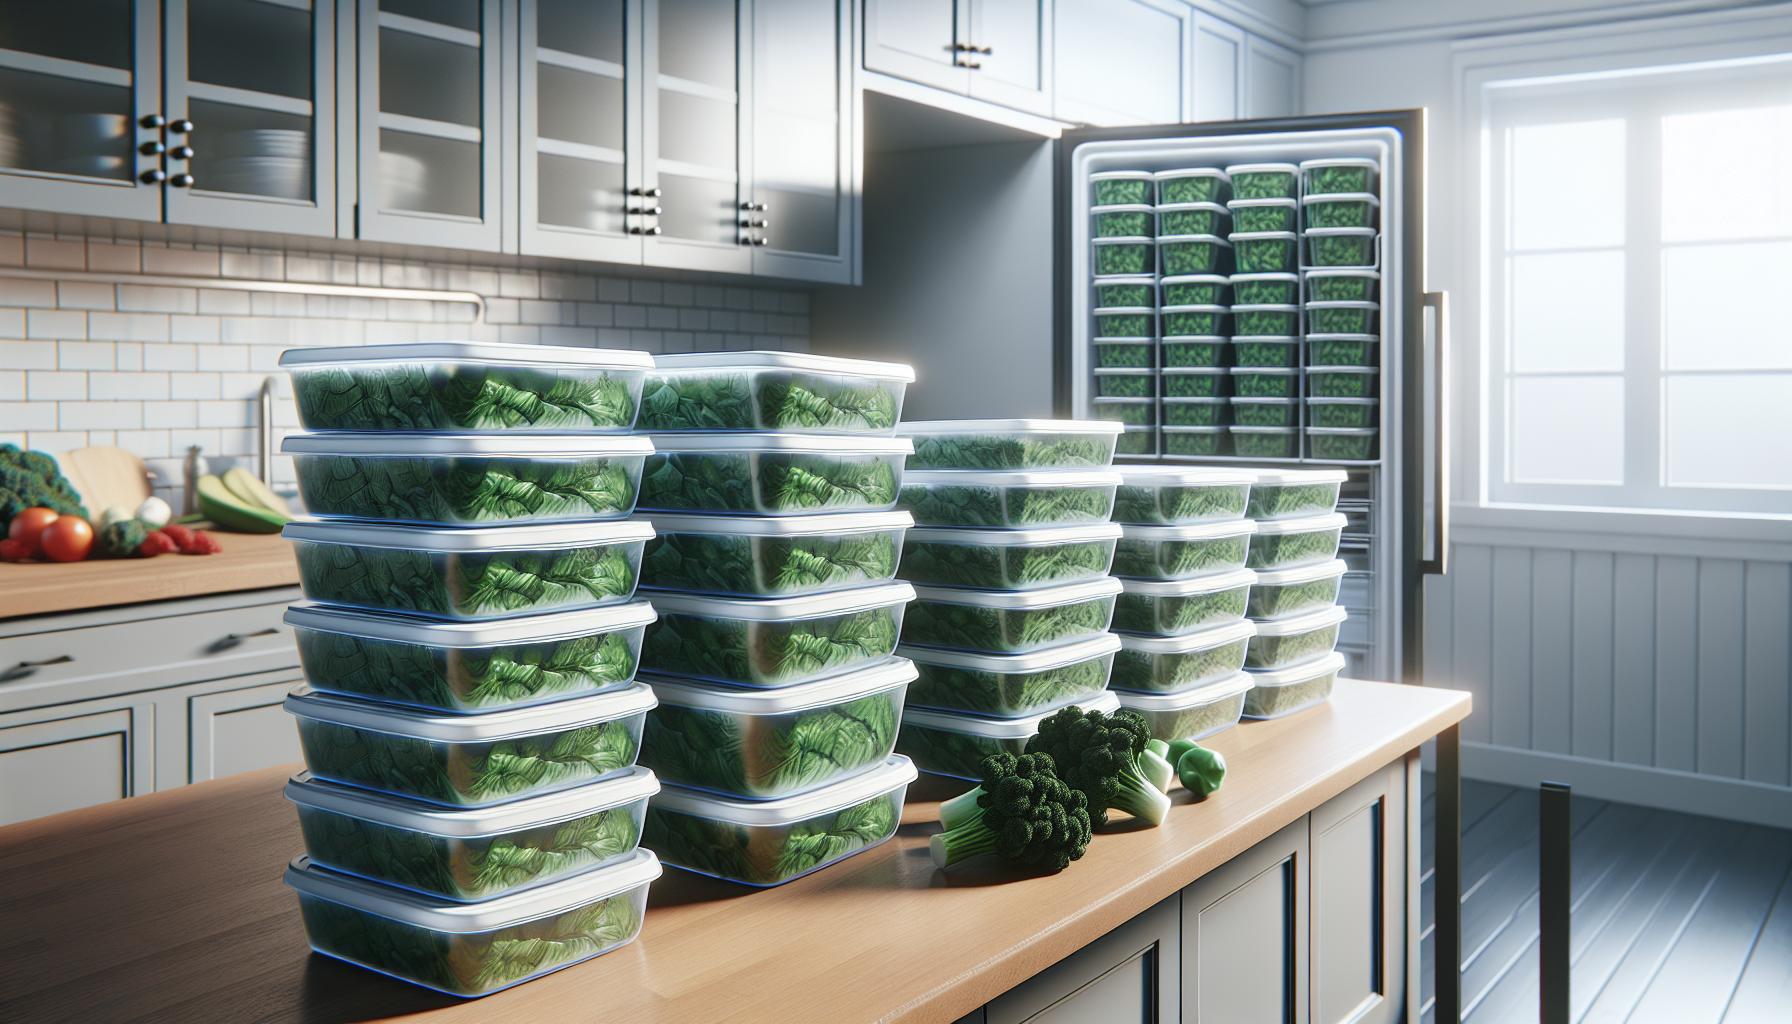
Divide cooled collard greens into meal-sized portions before freezing them. Freezer-safe containers work best for storing the greens, including:
- Airtight plastic containers with secure lids
- Heavy-duty freezer bags (remove excess air)
- Vacuum-sealed bags for maximum freshness
Fill each container with 1-2 cups of greens, leaving 1/2 inch of headspace at the top for expansion during freezing. Label each container with:
| Label Information | Example |
|---|---|
| Contents | Cooked Collard Greens |
| Portion Size | 2 cups |
| Date Frozen | MM/DD/YYYY |
Place containers in a single layer in the freezer to promote even freezing. Once frozen solid, stack them to save space. Store greens flat in freezer bags to maximize storage efficiency. This method creates thin, easy-to-break portions that thaw quickly.
Stack similar-sized containers together on freezer shelves for better organization. Small portions thaw faster than large ones, making them more practical for future meals.
4. Remove air and seal

Press down gently on each freezer bag containing the portioned collard greens to remove excess air. Air pockets create freezer burn, degrading the quality of frozen greens. Squeeze from the bottom of the bag upward toward the opening in a smooth motion, similar to removing air from a plastic storage bag.
For plastic containers, press a piece of plastic wrap directly onto the surface of the greens before securing the lid. This creates an additional barrier against freezer burn. Leave 1/2 inch of headspace at the top of containers to allow for expansion during freezing.
Storage options:
- Zip-top freezer bags: Press flat for space-efficient storage
- Vacuum-sealed bags: Use manufacturer settings for “moist foods”
- Plastic containers: Choose freezer-safe varieties with tight-fitting lids
- Glass containers: Ensure they’re freezer-safe to prevent cracking
Label each container with:
- Contents
- Portion size
- Date frozen
- Expected use-by date (10-12 months from freezing)
Arrange containers in a single layer until frozen solid, then stack them to maximize freezer space.
5. Freeze up to 12 months
“
Cooked collard greens maintain optimal flavor for 10-12 months in the freezer when stored at 0°F (-18°C). Place sealed containers in a single layer on freezer shelves until frozen solid, then stack them to maximize space. Label each container with:
- Date of freezing
- Portion size
- Expected use-by date
- Contents description
| Storage Temperature | Maximum Storage Time | Quality Check Period |
|---|---|---|
| 0°F (-18°C) | 12 months | Every 3 months |
| Above 0°F | 6 months | Monthly |
Monitor the freezer temperature regularly to ensure proper storage conditions. Inspect frozen collard greens every 3 months for signs of freezer burn or ice crystal formation. Organize containers by freezing date to use older portions first. Store similar-sized containers together for efficient space usage. Position containers away from the freezer door to maintain consistent temperature.


