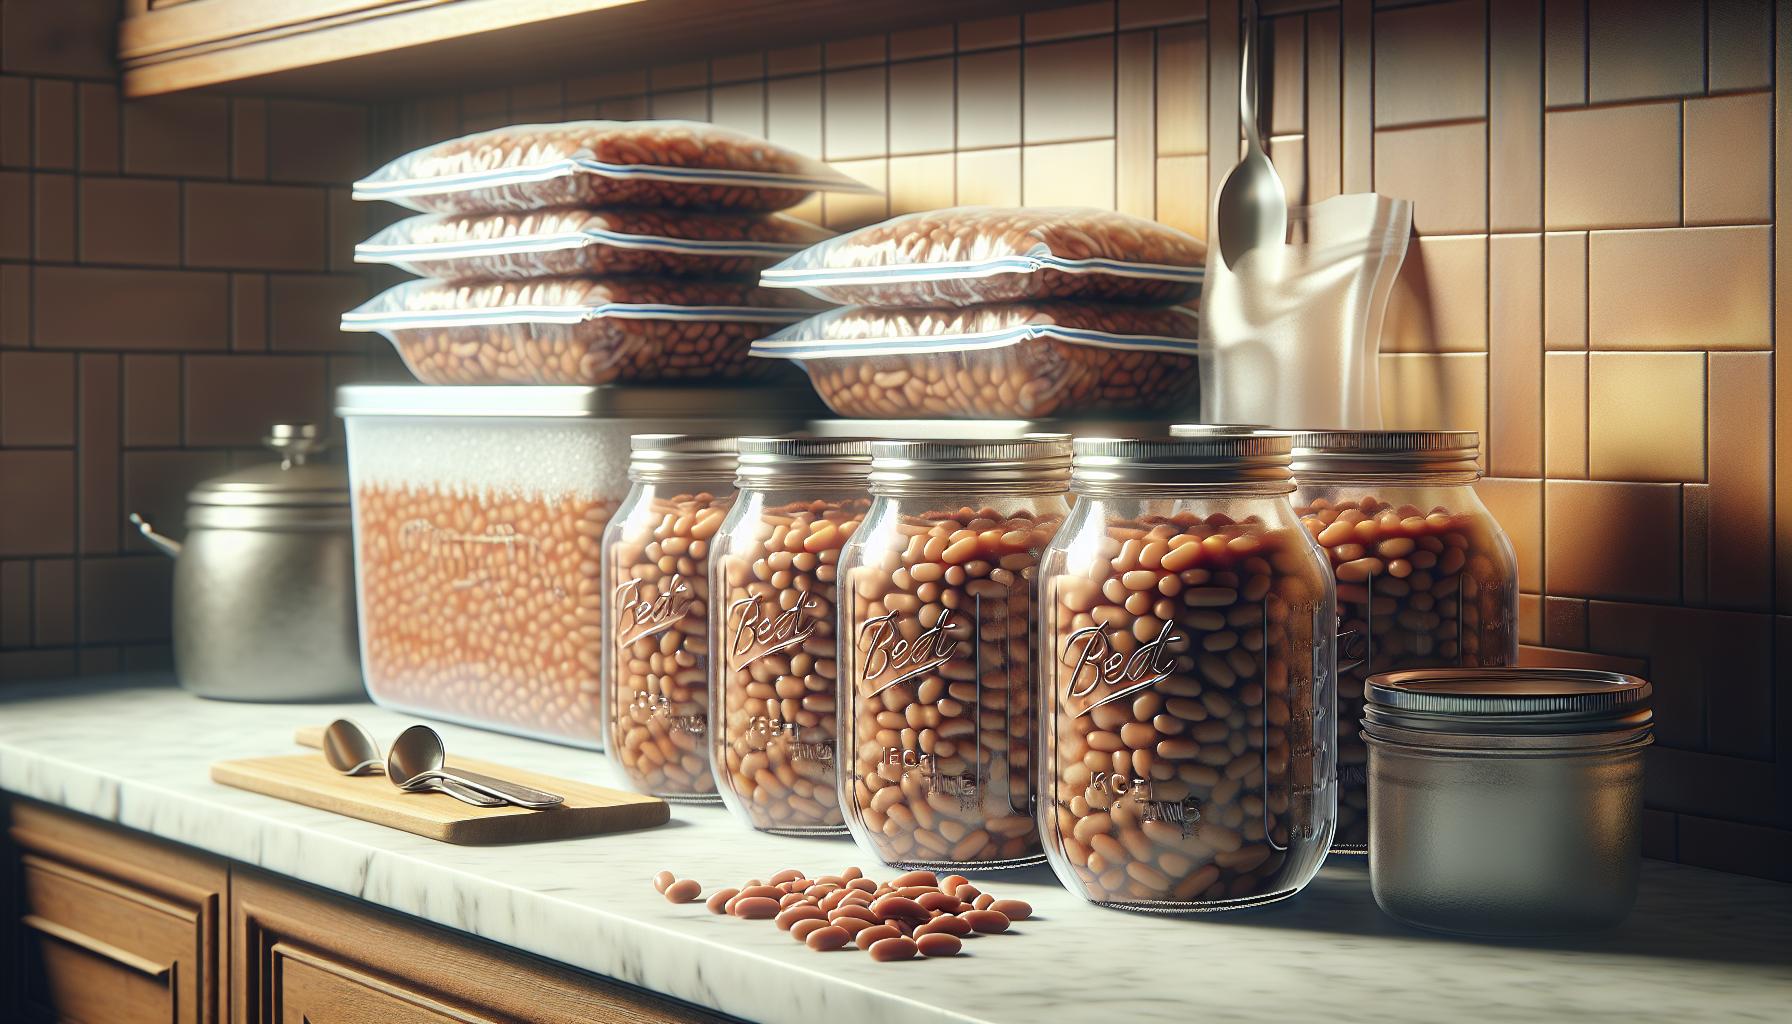
Freezing baked beans provides a practical solution for preserving leftover portions and maintaining their delicious flavor for future meals. It’s a smart way to avoid waste while ensuring a ready supply of this protein-rich side dish whenever needed.
Baked beans can be frozen for up to 6 months when properly stored in airtight containers or freezer bags. The key to successful freezing lies in allowing them to cool completely and leaving adequate headspace for expansion during the freezing process.
Home cooks and meal preppers will appreciate how freezing baked beans maintains their taste and texture while saving both time and money. From weeknight dinners to batch cooking sessions these frozen legumes prove invaluable when creating quick nutritious meals.
“1. Cool beans completely
Cooling baked beans to room temperature is the essential first step before freezing. Hot beans placed directly in the freezer create excess moisture leading to ice crystals that damage the texture. Place the cooked beans in a wide, shallow container to speed up the cooling process.
Here’s a temperature guide for cooling baked beans:
| Temperature Stage | Time Required |
|---|---|
| Hot to Warm | 30-45 minutes |
| Warm to Room Temp | 1-2 hours |
Follow these cooling tips:
- Spread beans in a single layer for faster cooling
- Use multiple containers for large batches
- Stir occasionally to release trapped heat
- Never place hot containers directly on refrigerator shelves
- Check beans are completely cool by testing the center
The beans are ready for freezing when they reach room temperature throughout – test by inserting a clean spoon into the center. No warm spots should remain to prevent condensation from forming during the freezing process.
2. Portion into containers

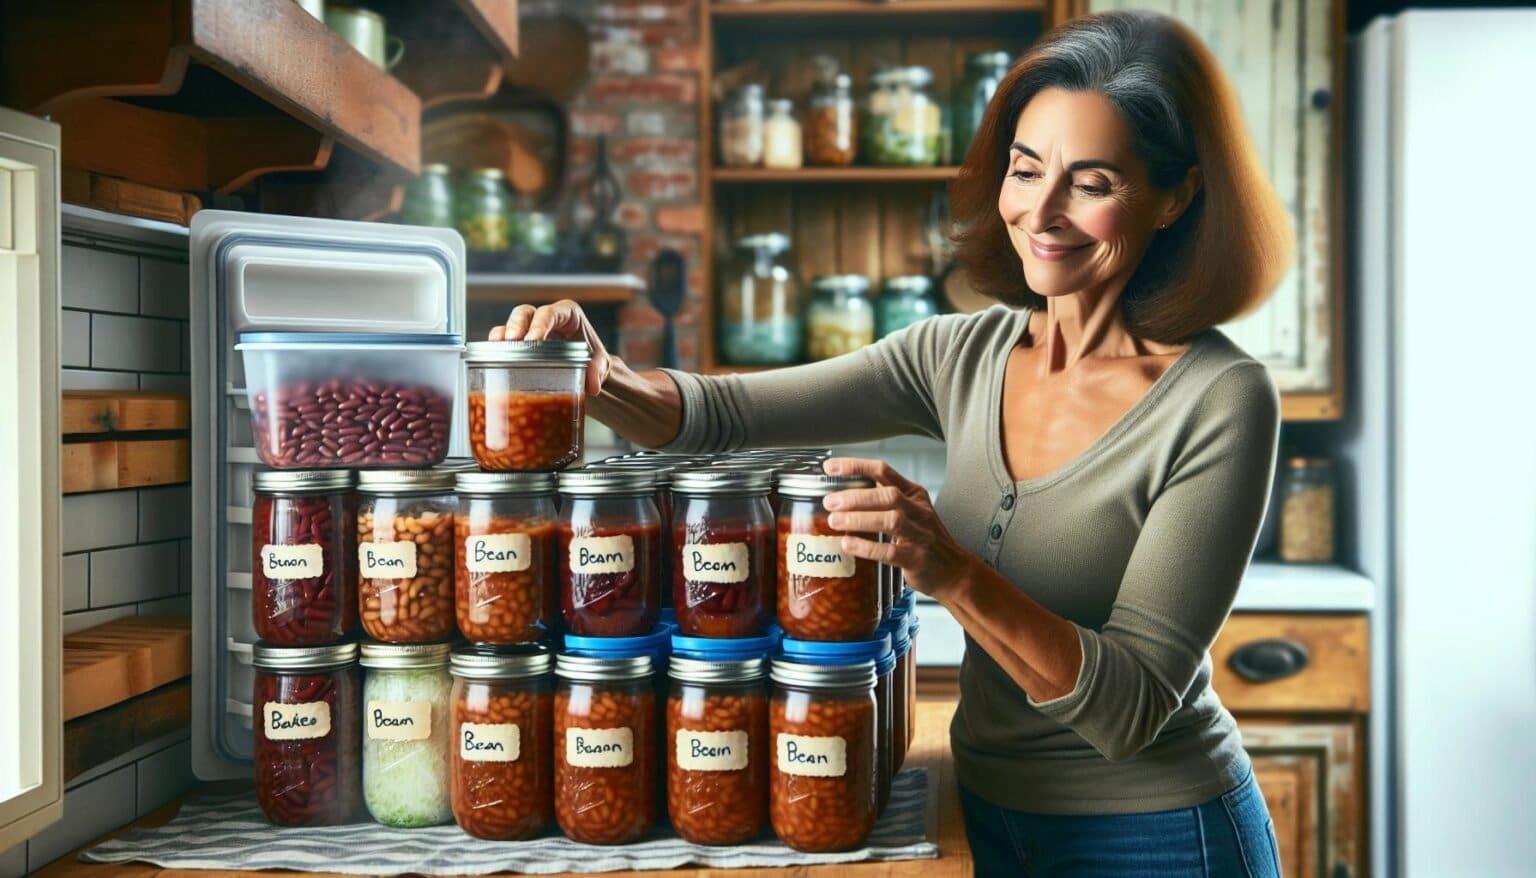
Dividing baked beans into measured portions creates convenient serving sizes for future meals. Here’s how to portion effectively:
Container Options:
- Freezer-safe plastic containers with airtight lids
- Glass mason jars rated for freezing
- Heavy-duty freezer bags
- Silicone storage bags
- Muffin tins for individual servings
- Fill containers to 1 inch below the rim
- Remove air bubbles by gently tapping containers
- Wipe container rims clean before sealing
- Label with date of freezing
| Container Type | Portion Size | Best For |
|---|---|---|
| Mason Jars | 2-3 cups | Family meals |
| Freezer Bags | 1-2 cups | Individual portions |
| Muffin Tins | 1/2 cup | Single servings |
Transfer portions directly from muffin tins to freezer bags once frozen solid. Press out excess air from plastic bags before sealing to prevent freezer burn. Multiple small portions offer more flexibility than one large container.
3. Leave expansion space

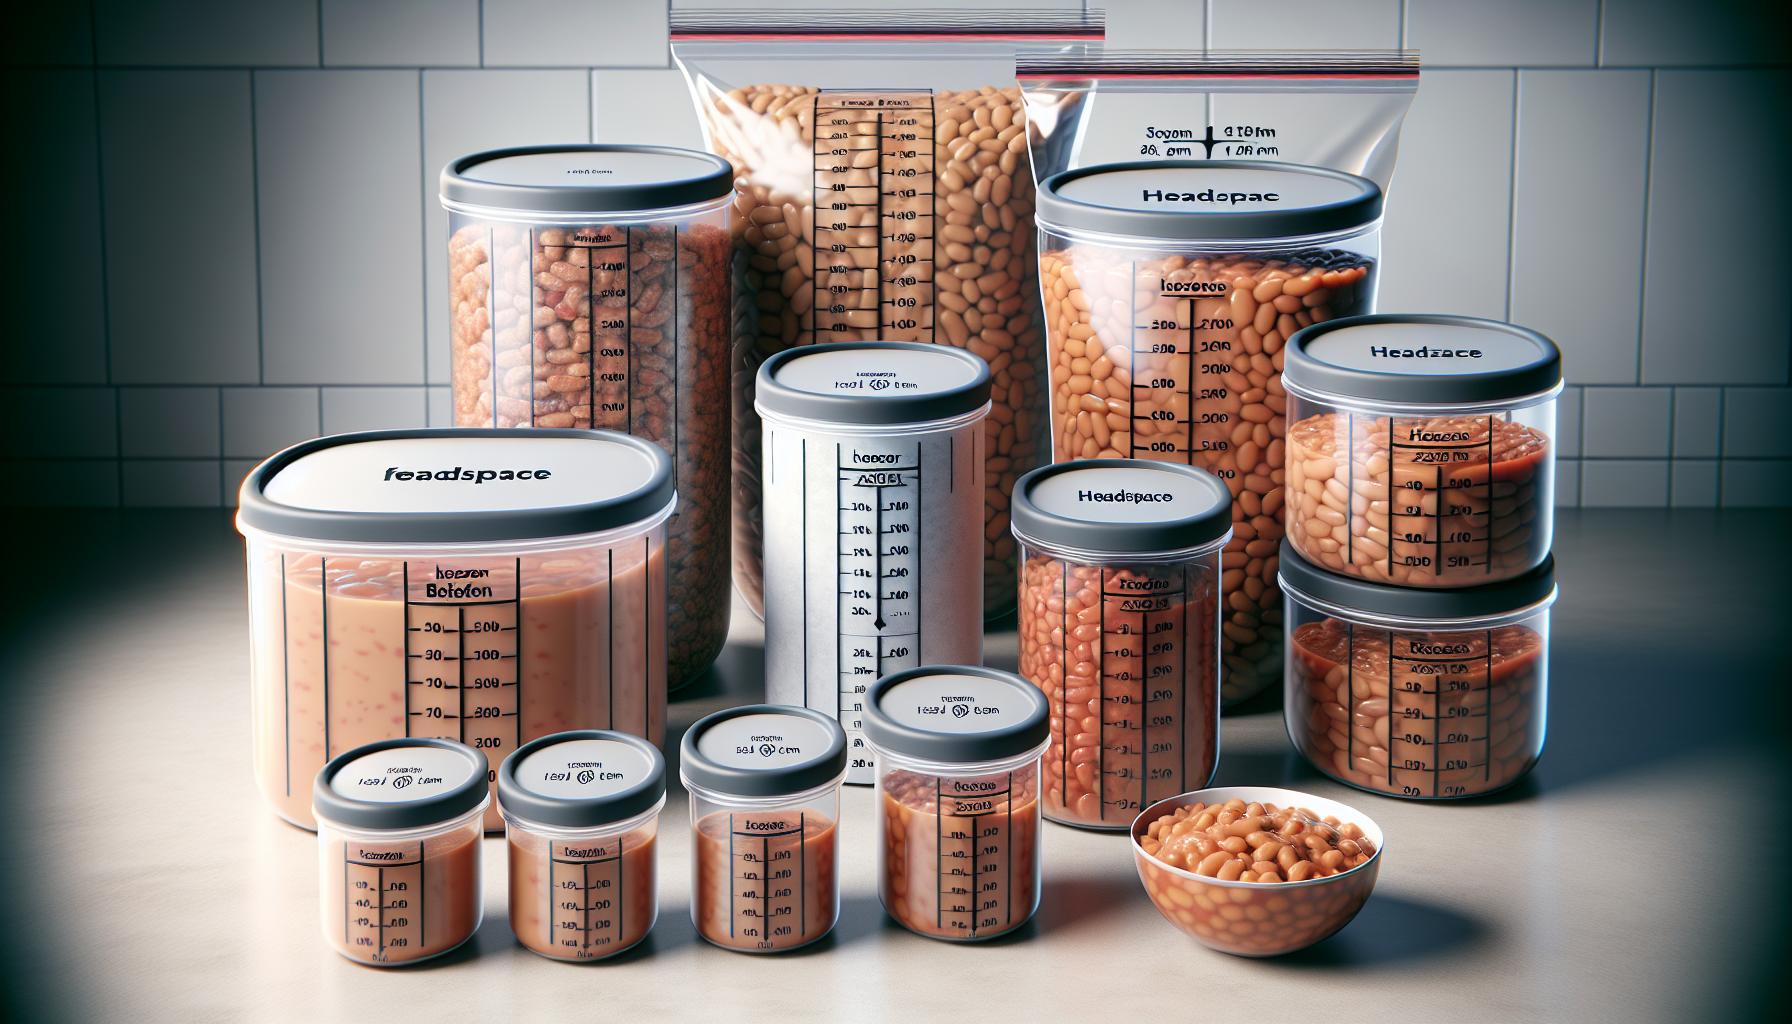
Leaving proper expansion space prevents freezer containers from cracking or bursting when baked beans freeze. Allow a minimum of 1 inch of headspace between the beans and the container lid. Frozen liquids expand by 10% on average, making this space essential for preserving both the beans and their storage vessel.
Here’s how to measure proper expansion space:
- For plastic containers: Fill to 1 inch below the rim
- For freezer bags: Leave 1-2 inches of empty space at the top
- For glass jars: Keep 1.5 inches of space below the lid
- For silicone containers: Maintain 1 inch of headspace
| Container Type | Required Headspace |
|---|---|
| Plastic | 1 inch |
| Freezer Bags | 1-2 inches |
| Glass Jars | 1.5 inches |
| Silicone | 1 inch |
Remove air bubbles by gently tapping the container on a flat surface before sealing. This creates additional space for expansion while eliminating potential freezer burn spots. Mark the fill line with a permanent marker on reusable containers to maintain consistent headspace for future use.
4. Seal and label

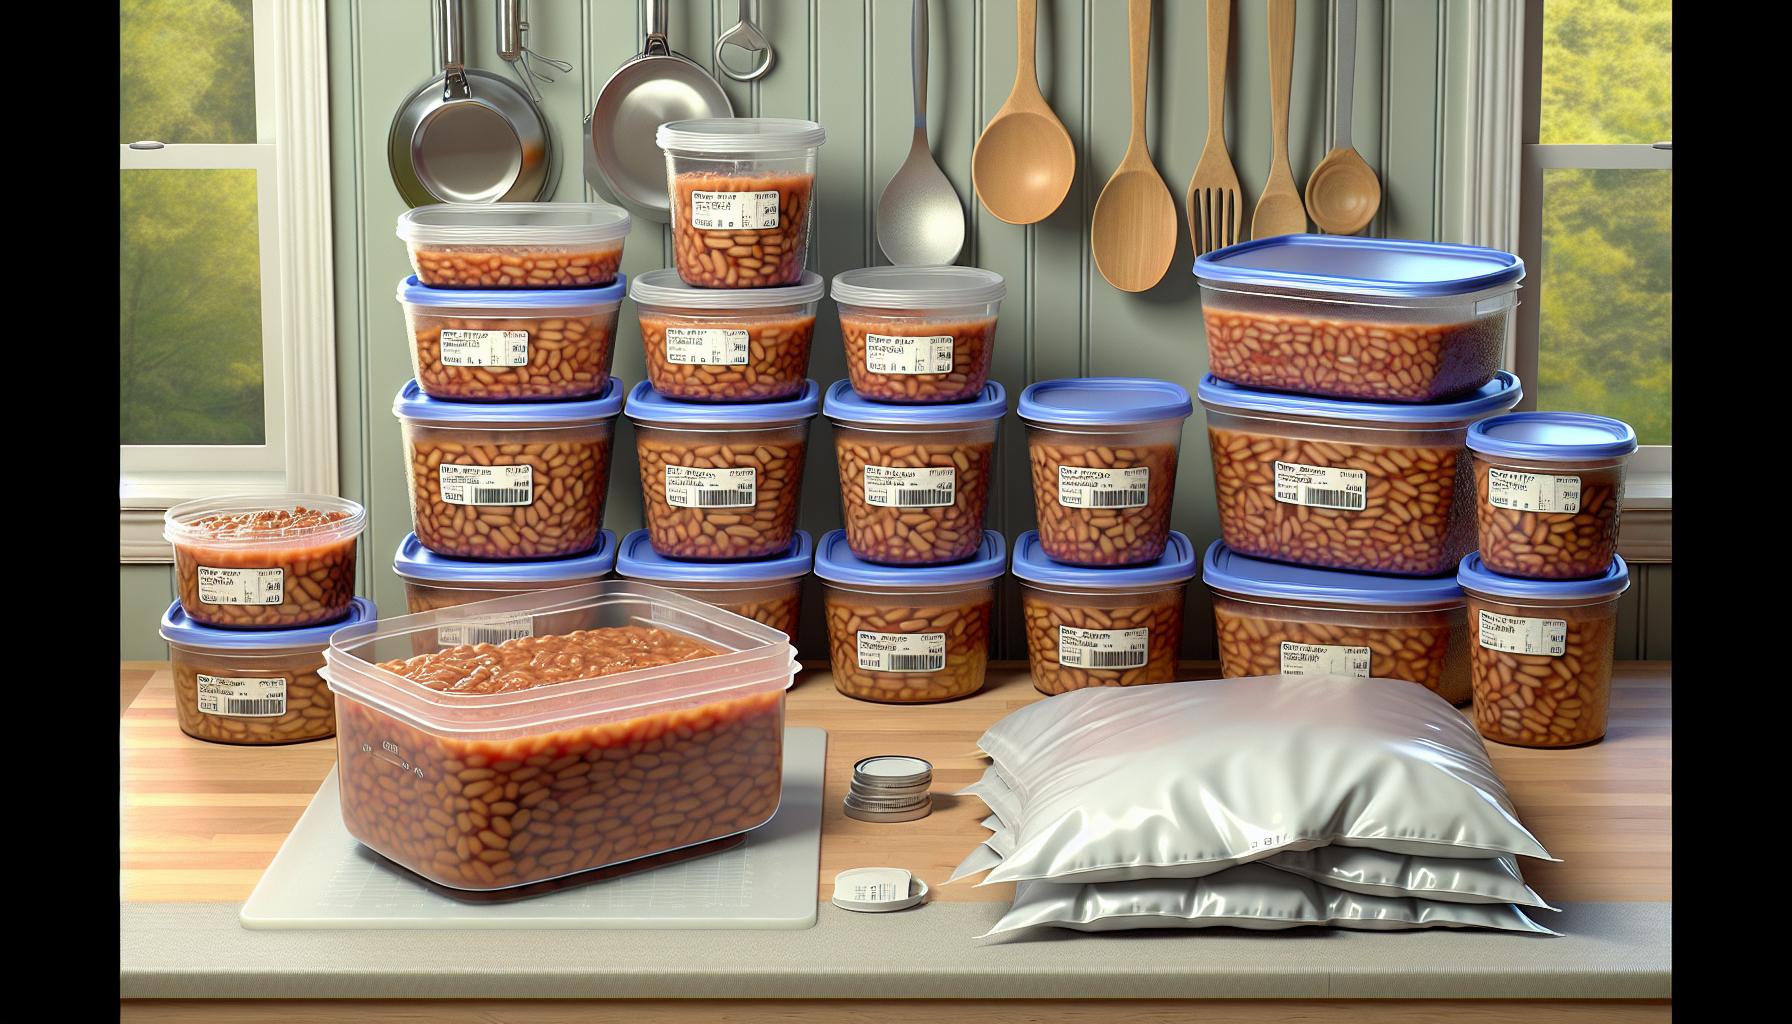
Proper sealing creates an airtight barrier against freezer burn in baked beans. Transfer the cooled beans to freezer-safe containers leaving 1 inch of headspace at the top for expansion. Press out excess air pockets by gently tapping the container on the counter.
For freezer bags:
- Squeeze out all air before sealing
- Flatten contents for space-efficient storage
- Double-check seal integrity
- Smooth bag surface to prevent air pockets
For rigid containers:
- Wipe rim clean before closing
- Seal lid firmly but don’t overtighten
- Test seal by gently inverting container
- Check for cracks or damage
Label each container with:
- Contents (“Baked Beans”)
- Portion size
- Freezing date
- Expected use-by date (6 months from freezing)
Apply labels to the top and side of containers for easy identification in stacked storage. Store containers flat until frozen to maintain an even distribution of beans. Once frozen, containers can be stored upright or stacked to maximize freezer space.
5. Freeze up to 6 months”
Homemade baked beans maintain optimal quality in the freezer for 6 months when stored properly. Place sealed containers in the coldest part of the freezer at 0°F (-18°C) or below. Store containers flat until frozen solid then position them upright to maximize freezer space.
Storage Duration Guidelines:
| Type of Baked Beans | Maximum Freezer Time |
|---|---|
| Homemade | 6 months |
| Store-bought/Canned | 3 months |
The beans remain safe to eat beyond these timeframes but experience gradual texture changes after:
- Loss of firmness at 6+ months for homemade beans
- Mushiness at 3+ months for canned varieties
- Flavor deterioration after recommended storage times
Label containers with a “best by” date calculated from the freezing date to track storage duration. Organize frozen beans with older containers at the front to use first.


