Freezing asparagus is a fantastic way to preserve this nutritious vegetable’s peak-season flavor and quality. While traditional methods often call for blanching asparagus before freezing many busy home cooks seek simpler alternatives that save time without compromising quality.
Asparagus can be frozen without blanching by thoroughly washing the spears removing the woody ends and flash-freezing them on a baking sheet before transferring to freezer bags. This method takes less than 30 minutes and preserves nutrients and texture for up to 6 months.
Skipping the blanching process not only saves valuable time but also maintains the asparagus’s crisp texture and vibrant green color. Though the frozen spears may be slightly less firm than their blanched counterparts they’ll still deliver delicious results in cooked dishes and retain most of their nutritional benefits.
“1. Clean and trim ends
Fresh asparagus spears require thorough cleaning before freezing. Place the asparagus under cool running water to remove dirt particles soil or sand. Gently rub each spear with your fingers to dislodge any stubborn debris caught in the tips.
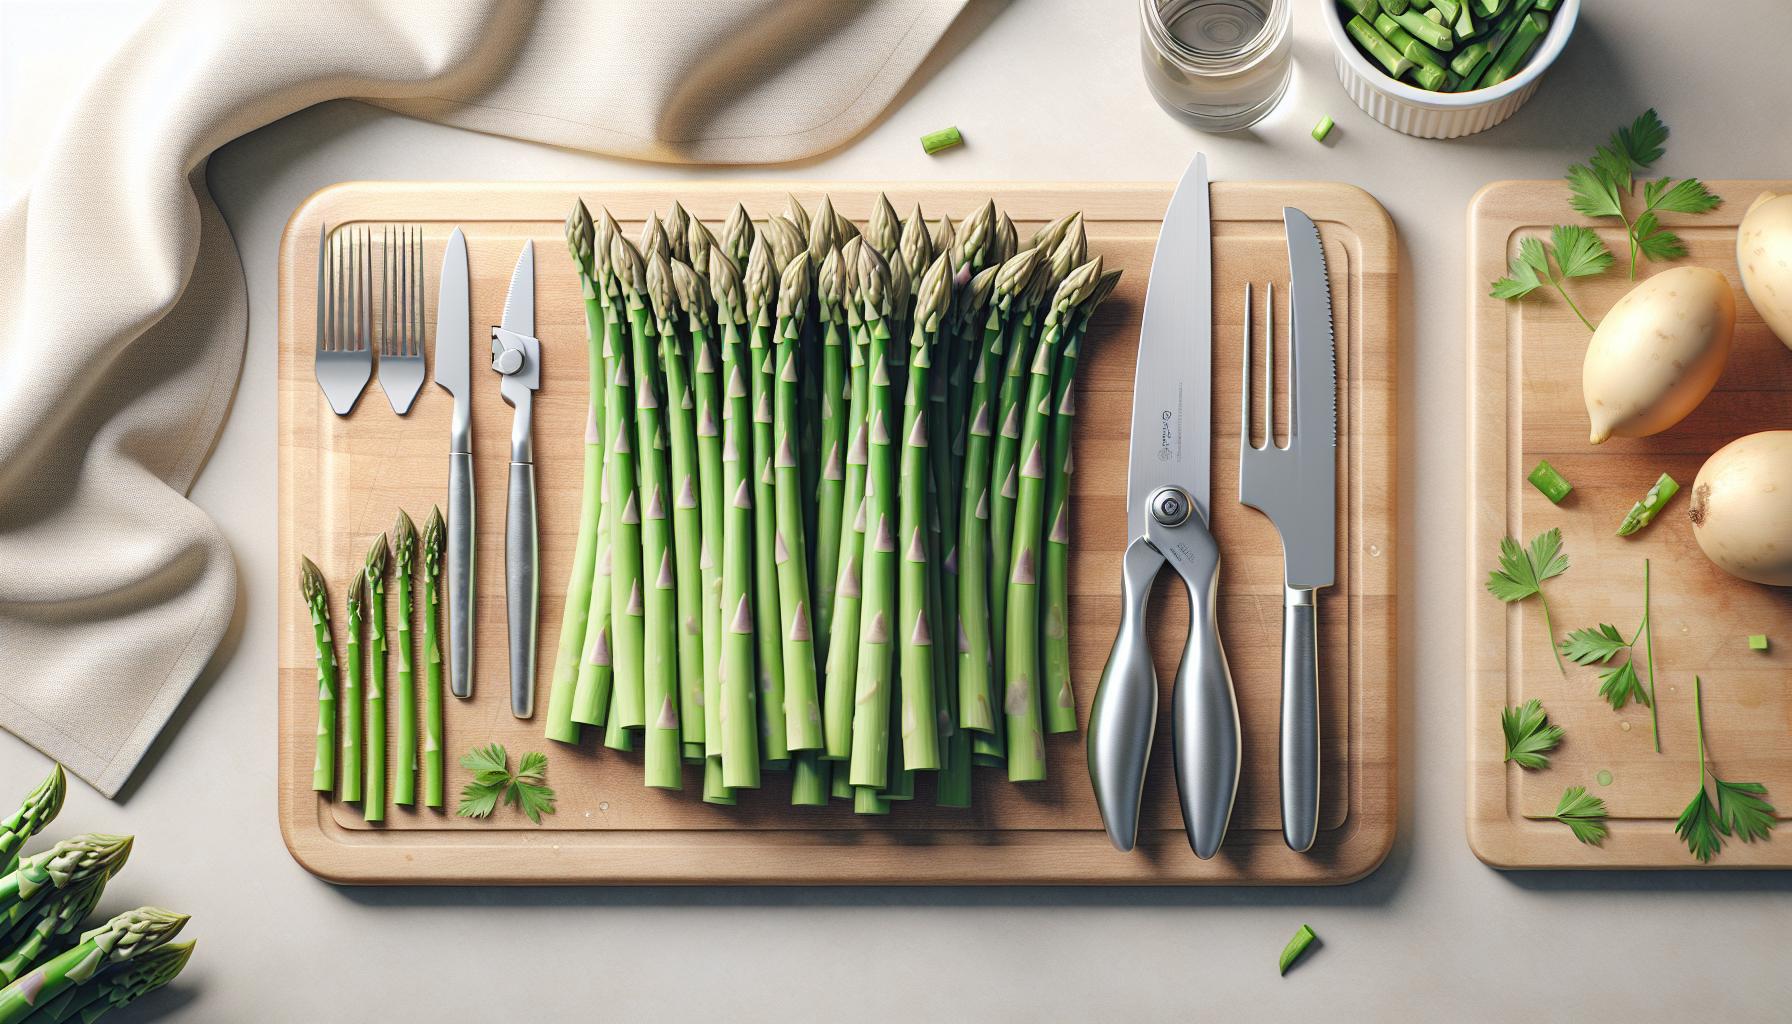
Trim the woody ends at the natural breaking point – about 1-2 inches from the bottom where the color changes from white to green. To find this spot hold each spear horizontally between your thumb and forefinger then bend until it snaps naturally.
Key preparation steps:
- Rinse spears thoroughly under cool water
- Remove any damaged or discolored parts
- Snap off woody ends at natural breaking point
- Pat dry with paper towels to remove excess moisture
- Sort spears by thickness for even freezing
For optimal results group similar-sized spears together after trimming. Thicker spears (diameter >1/2 inch) freeze differently than thinner ones (diameter <1/4 inch). Remove any rubber bands or ties before cleaning to ensure all surfaces get cleaned properly.
2. Cut to desired length

Cut asparagus spears into uniform pieces for consistent freezing results. Slice the stalks into 1-2 inch segments using a sharp knife on a clean cutting board. Remove the tough woody ends by gently bending each spear until it snaps naturally at its breaking point.
Size sorting improves freezing consistency:
- Pencil-thin spears: Cut into 1-inch pieces
- Medium spears: Cut into 1.5-inch pieces
- Thick spears: Cut into 2-inch pieces
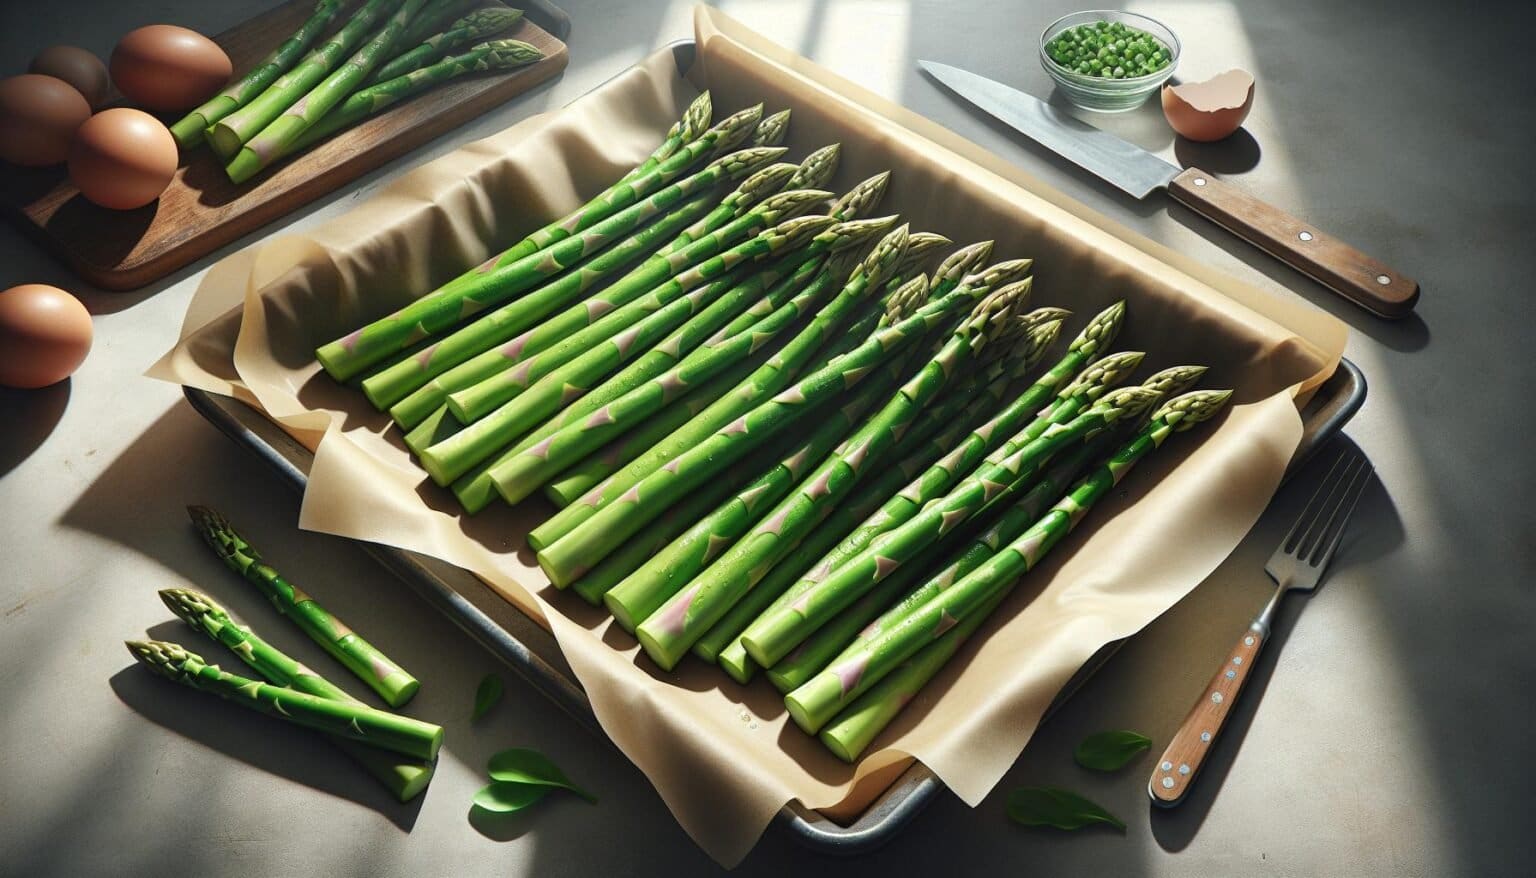
Place the cut pieces in a single layer on a baking sheet lined with parchment paper. Keep similar-sized pieces together for even freezing. Group separation helps prevent smaller pieces from freezing too quickly or larger pieces from remaining partially unfrozen.
The cut asparagus spears maintain their shape better when frozen in uniform sizes. This method optimizes storage space in freezer bags while ensuring each piece thaws evenly for future use.
3. Dry completely

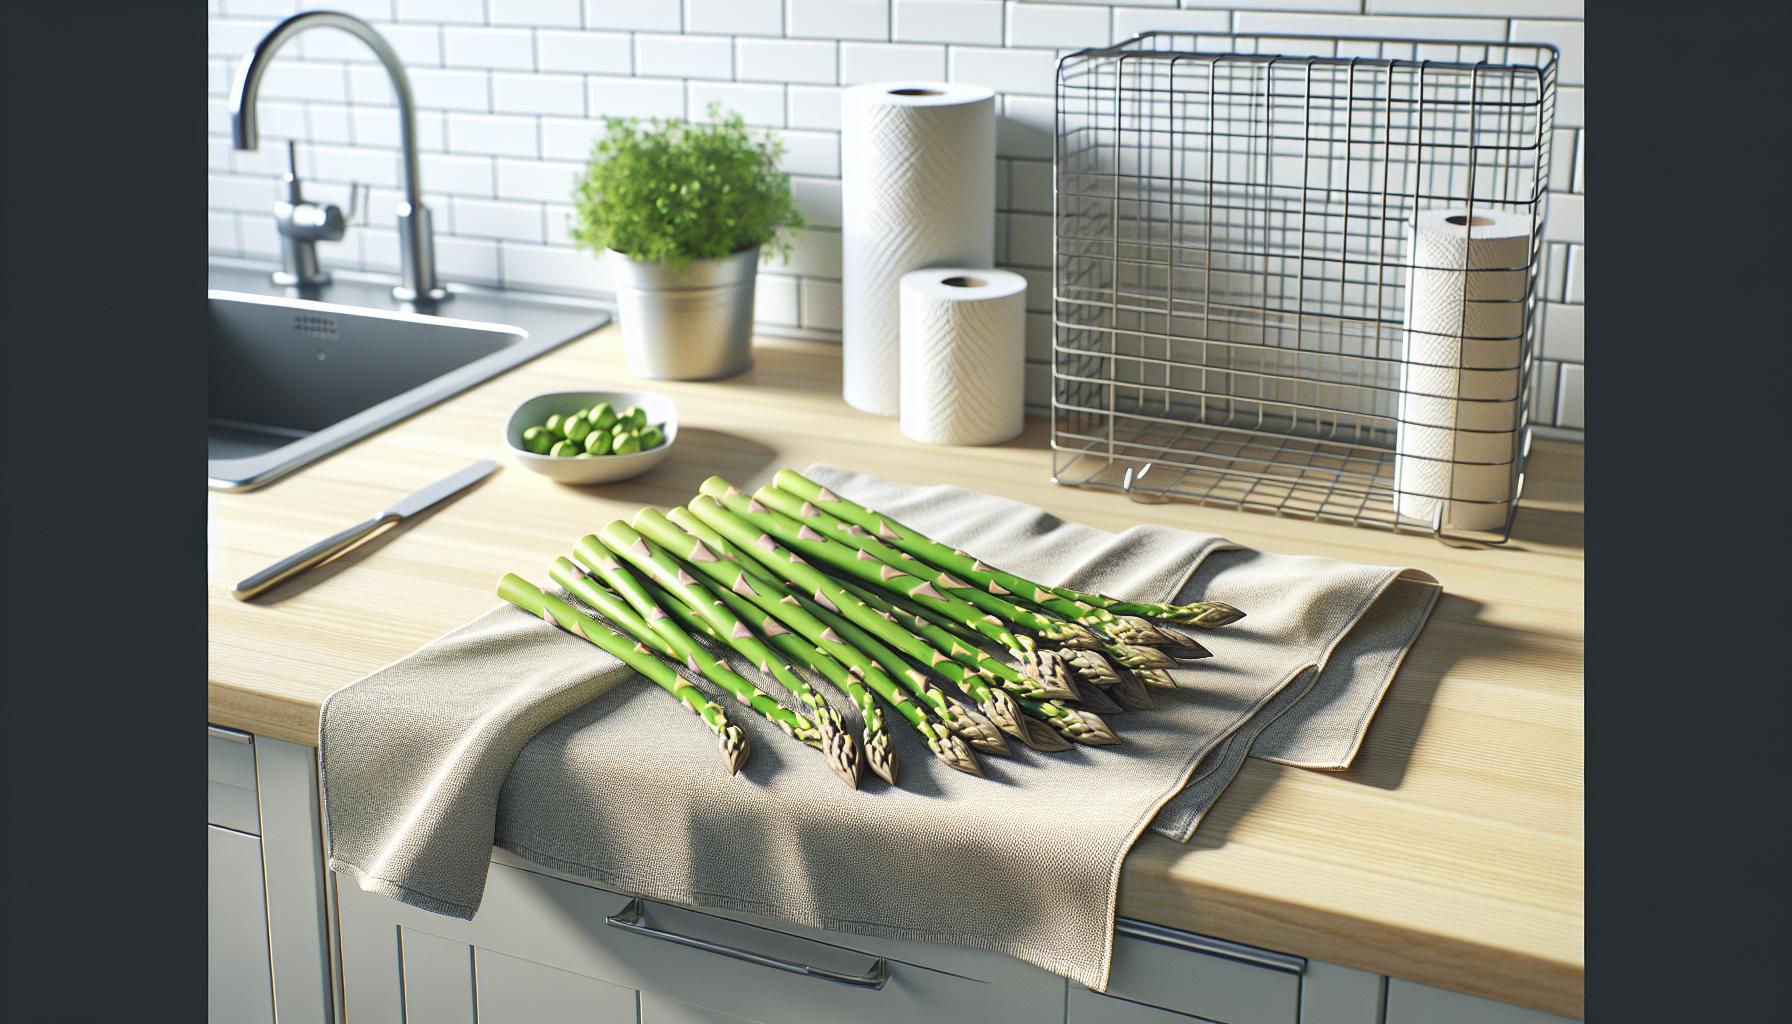
After washing the asparagus spears, drying them thoroughly prevents ice crystals from forming during freezing. Pat each spear with paper towels to remove surface moisture, then lay them in a single layer on a clean kitchen towel. Let the spears air dry for 15-20 minutes until no visible moisture remains.
- Use lint-free paper towels or kitchen cloths
- Roll spears gently in towels to absorb water
- Check stem ends for trapped moisture
- Place on a wire rack for additional air circulation
- Avoid stacking wet spears
A completely dry surface creates better contact between the asparagus and freezer bag, reducing freezer burn. The extra 20 minutes of drying time improves the frozen asparagus quality for up to 6 months in storage.
The absence of excess moisture also helps maintain the spears’ firm texture once thawed. Moisture left on the surface leads to mushy spots, compromising both texture and flavor when cooked.
4. Pack in freezer bags

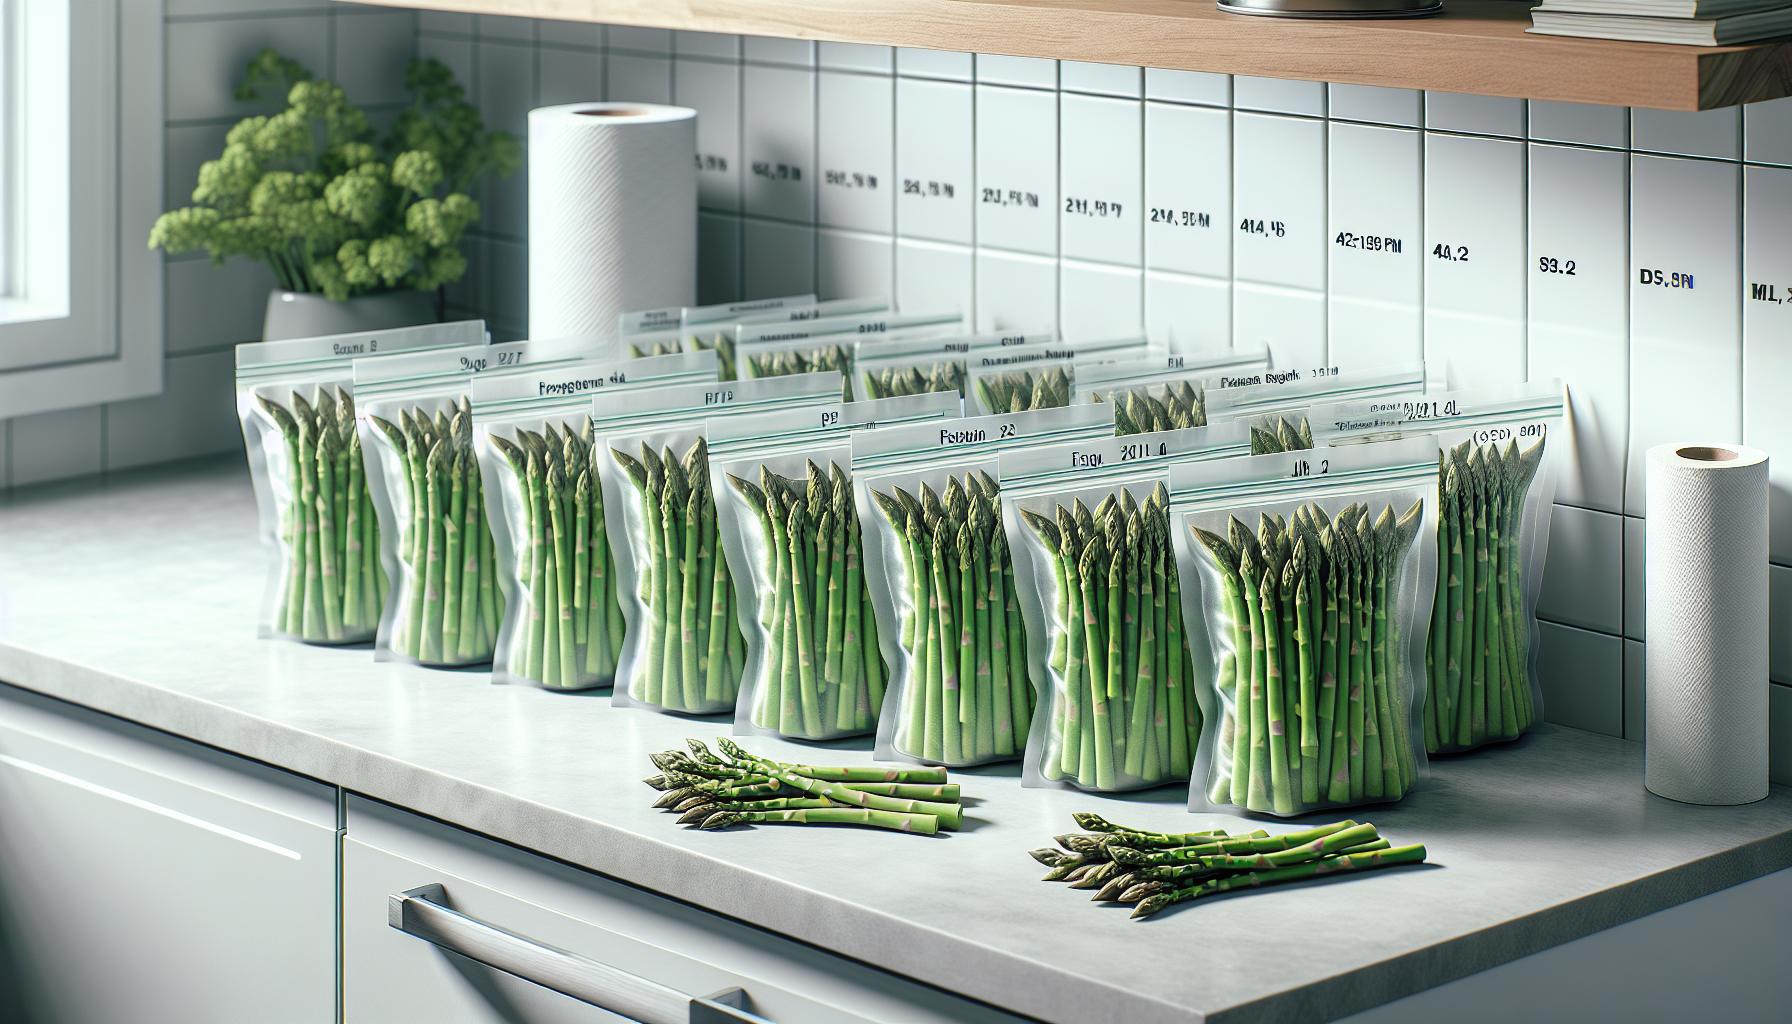
Place the flash-frozen asparagus pieces into freezer-safe bags or containers using these steps:
- Remove the frozen asparagus pieces from the baking sheet once fully frozen
- Press out excess air from freezer bags to prevent freezer burn
- Label bags with date of freezing for tracking freshness
- Store bags flat in freezer to maximize space
- Stack multiple bags horizontally for efficient storage
For optimal storage protection, consider these packing options:
| Storage Method | Maximum Storage Time |
|---|---|
| Standard freezer bags | 4-6 months |
| Vacuum-sealed bags | 8-12 months |
| Airtight containers | 3-4 months |
Pack asparagus in portion-sized amounts based on typical meal servings. This method eliminates the need to thaw large quantities at once. Double-bag the asparagus or use vacuum-sealed bags to provide extra protection against freezer burn.
Layer a paper towel inside each storage bag to absorb any excess moisture that develops during the freezing process. This technique helps maintain the asparagus texture when thawed.
Store frozen asparagus at 0°F (-18°C) or below for optimal preservation. Place newer packages behind older ones in the freezer to ensure first-in-first-out usage.
5. Remove air and freeze”
Place the frozen asparagus pieces into freezer-safe storage bags. Work in small batches, removing each portion from the baking sheet after they’re completely frozen. Press firmly on the bags to eliminate air pockets between the pieces.
Create a tight seal by pushing out any remaining air from the top of the bag while closing it. Double-bag the asparagus to provide extra protection against freezer burn. Label each bag with:
- Date of freezing
- Portion size
- Cut size (1-inch thin spears 1.5-inch medium 2-inch thick)
Store the bags flat in a single layer until completely frozen. Once frozen solid stack them horizontally to maximize freezer space. Store at 0°F (-18°C) for optimal preservation.
| Storage Method | Storage Duration |
|---|---|
| Standard Bags | 4-6 months |
| Double Bags | 6-8 months |
| Vacuum Sealed | 8-12 months |
Place a paper towel inside each bag to absorb any moisture that develops during storage. Position newer bags behind older ones to maintain proper rotation of frozen stock.


