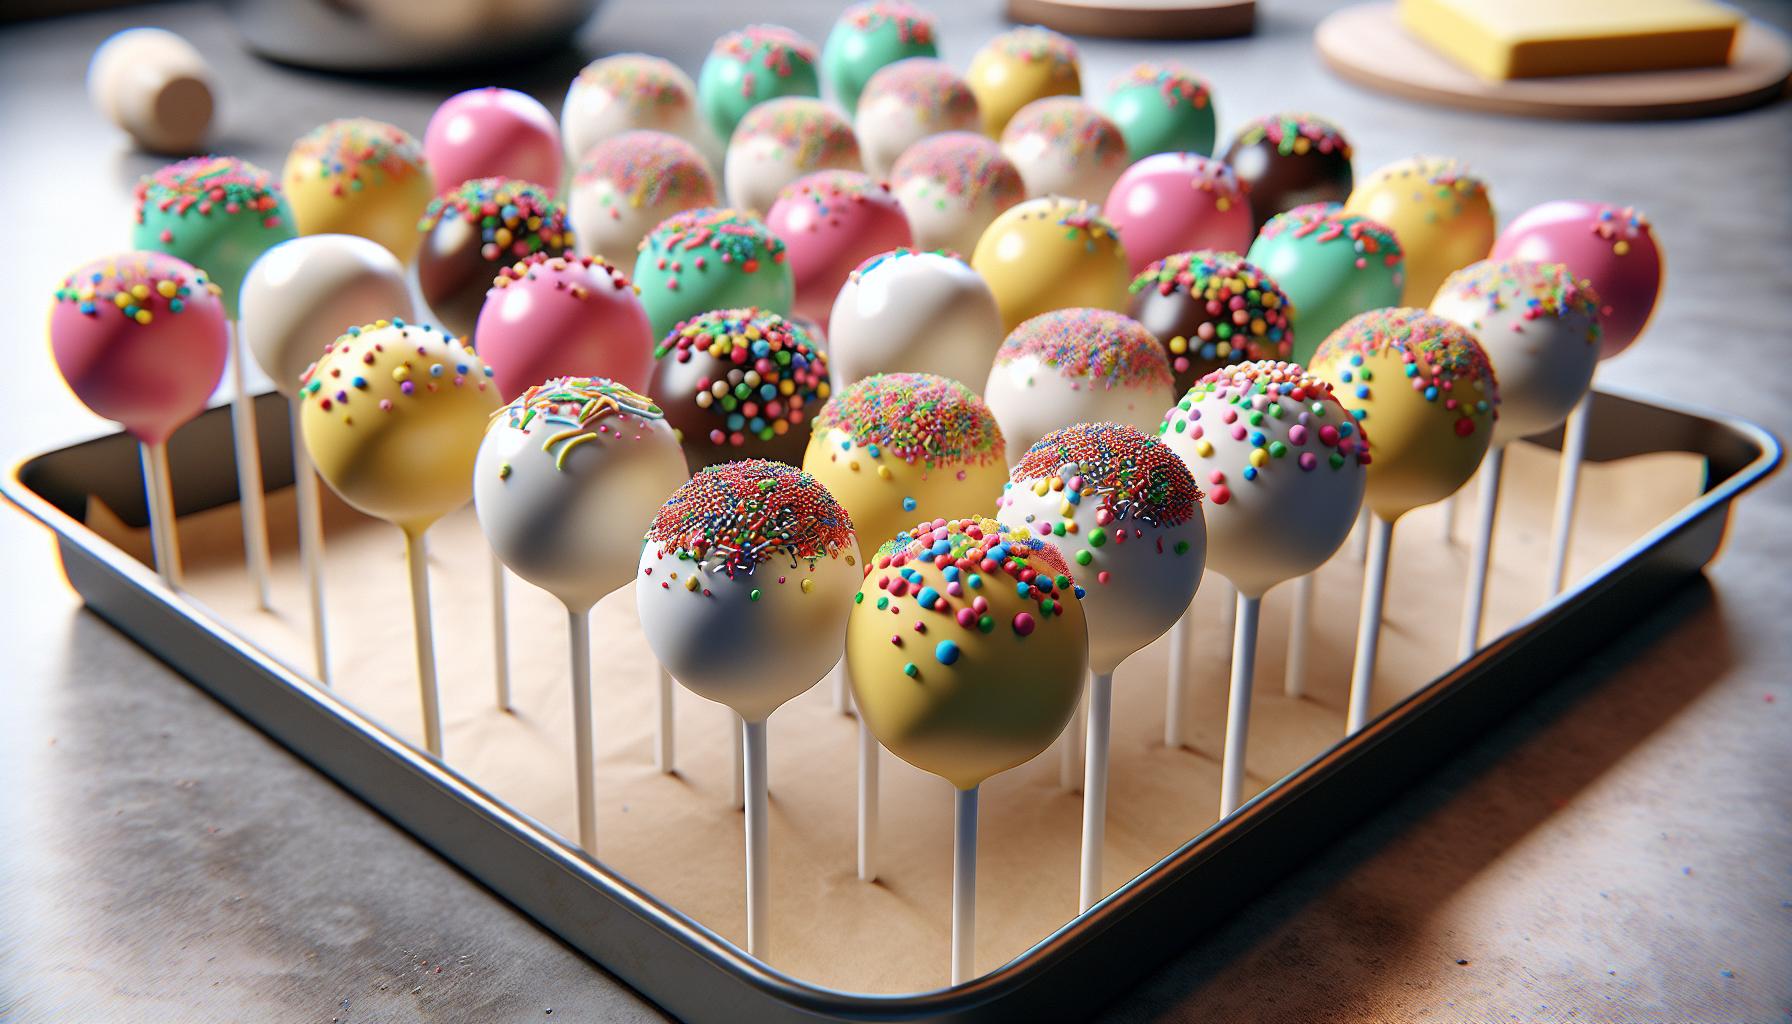
Creating perfectly dipped cake pops requires mastering the delicate balance of freezing time. Without proper chilling these tasty treats can crumble during dipping or develop unsightly cracks in their coating.
Cake pops need 15-20 minutes of freezing time before dipping to achieve optimal firmness. This quick freeze ensures the balls stay intact during coating while preventing condensation issues that could affect the chocolate’s adherence.
Getting the timing right transforms cake pops from potentially messy disasters into professional-looking desserts that’ll impress at any celebration. The freezing process acts as the critical foundation for achieving that smooth mirror-like finish and picture-perfect appearance that makes cake pops so irresistible.
“1. Form cake pops
Forming cake pops starts with creating uniform cake balls from crumbled cake mixed with frosting. Each cake ball requires 2-3 tablespoons of cake mixture rolled between palms to form 1.5-inch spheres.
Follow these steps to create properly shaped cake pops:
- Break cooled cake into fine crumbs in a large bowl
- Mix in frosting gradually until the mixture holds its shape
- Scoop consistent amounts using a cookie scoop or measuring spoon
- Roll mixture between palms into tight spheres
- Insert lollipop sticks halfway through each ball
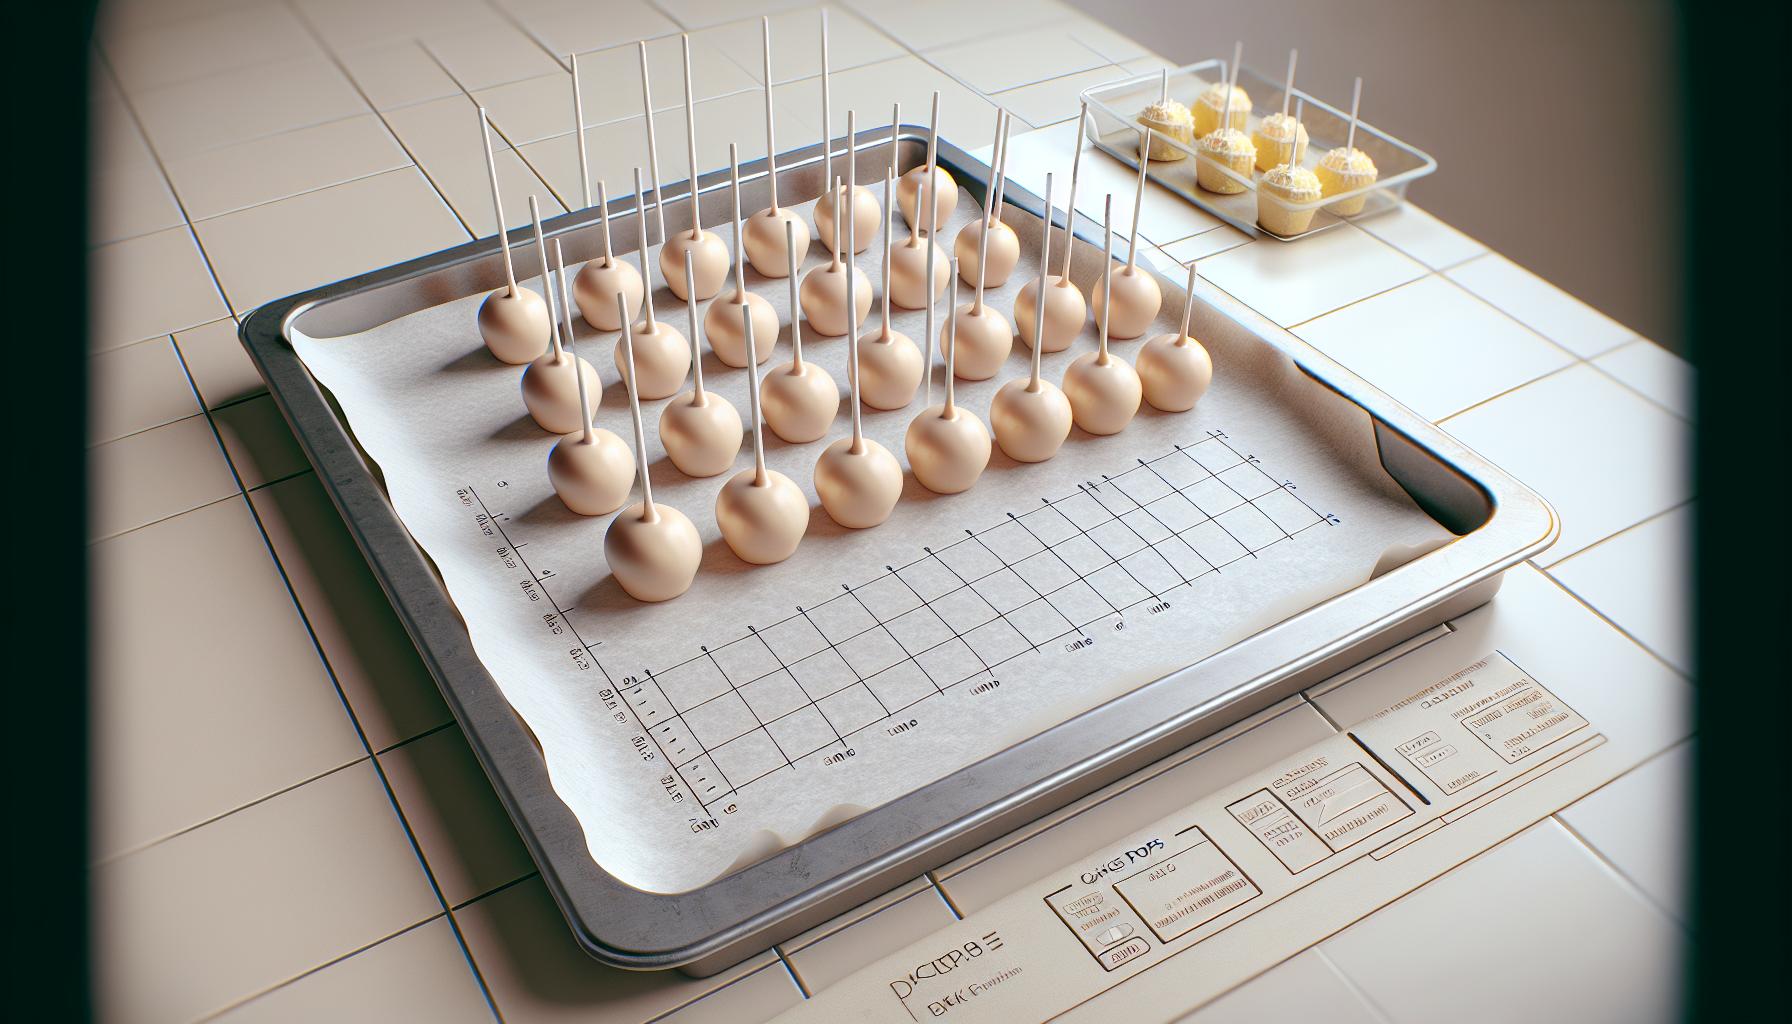
- Place formed pops on a baking sheet lined with parchment paper
Critical measurements for cake pop formation:
| Component | Measurement |
|---|---|
| Ball size | 1.5 inches |
| Stick insertion | 1/2 way through |
| Frosting ratio | 1/4 cup per 2 cups cake crumbs |
| Spacing on sheet | 2 inches apart |
The cake balls must hold their shape firmly when pressed lightly with a finger. This indicates they’re ready for the freezing process which prevents them from falling off the sticks during dipping.
2. Insert sticks

Inserting lollipop sticks into cake pops requires precise timing and proper technique. Dip each stick 1/2 inch into melted candy coating before pushing it halfway through the cake ball. This creates a secure anchor that prevents the cake pop from sliding off during the dipping process.
Place prepared cake balls 2 inches apart on a parchment-lined baking sheet. Insert each coated stick straight into the center of the ball at a 90-degree angle. The stick’s placement directly impacts the cake pop’s balance when dipping.
- Push sticks in before freezing to maintain shape
- Insert at room temperature for clean entry
- Avoid twisting motions that create cracks
- Keep stick depth consistent at halfway point
- Position sticks straight to prevent tilting
| Stick Type | Insertion Depth | Coating Depth |
|---|---|---|
| Standard | 1/2 way | 1/2 inch |
| Mini | 1/3 way | 1/4 inch |
| Extra-long | 2/3 way | 3/4 inch |
3. Place on lined tray

Transfer the prepared cake pops onto a parchment paper-lined baking sheet, spacing them 2 inches apart to prevent sticking. Position each cake pop upright with the sticks pointing straight up to maintain proper alignment during freezing.
A properly organized tray ensures:
- Even freezing across all cake pops
- Prevention of cake balls touching or rolling
- Easy transfer to and from the freezer
- Stable positioning of the sticks
| Tray Setup Requirements | Specifications |
|---|---|
| Spacing Between Pops | 2 inches |
| Stick Position | Perpendicular |
| Surface Material | Parchment paper |
| Tray Type | Flat baking sheet |
Pro tip: Place the tray on a flat surface in the freezer to maintain the cake pops’ shape during the 15-20 minute freezing period. A wobbly or tilted tray leads to uneven cake pops that resist proper coating.
The lined tray acts as a stable platform through each phase – from initial placement through freezing to final dipping preparation. Keeping the pops properly spaced prevents temperature fluctuations between neighboring cake balls.
4. Freeze 15-20 minutes

Place the cake pops in the freezer for exactly 15-20 minutes before dipping them in chocolate coating. The freezing time creates the perfect temperature balance that prevents cracking or sweating during the dipping process. Freezing beyond 20 minutes leads to temperature shock when dipping, causing cracks in the coating.
A quick 15-minute freeze establishes the ideal firmness while maintaining the cake pop’s core temperature. The outer layer becomes firm enough to hold its shape yet stays warm enough inside to prevent condensation issues. For optimal results, set a timer at the 15-minute mark to check the cake pops’ firmness – they’re ready when the surface feels solid but not completely frozen.
Temperature Guide for Freezing:
| Stage | Time | Touch Test |
|---|---|---|
| Initial | 15 min | Firm surface |
| Maximum | 20 min | Solid exterior |
| Overchilled | 25+ min | Too hard, may crack |
Monitor the cake pops during freezing – they shouldn’t develop frost on their surface. Remove them promptly after the 20-minute mark to maintain the perfect consistency for dipping.
5. Test firmness before dipping
“
Testing cake pop firmness determines their readiness for dipping in candy coating. Press gently on the surface of the cake pop with a finger – it’s firm enough when the indentation bounces back slowly. The optimal texture feels like a chilled stick of butter.
Here’s how to check firmness levels:
- Too Soft: Leaves deep finger marks instantly
- Just Right: Shows slight resistance with minimal indentation
- Too Hard: Feels rock-solid with no give
The cake pop surface temperature affects coating adhesion. Touch the outside briefly – it should feel cool but not ice cold. If condensation appears on the surface, let the pops sit at room temperature for 3-5 minutes before dipping.
| Firmness Test | Surface Feel | Dipping Readiness |
|---|---|---|
| Finger Press | Slight Give | Ready to Dip |
| Surface Touch | Cool, Not Cold | Wait 2-3 Minutes |
| Condensation | Wet/Frosty | Wait 5 Minutes |


