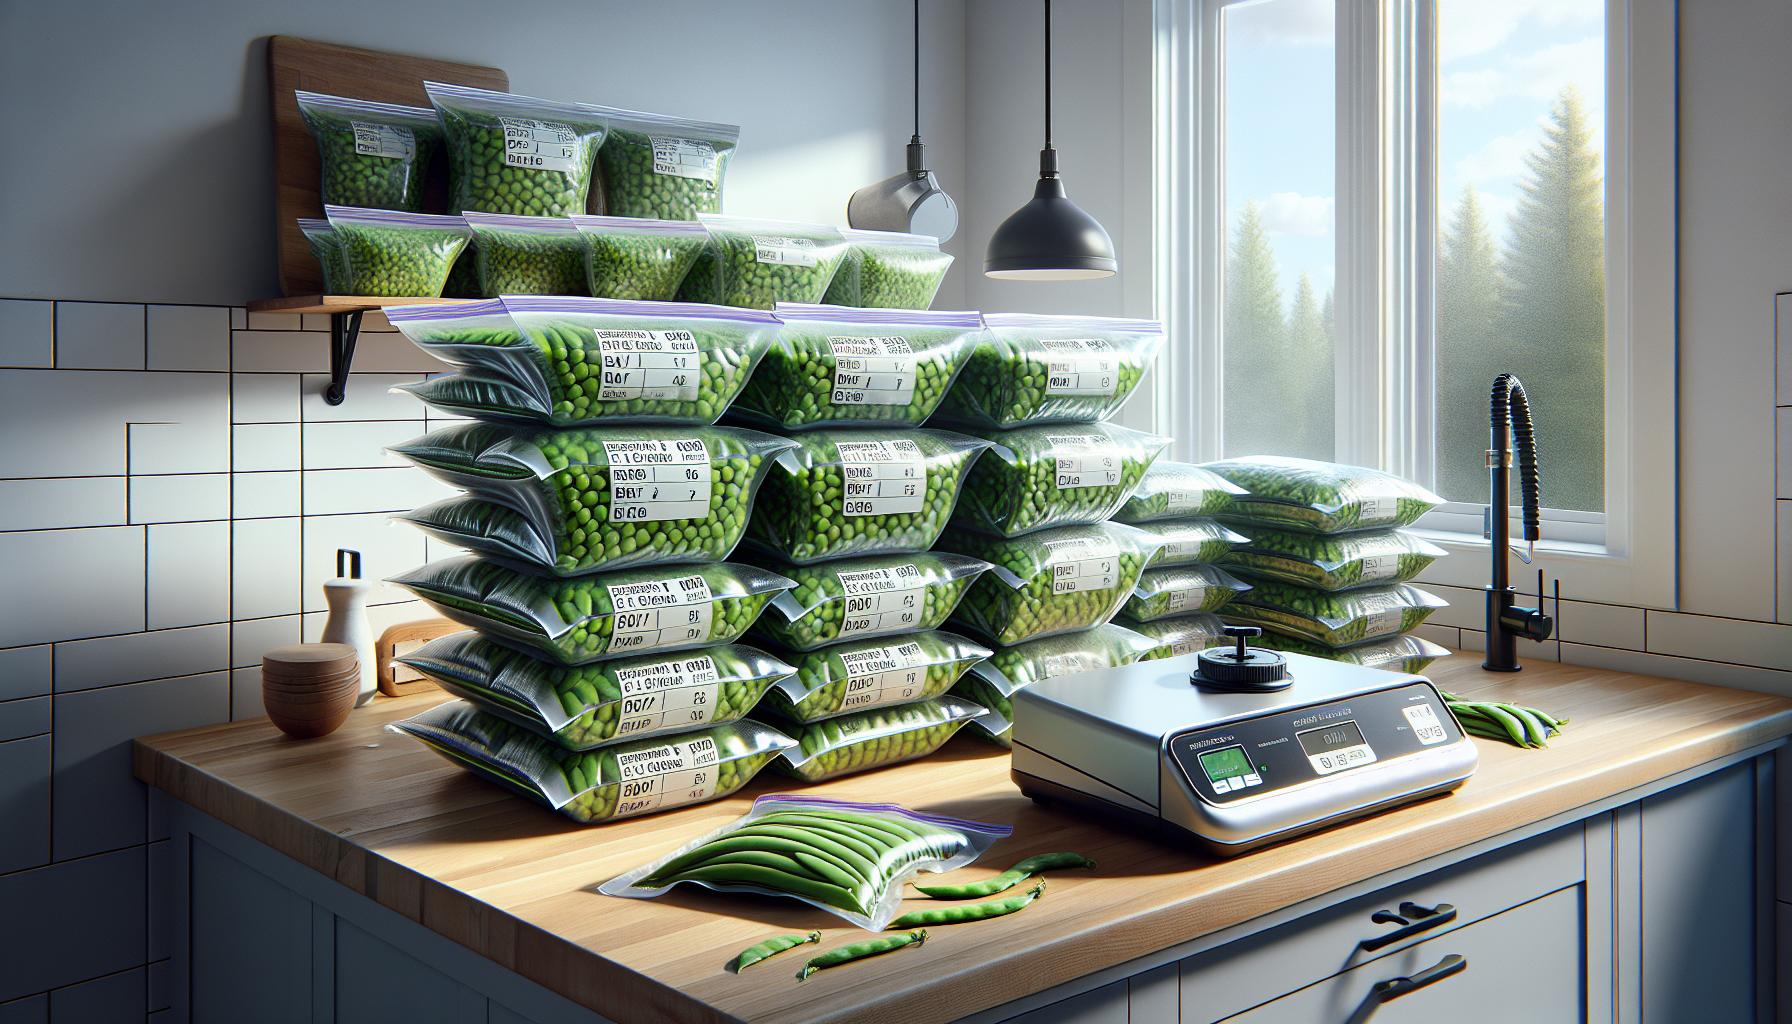
Snow peas are a delightful vegetable that bring a sweet crunch to stir-fries and salads. Yet their peak season doesn’t last forever. Learning to freeze these crisp pods properly helps preserve their flavor and nutritional value for months to come.
Freezing snow peas requires blanching them in boiling water for 1-2 minutes followed by an ice bath before packaging them in freezer bags. When properly frozen snow peas will maintain their quality for up to 8 months in the freezer.
Proper freezing techniques ensure these versatile vegetables retain their signature snap and vibrant green color long after harvest season ends. Whether they’re destined for quick weeknight meals or elaborate Asian-inspired dishes freezing snow peas helps reduce food waste while keeping this healthy vegetable readily available year-round.
“1. Wash and remove strings
Fresh snow peas require thorough cleaning to remove surface dirt debris. Place the snow peas in a colander under cool running water gently rubbing any visible dirt spots. Pat them dry with a clean kitchen towel or paper towels.
The tough strings along the pod seams need removal for better texture:
- Hold the stem end of the snow pea
- Snap off the stem while pulling downward
- Pull the string along the seam until it detaches
- Repeat on the other side if necessary
| Snow Pea Prep Stats | Time Required |
|---|---|
| Washing Time | 2-3 minutes |
| String Removal | 1-2 minutes |
| Total Prep Time | 3-5 minutes |
Storage Tip: Process snow peas immediately after cleaning to maintain maximum freshness. Excess moisture leads to ice crystal formation during freezing.
2. Cut off stem ends

Snow pea preparation starts with removing the tough stem ends in one quick motion. Grasp the pea pod in one hand and pinch the stem end with the other hand’s thumb and forefinger. Pull downward to snap off the stem while simultaneously removing the stringy fiber that runs along the pod’s seam.
- Remove stems with a clean diagonal cut about 1/4 inch from the end
- Pull the string down the length of the pod in a single motion
This stem removal technique takes 1-2 minutes for 2-3 cups of snow peas. The process reveals the tender edible portion inside while eliminating the fibrous parts that can be tough and unpleasant. When removing stems, look for any discolored or damaged ends and trim those sections away with a sharp knife.
As with all food prep, maintain a clean cutting board and sharp knife for efficient stem removal. The clean cuts minimize damage to the pea pods and help prevent enzyme activity that leads to quality loss during freezing.
3. Dry completely with paper towels

Lay the blanched snow peas in a single layer on clean paper towels. Press additional paper towels on top to absorb excess moisture from the ice bath. Repeat this process 2-3 times with fresh paper towels until the pea pods feel dry to the touch.
Tips for effective drying:
- Pat gently to avoid crushing the pods
- Change paper towels when they become saturated
- Ensure both sides of pods are completely dry
- Check pod creases for hidden moisture
Complete drying prevents ice crystals from forming during freezing, which helps maintain the snow peas’ texture. A thorough drying process takes 3-5 minutes for 2-3 cups of snow peas. Removing all surface moisture protects the peas’ cell structure during freezing.
4. Pack in freezer bags

Place dried snow peas in heavy-duty freezer bags in 2-cup portions. Remove excess air from the bags using a vacuum sealer or the water displacement method – submerging the partially sealed bag in water to force air out before sealing completely. Label each bag with:
- Contents
- Date packed
- Quantity (in cups)
- Blanching time
Arrange the packed snow peas in a single layer in the freezer until frozen solid, then stack the bags to save space. This flat-freezing technique prevents the peas from clumping together into a solid mass. Store at 0°F (-18°C) for optimal results.
| Storage Duration | Temperature | Expected Quality |
|---|---|---|
| 8-12 months | 0°F/-18°C | Best quality |
| 12-14 months | 0°F/-18°C | Good quality |
Pro Tip: Pack snow peas in portion sizes that match typical recipe requirements to avoid thawing more than needed.
5. Remove air and freeze for up to 6 months
“
Pack dried snow peas in heavy-duty freezer bags in 2-cup portions. Squeeze out excess air using the water displacement method – submerge the bag in water up to the seal line while keeping the seal above water. The water pressure pushes air out naturally.
Label each bag with:
- Content description
- Date packed
- Quantity
- Blanching time used
Arrange packed bags in a single layer in the freezer at 0°F (-18°C). Once frozen solid, stack the bags to maximize freezer space. Snow peas maintain optimal quality for 6 months when stored properly.
Pro tips for air removal:
- Use a vacuum sealer for best results
- If using zip-top bags, insert a straw to suck out remaining air
- Press firmly from bottom to top to expel air pockets
- Double-bag for extra protection against freezer burn
Store bags flat initially until frozen to prevent clumping. Pack in recipe-sized portions to avoid thawing more than needed for each use.


