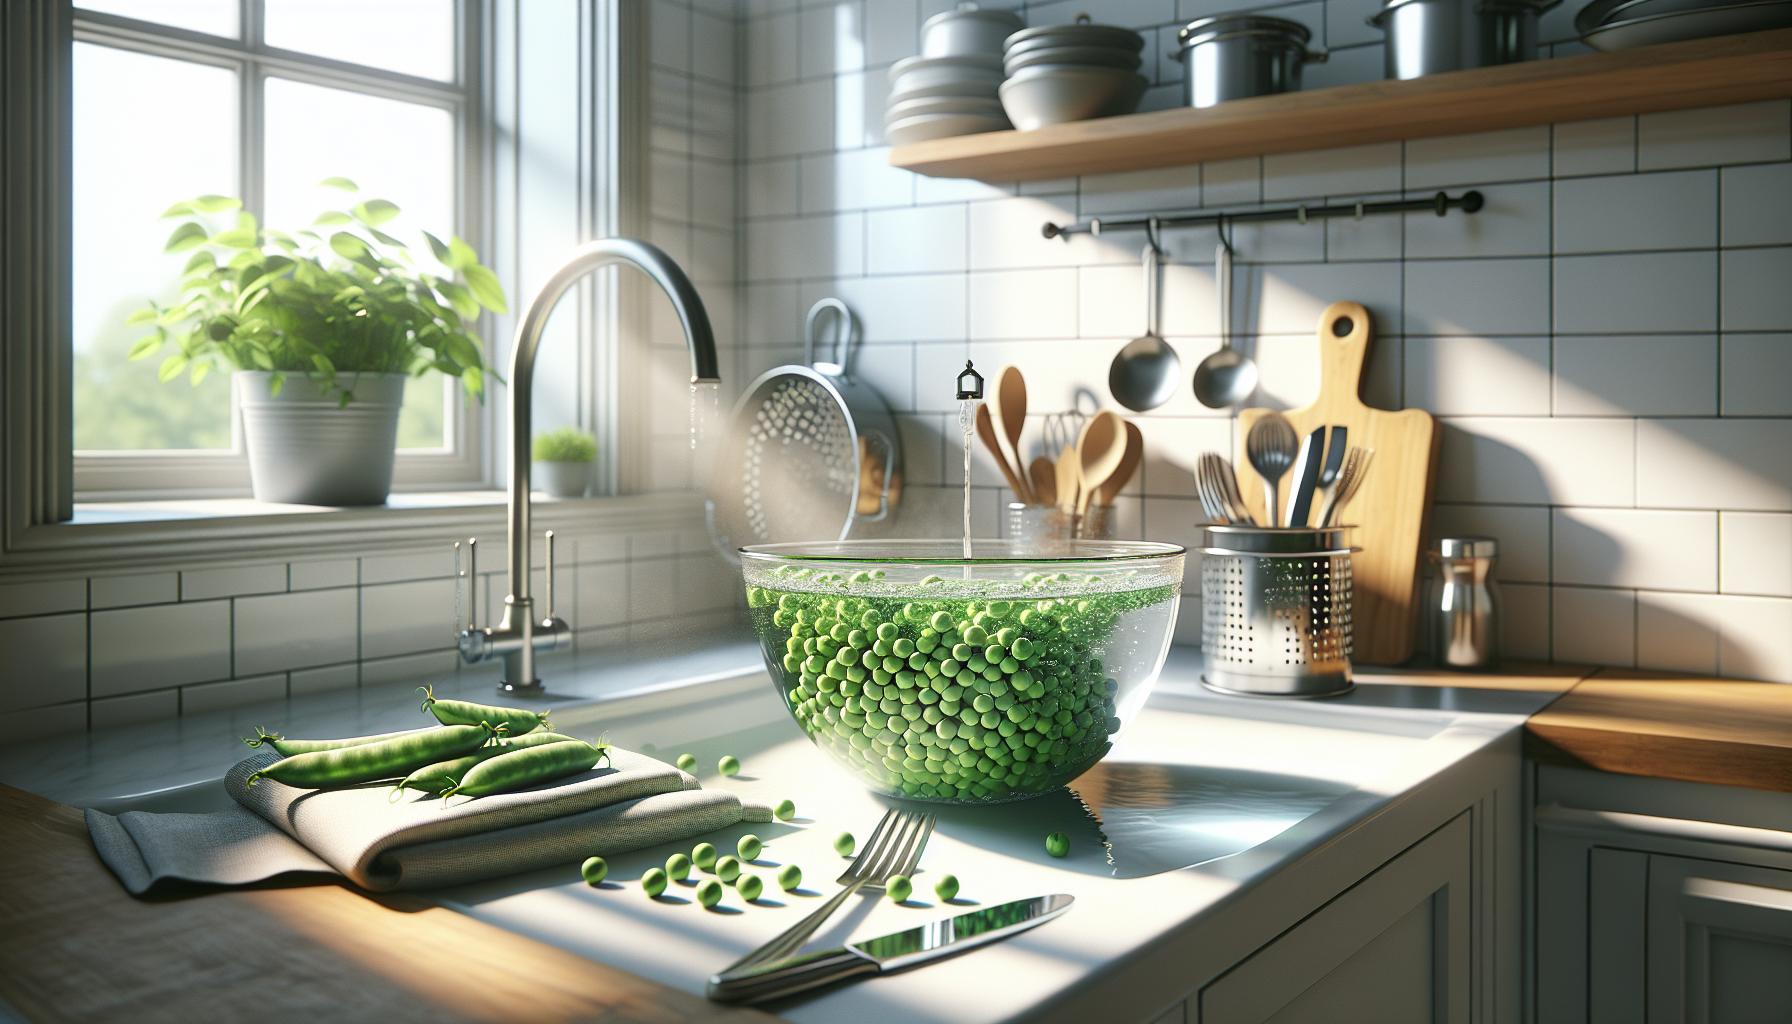
Fresh garden peas burst with sweet flavor and nutrients but their peak season passes quickly. Freezing these emerald gems preserves their garden-fresh taste and nutritional benefits for enjoyment throughout the year.
Freezing garden peas requires blanching them for 1-2 minutes followed by an ice bath before packaging them in freezer-safe containers. When properly frozen this way peas maintain their quality for up to 12 months in the freezer.
Whether harvested from a backyard garden or purchased from a local farmer’s market freezing peas at their prime ensures a steady supply of this versatile vegetable. The process takes less than 30 minutes and creates a convenient freezer staple for soups stews and side dishes long after the growing season ends.
“1. Shell fresh peas
Fresh garden peas require shelling before freezing. Here’s how to remove peas from their pods efficiently:
- Snap the stem: Break off the stem end of each pod.
- Pull the string: Draw the stem toward the tip to split the pod open.
- Pop out peas: Run your thumb along the inside seam to release the peas.
- Collect peas: Gather shelled peas in a bowl, removing any damaged ones.
For string peas (zipper peas), the process creates a natural unzipping effect. This method releases 6-8 peas from each pod, depending on the variety. A pound of pea pods typically yields 1-1.5 cups of shelled peas.
Pro Tip: Shell peas over a clean kitchen towel to catch any that bounce away during the process.
| Pod Amount | Shelled Peas Yield |
|---|---|
| 1 pound | 1-1.5 cups |
| 2 pounds | 2-3 cups |
| 4 pounds | 4-6 cups |
2. Clean and sort

Pour fresh garden peas into a large bowl filled with cold water. Swish the peas gently with your hands to dislodge dirt particles clinging to their surface. Remove any floating debris while the peas sink to the bottom of the bowl.
Inspect each pea for these quality indicators:
- Bright green color without yellowing
- Firm texture with no soft spots
- Uniform size for even freezing
- No signs of mold or damage
Transfer the cleaned peas to a colander to drain excess water. Spread them on a clean kitchen towel to remove surface moisture. Sort the peas into groups based on size, setting aside any that show:
- Discoloration
- Bruising
- Wrinkled surfaces
- Split shells
Pro tip: A single layer of peas on a light-colored surface makes spotting imperfections easier during sorting. This systematic approach ensures only the highest quality peas move forward to the blanching stage.
3. Pat dry thoroughly

Place the blanched peas on clean kitchen towels or paper towels in a single layer. Gently blot the peas to remove excess moisture, turning them occasionally to ensure all sides are dry. Thorough drying prevents ice crystals from forming during freezing, which can affect texture quality.
Pro tip: Use multiple layers of paper towels or fresh kitchen towels to absorb moisture effectively. Replace wet towels with dry ones if needed.
Key drying points:
- Spread peas evenly without overlapping
- Pat gently to avoid crushing
- Allow 10-15 minutes for complete drying
- Check for remaining moisture by rolling a few peas
A proper drying process creates optimal conditions for freezing garden peas, maintaining their vibrant green color. Test the peas’ dryness by touching them – they should feel cool but not wet to the touch.
Important: Don’t skip or rush the drying step, as excess moisture leads to freezer burn. Transfer the dried peas immediately to the next freezing stage once they’re completely moisture-free.
4. Pack in freezer bags

Pack the dried peas in freezer-safe bags or containers using these space-saving techniques:
- Portion dried peas into 1-2 cup servings
- Press out excess air from freezer bags
- Label each container with date packed
- Store flat in freezer to maximize space
Pro Tip: Create a small opening in the corner of the freezer bag to squeeze out remaining air before sealing completely.
For optimal storage, use these packing materials:
- Heavy-duty freezer bags (not regular storage bags)
- Vacuum-sealed bags for extended preservation
- Rigid plastic containers with tight-fitting lids
Leave 1/2 inch headspace in rigid containers to allow for expansion during freezing. Stack bags horizontally to create uniform layers that make efficient use of freezer space. Consider double-bagging to prevent freezer burn when storing longer than 6 months.
Small portions thaw more quickly than large ones, making it easier to use just the amount needed for recipes. A standard serving size of 1 cup works well for most dishes.
| Container Type | Storage Duration |
|---|---|
| Freezer Bags | 8-12 months |
| Vacuum Sealed | 12-18 months |
| Rigid Containers | 6-8 months |
5. Remove air and freeze
“
Pack the dried peas in freezer-safe bags or containers, leaving ½-inch headspace for expansion. Press out excess air from plastic freezer bags by laying them flat and pushing the air toward the opening before sealing. For optimal storage, spread peas in a single layer on a baking sheet lined with parchment paper and freeze for 2 hours until solid. Transfer the frozen peas to storage containers, removing additional air to prevent freezer burn.
| Container Type | Storage Duration | Air Removal Method |
|---|---|---|
| Freezer Bags | 8-12 months | Manual pressing |
| Vacuum Bags | 12-18 months | Vacuum sealing |
| Rigid Containers | 6-8 months | Headspace only |
Label each container with the contents and date. Store peas at 0°F (-18°C) in the back of the freezer where temperature remains consistent. Stack bags horizontally to maximize freezer space and allow for easy portion control when cooking.


