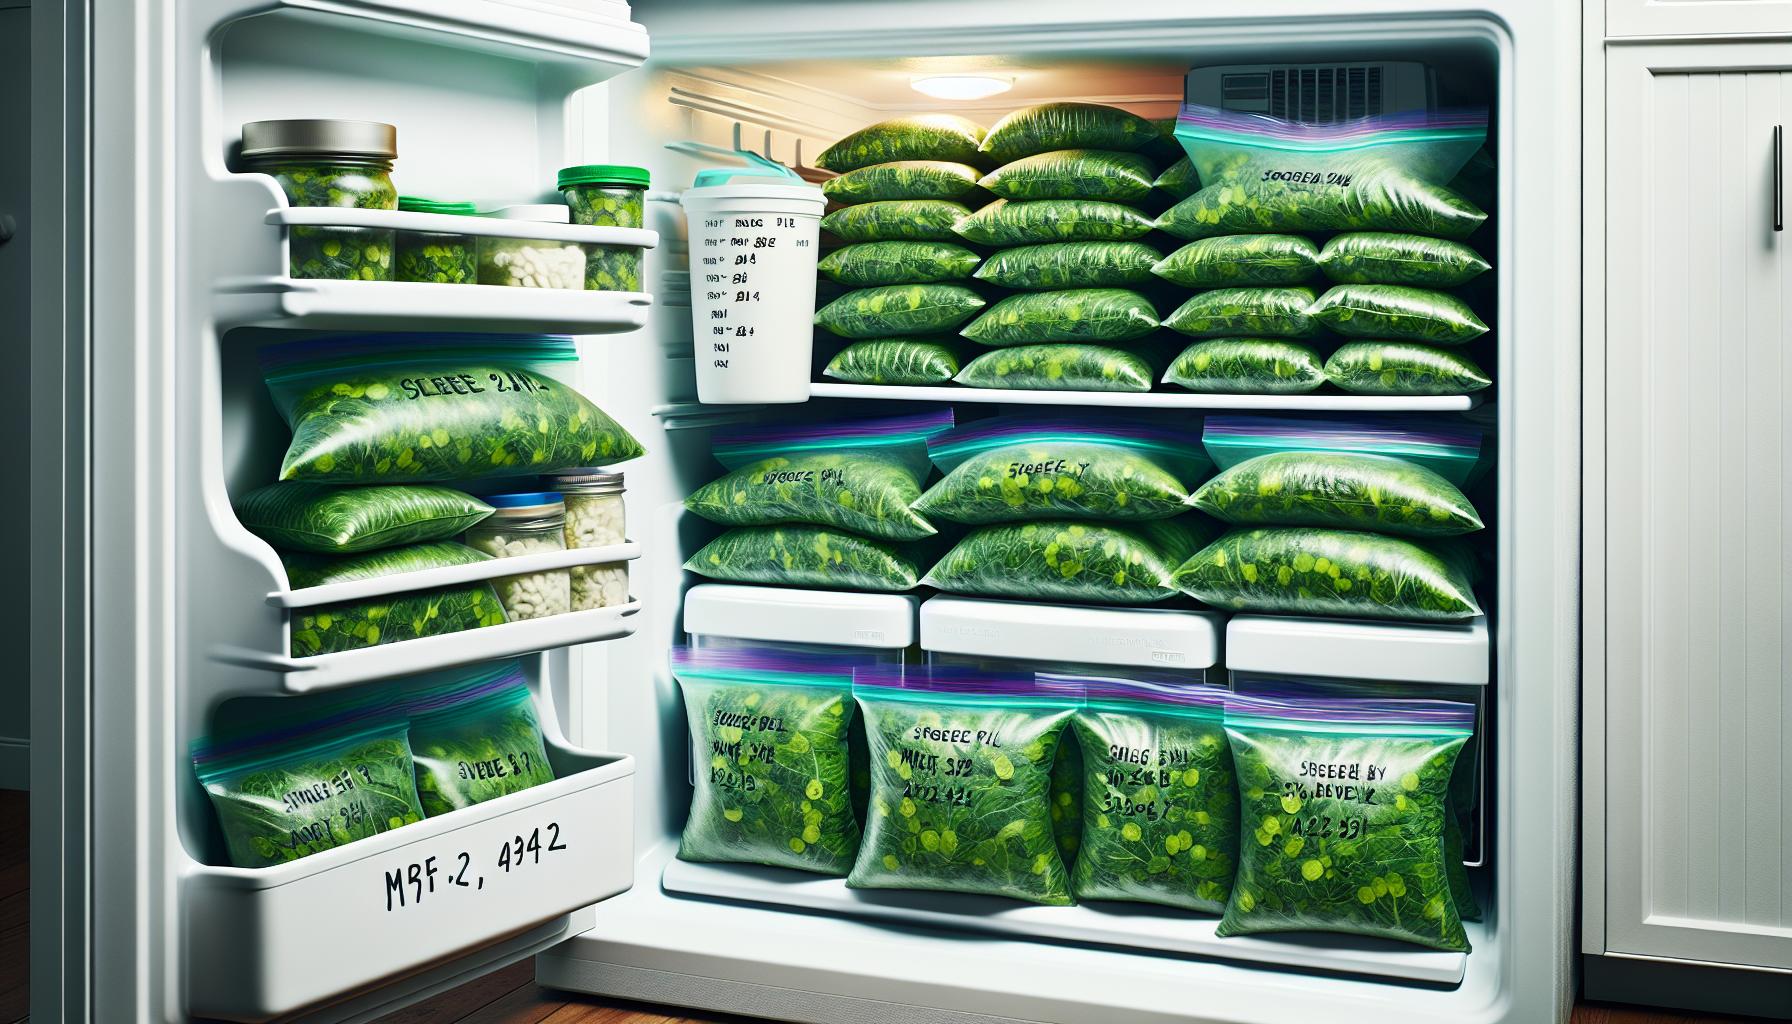
Fresh collard greens offer a wealth of nutrients and flavor but can spoil quickly without proper storage. Freezing these leafy greens preserves their nutritional value and ensures a steady supply throughout the year. Many home cooks find this method particularly useful during harvest season when collards are abundant and affordable.
Freezing collard greens requires blanching the leaves first then cooling shock treating and storing them in airtight containers or freezer bags. This process maintains their color texture and flavor for up to 12 months in the freezer while preserving essential vitamins and minerals.
Mastering the art of freezing collard greens isn’t just about preservation – it’s about maintaining the integrity of this Southern staple. Whether planning ahead for holiday meals or simply making the most of a garden harvest proper freezing techniques ensure these nutritious greens remain ready for countless delicious recipes.
“1. Wash and remove stems
Fresh collard greens require thorough cleaning to remove dirt, sand particles, and insects. Place the greens under cold running water, gently rubbing each leaf to dislodge debris. Turn each leaf over to clean both sides completely.
For stem removal, try these two methods:
- Pull method: Hold the leaf in one hand and firmly pull the stem downward with the other hand
- Cut method: Fold the leaf in half along the stem and slice along the edge with a sharp knife
The cleaning process includes these steps:
- Fill a large sink or basin with cold water
- Submerge leaves completely in the water
- Swish leaves around to release dirt
- Lift greens out of water, leaving debris behind
- Repeat if necessary until water runs clear
Pro tip: Save the removed stems for pickling or adding to vegetable stock. They contain valuable nutrients and add a crunchy texture to other dishes.
Note: Clean greens retain more nutrients during the freezing process than those with dirt residue.
2. Cut into desired sizes

The optimal size for freezing collard greens depends on their intended use in future recipes. Large leaves separate into manageable portions by cutting along both sides of the center rib, creating 2-3 inch squares. Small leaves remain whole when they measure less than 4 inches across.
Here are the recommended cutting techniques:
- Stack 4-5 leaves on top of each other
- Roll them tightly like a cigar
- Cut crosswise into 1-inch strips for traditional Southern-style cooking
- Create 2-inch squares for soups or casseroles
- Leave baby leaves whole for braising or quick sautéing
| Leaf Size | Cutting Method | Best Uses |
|---|---|---|
| Large (>4″) | 2-3″ squares | Stews, soups |
| Medium | 1″ strips | Southern dishes |
| Small (<4″) | Whole | Braising, sautés |
Pro tip: Cut uniform sizes to ensure even blanching later in the process. Consistent sizing prevents overcooking of smaller pieces while larger ones remain undercooked.
3. Dry thoroughly

Removing excess moisture from blanched collard greens prevents ice crystal formation during freezing. A salad spinner provides the fastest method to extract water from the leaves. Place small batches in the spinner basket & rotate vigorously for 30 seconds.
- Layer greens between clean kitchen towels & press gently
- Spread leaves on paper towels in a single layer for 15 minutes
- Use a colander to drain & shake excess water
- Hand-squeeze small portions using clean kitchen towels
Check the leaves after initial drying – they should feel slightly damp but not wet. Pat any remaining wet spots with paper towels before moving to the freezing step. Thorough drying leads to better texture retention after thawing.
Pro tip: Avoid stacking wet leaves during the drying process. Overlapping creates moisture pockets that compromise freezing quality & lead to freezer burn.
4. Pack in freezer bags

Pack dried collard greens into freezer-safe bags in pre-measured portions for easy meal planning. Press out excess air from each bag before sealing to prevent freezer burn. Label each package with the date packed to track freshness.
Storage tips for optimal freezing:
- Fill bags only 3/4 full to allow room for expansion
- Store flat to maximize freezer space
- Stack bags horizontally after they’re frozen solid
- Pack in 1-cup or 2-cup portions for convenient cooking
Create a double layer of protection by:
- Wrapping portions in plastic wrap first
- Placing wrapped portions into freezer bags
- Removing air with a straw before final seal
A vacuum sealer creates an airtight seal that extends storage life up to 12 months compared to 6 months with regular freezer bags. Once packed, store collard greens at 0°F (-18°C) in the back of the freezer where temperature remains constant.
| Storage Method | Maximum Storage Time |
|---|---|
| Regular Freezer Bags | 6 months |
| Vacuum-Sealed Bags | 12 months |
5. Remove air and freeze”
Pack dried collard greens into freezer-safe bags or containers, filling each to 3/4 capacity. Press firmly from bottom to top to remove excess air, creating a vacuum-like seal. Label each package with:
- Date of freezing
- Quantity in pounds or cups
- Blanching method used
For optimal storage:
- Place bags flat in a single layer on freezer shelves during initial freezing
- Stack frozen packages horizontally once solid
- Store at 0°F (-18°C) or lower
Vacuum sealers extend storage life to 12 months, while regular freezer bags preserve quality for 6 months. For portioning convenience, freeze individual servings in separate bags or create freezer blocks by:
- Rolling portions in plastic wrap
- Placing wrapped portions in larger freezer bags
- Removing remaining air before sealing
Check sealed packages for signs of frost or ice crystals which indicate air exposure. Double-wrap or transfer to new containers if freezer burn appears.


