
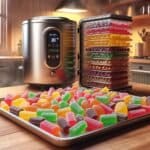
Candy corn becomes a delightful year-round treat when preserved through freeze-drying. This unique preservation method transforms the classic Halloween candy into a crunchy delight while maintaining its signature sweetness and distinctive tri-colored appearance.
Freeze-drying candy corn requires a proper freeze-dryer machine running a complete cycle of pre-freezing sublimation and final drying typically taking 24-36 hours. The process removes moisture while preserving the candy’s structure shape and flavors.
The growing popularity of freeze-dried candies has sparked interest in creating these shelf-stable treats at home. While traditional candy corn lasts only a few months freeze-dried versions can stay fresh for years when properly stored making them perfect for long-term storage or unique gift-giving opportunities.
“1. Arrange candy on trays
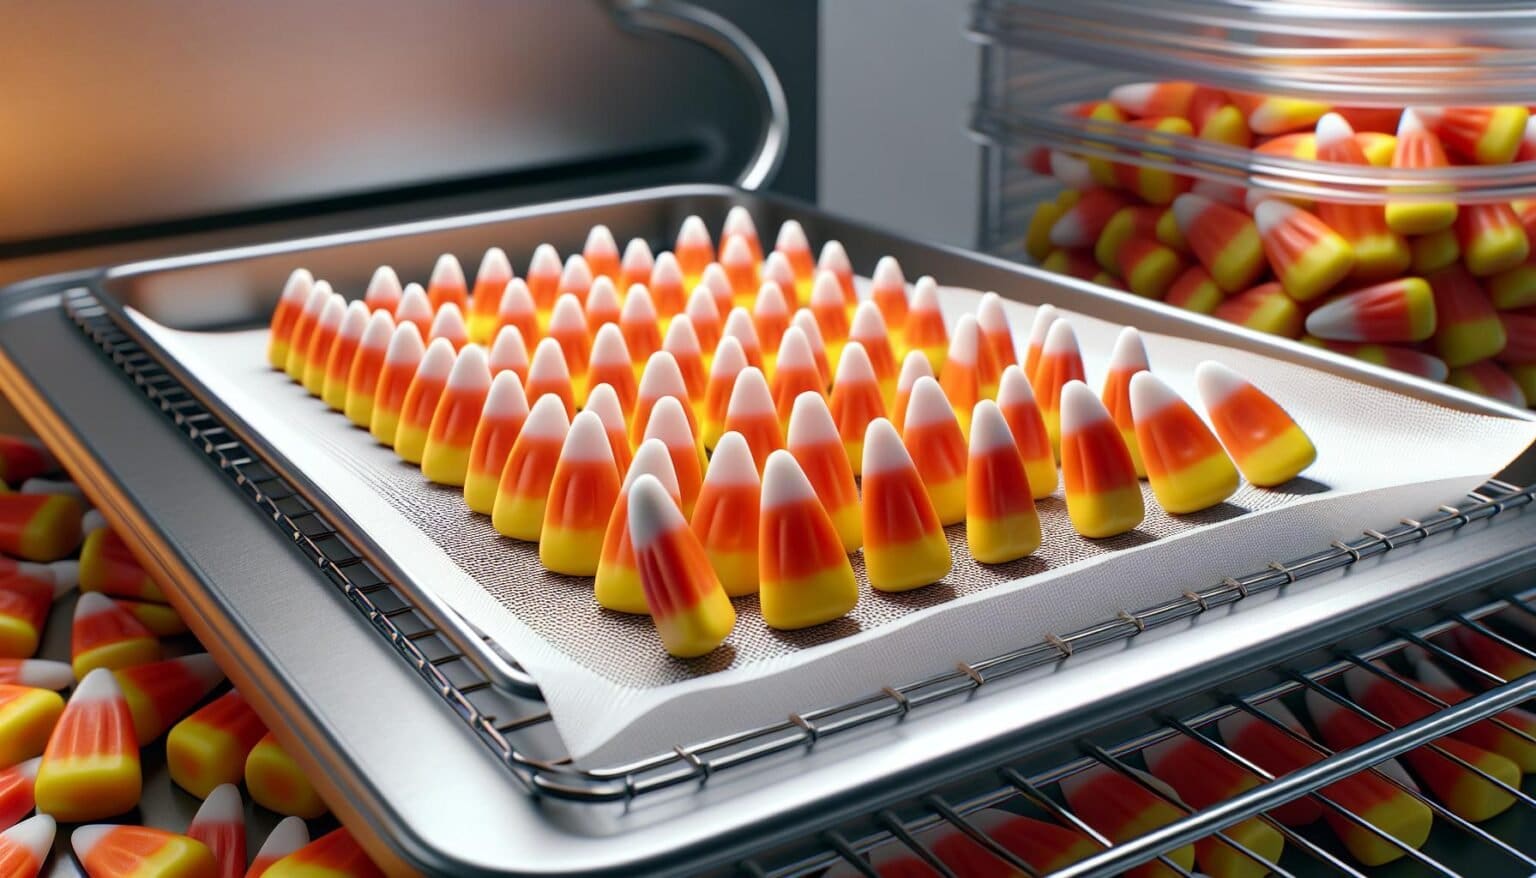
Proper tray arrangement creates optimal conditions for freeze-drying candy corn. Here’s the essential setup process:
- Space pieces evenly across freeze-dryer trays with 1/2 inch gaps between each piece
- Line trays with food-grade parchment paper or silicone mats to prevent sticking
- Create single layers without stacking or overlapping candy pieces
- Leave airflow gaps around the edges of trays for proper circulation
- Position similar-sized pieces together on the same tray for consistent drying
A standard freeze-dryer tray layout accommodates these quantities:
| Tray Size | Candy Corn Capacity |
|---|---|
| Small (12″ x 12″) | 80-100 pieces |
| Medium (14″ x 14″) | 120-150 pieces |
| Large (16″ x 16″) | 180-200 pieces |
The candy corn maintains its distinctive tri-colored pattern during arrangement. Position white tips pointing upward for uniform drying results.
2. Space pieces evenly
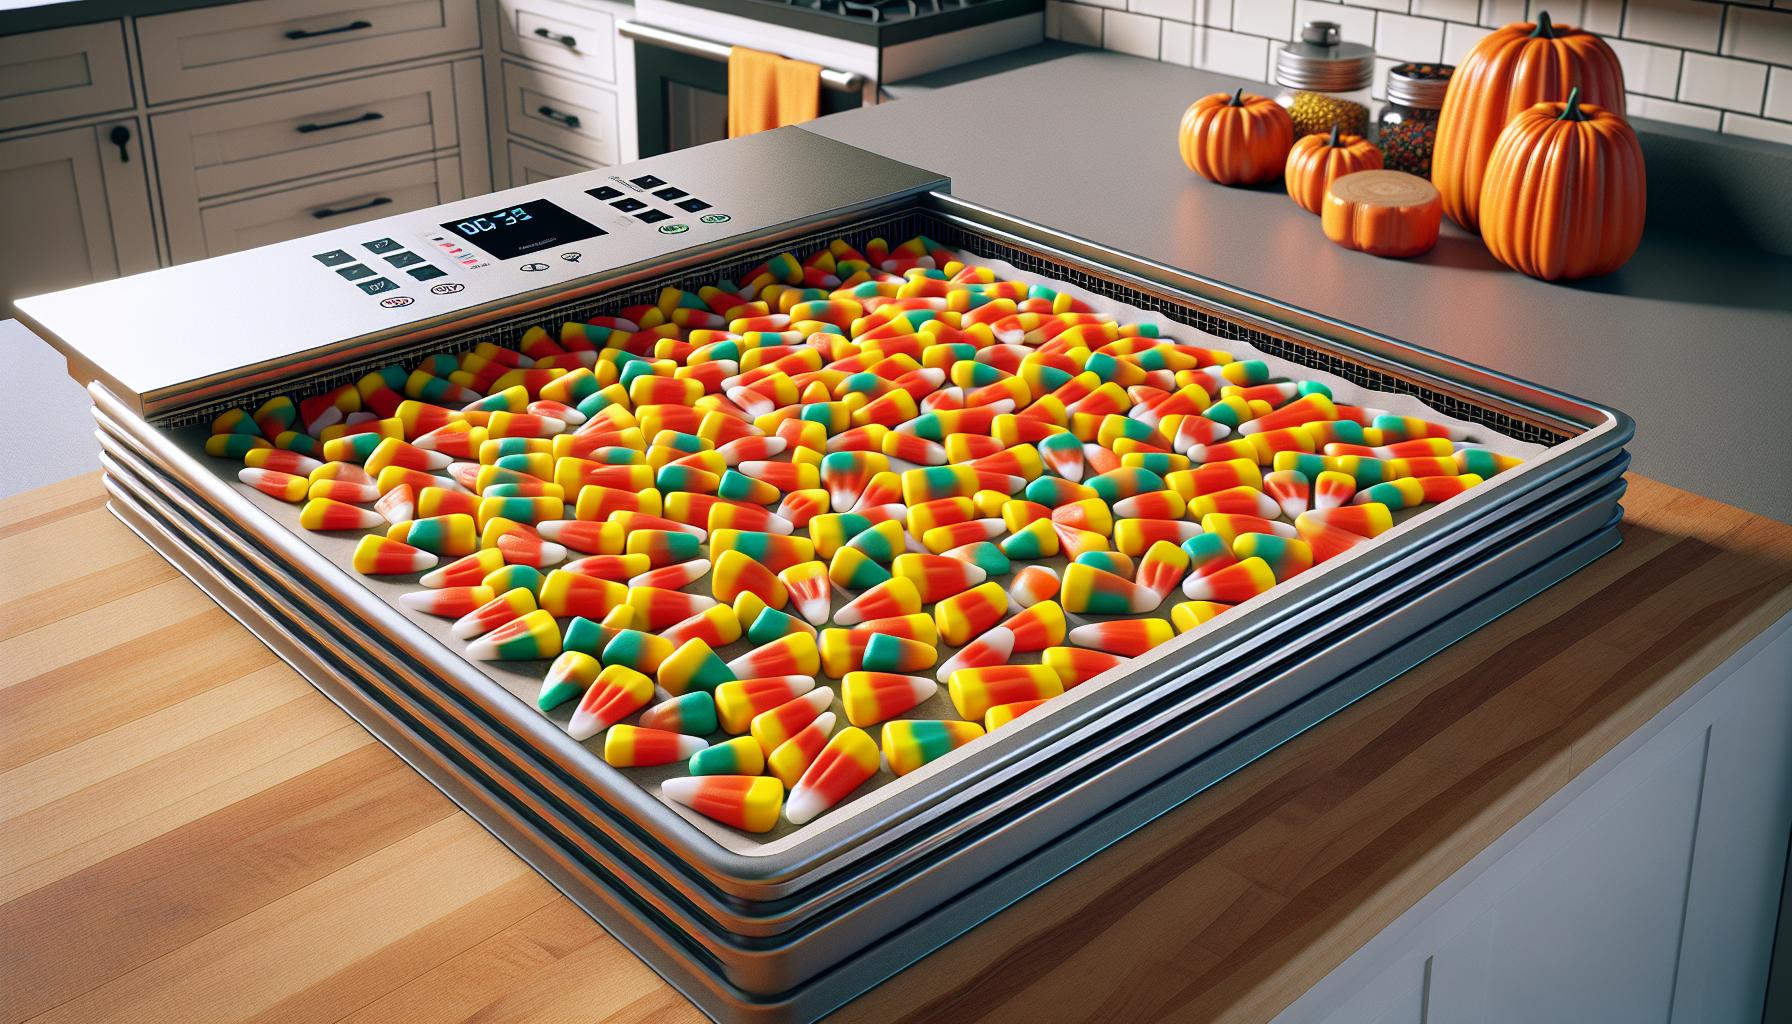
Proper spacing of candy corn pieces creates optimal drying conditions in the freeze-dryer. Place each piece 1/2 inch apart from neighboring pieces on the tray surface. This consistent spacing prevents clumping during the freeze-drying process.
Essential spacing guidelines:
- Position candy corn with white tips facing upward
- Leave 1/2 inch gaps between pieces
- Avoid touching or overlapping pieces
- Create single layers only, no stacking
- Maintain even distribution across the tray
| Tray Size | Maximum Capacity | Recommended Spacing |
|---|---|---|
| 12″ x 16″ | 80-100 pieces | 1/2 inch gaps |
| 14″ x 18″ | 120-140 pieces | 1/2 inch gaps |
Proper airflow between pieces accelerates the drying process while ensuring uniform results. Line freeze-dryer trays with food-grade parchment paper or silicone mats before arranging candy corn to prevent sticking. Even distribution allows cold air to circulate effectively around each piece during the freezing phase.
3. Run freeze dry cycle
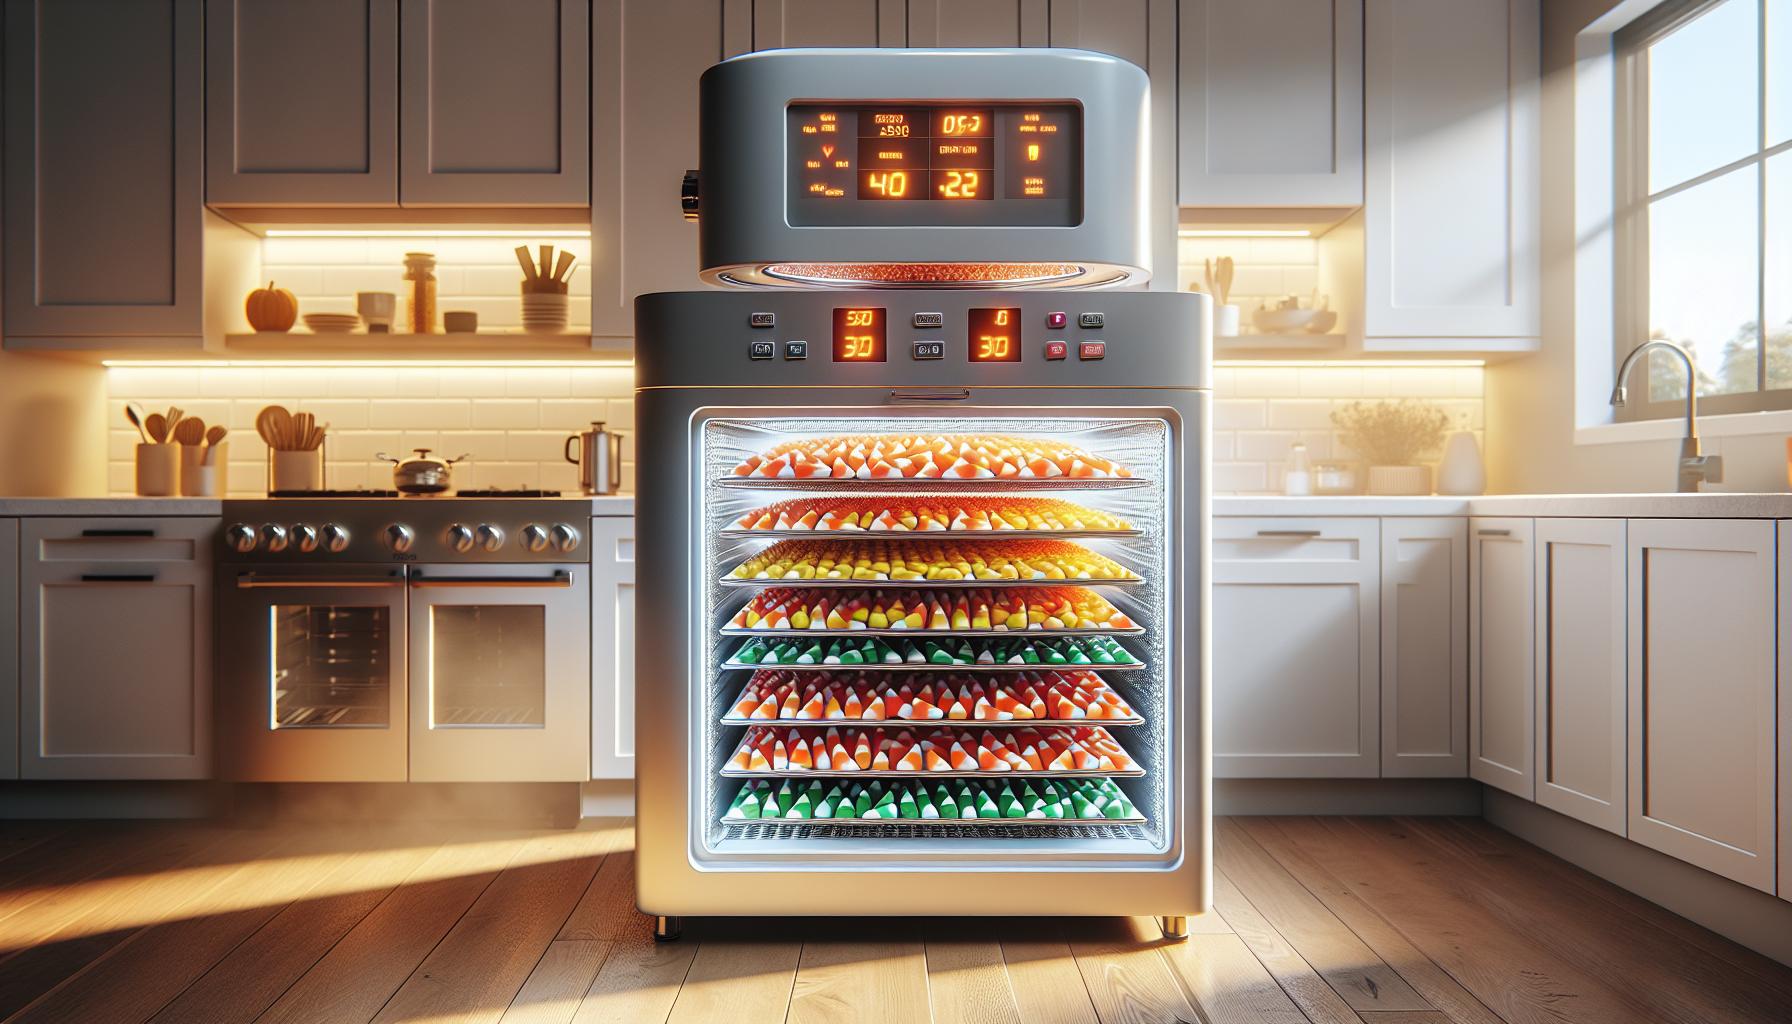
Place the frozen candy corn inside the freeze dryer chamber on the prepared trays. The optimal temperature range for processing candy corn is -30° to -50°F (-34° to -45°C). Select the “candy mode” setting on the freeze dryer if available.
Critical settings for freeze-drying candy corn:
- Chamber pressure: 133 x 10^-3 mBar
- Shelf temperature: -40°F (-40°C)
- Condenser temperature: -50°F (-45°C)
Monitor the process through the viewing window or digital display. The candy corn maintains its distinctive tri-color pattern throughout the cycle. Each piece requires uniform exposure to the controlled environment for consistent results.
The freeze dryer removes moisture through sublimation while preserving the candy’s structure. The machine automatically adjusts pressure settings to extract water content efficiently. The process continues until reaching the target moisture level of less than 2%.
Keep the chamber sealed during the entire cycle. Opening the door disrupts the controlled environment required for proper sublimation. The machine indicates completion with an audible signal or digital notification.
4. Check for complete dryness
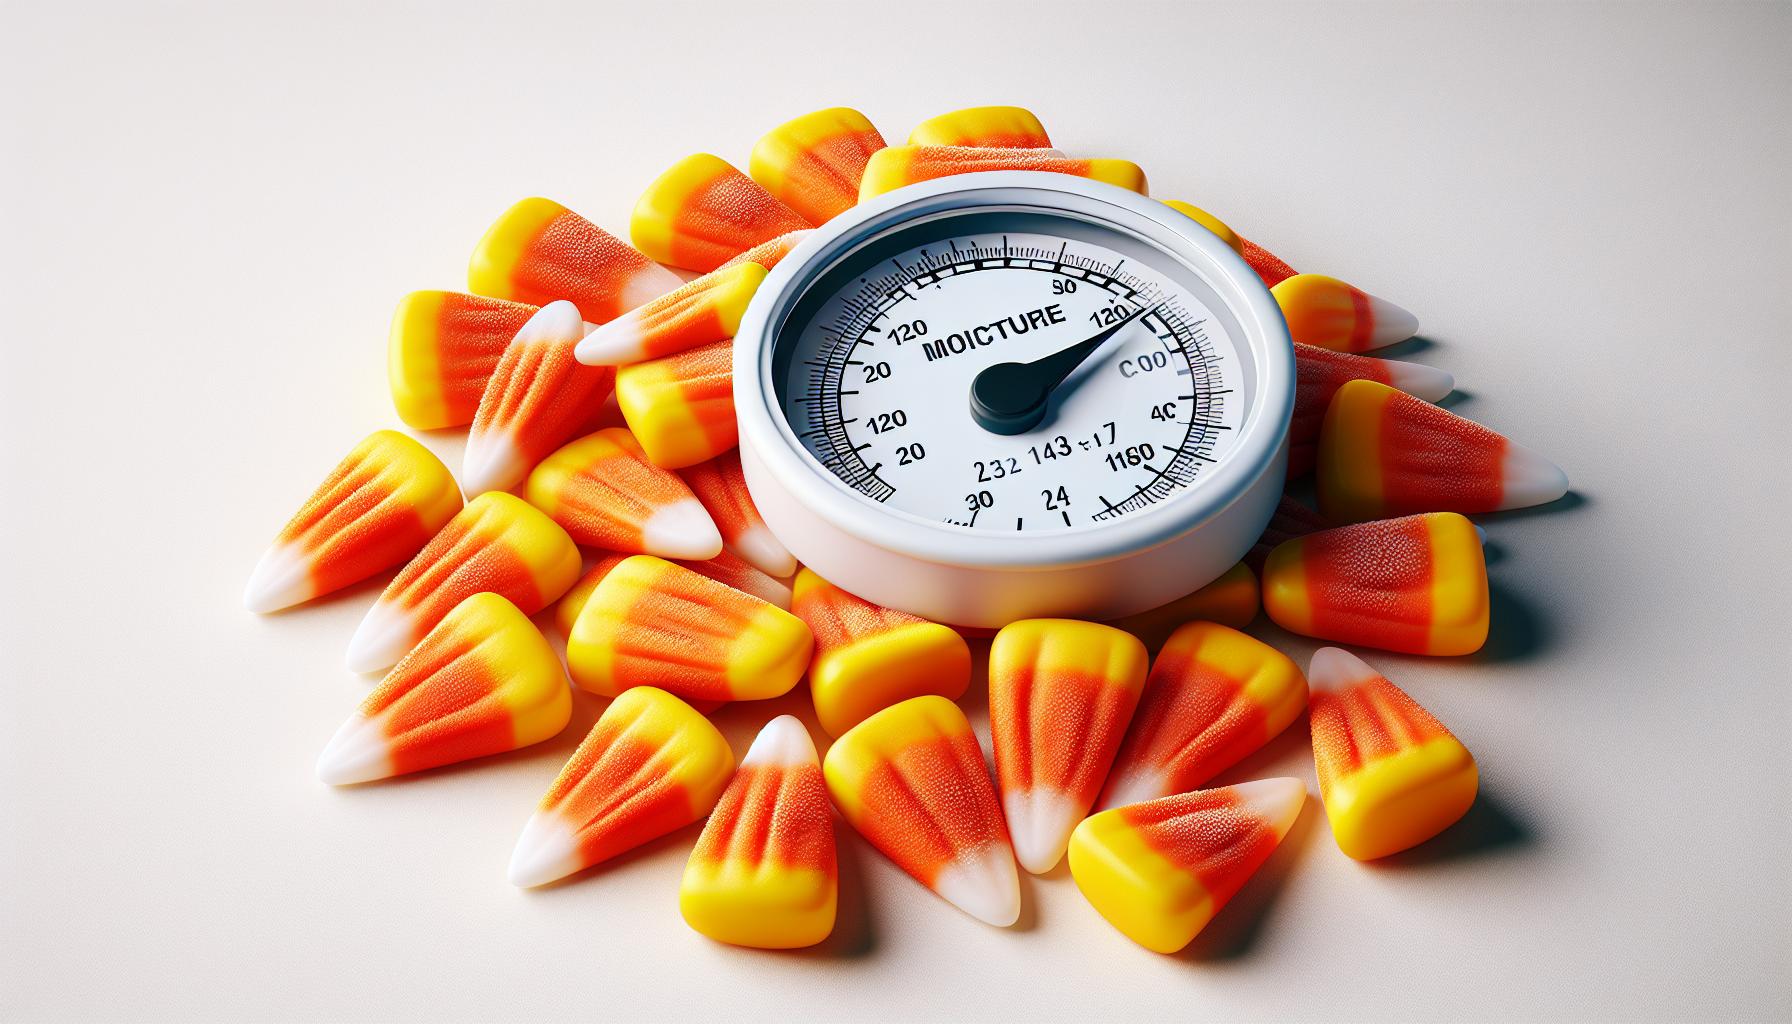
Testing freeze-dried candy corn for complete dryness requires specific inspection methods. Break one piece in half – the center exhibits a crisp snap with no moisture or softness when properly dried. The candy’s texture transforms from chewy to light & crunchy throughout.
Here are key indicators of complete dryness:
- Visual Test: Look for uniform color with no dark or wet spots
- Break Test: Pieces snap cleanly without bending
- Temperature Check: Candy feels room temperature, not cold
- Weight Test: Pieces feel significantly lighter than original
- Sound Test: Candy makes a distinct crunching noise when squeezed
| Moisture Content | Status | Action Required |
|---|---|---|
| <2% | Ready | Safe to package |
| 2-5% | Partially Dry | Continue cycle |
| >5% | Incomplete | Restart cycle |
A moisture meter measures exact moisture content levels. Place test pieces in sealed containers for 24 hours – any condensation indicates incomplete drying requiring additional processing time.
5. Store in airtight container”
Freeze-dried candy corn requires airtight storage containers to maintain its crispy texture. Glass jars with rubber seals, vacuum-sealed bags or mylar bags with oxygen absorbers create an optimal storage environment. The container size matches the batch quantity to minimize excess air space.
Storage guidelines for freeze-dried candy corn:
- Place candy pieces in clean, dry containers immediately after the freeze-drying cycle
- Add food-grade oxygen absorbers (1-2 per container) to prevent moisture absorption
- Store containers in a cool, dark location at 65-70°F (18-21°C)
- Keep away from direct sunlight or heat sources
- Label containers with processing date for tracking
| Storage Method | Expected Shelf Life |
|---|---|
| Glass Jars | 15-20 years |
| Mylar Bags | 10-15 years |
| Vacuum Bags | 5-8 years |
A quick shake of the sealed container confirms proper storage – the pieces create a distinct rattling sound when completely dry. Any moisture buildup inside the container indicates incomplete drying, requiring additional processing.
