Freeze-drying food at home offers a fantastic way to preserve meals and ingredients while maintaining their nutritional value and flavor. While commercial freeze-dryers can cost thousands of dollars many people don’t realize they can achieve similar results using simple household items and natural methods.
The most effective way to freeze dry food without a machine is through a combination of your home freezer and proper temperature control. This process involves freezing food at extremely low temperatures then gradually removing moisture through sublimation while maintaining consistent cold conditions.
The DIY freeze-drying method may take longer than using specialized equipment but it’s an economical alternative that yields impressive results. Though the process requires patience it allows anyone to create lightweight shelf-stable foods perfect for emergency supplies camping trips or everyday meal prep.
“1. Pre-freeze food completely
The pre-freezing stage requires thorough cleaning and proper sizing of food items for optimal results. Clean all food thoroughly under running water to eliminate dirt particles or residue that affect the freeze-drying process.
Cut ingredients into uniform pieces measuring approximately 1/2 inch in thickness. Small, consistent portions enable:
- Even freezing throughout each piece
- Faster moisture removal during the process
- Better preservation of food texture
- Consistent results across batches
Arrange the cut pieces on a freezer-safe tray with space between each item for proper air circulation. Position food in a single layer without overlapping to ensure complete freezing. Set the freezer temperature to its lowest setting, ideally -40°F or colder.
| Food Type | Recommended Size | Pre-freeze Time |
|---|---|---|
| Fruits | 1/2 inch slices | 24-48 hours |
| Vegetables | 1/2 inch pieces | 24-48 hours |
| Meats | 1/4 inch strips | 48-72 hours |
The pre-freezing phase typically takes 24-72 hours, depending on the food type and thickness. Monitor the freezing progress by touching the center of larger pieces to verify they’re frozen solid.
2. Place in vacuum chamber

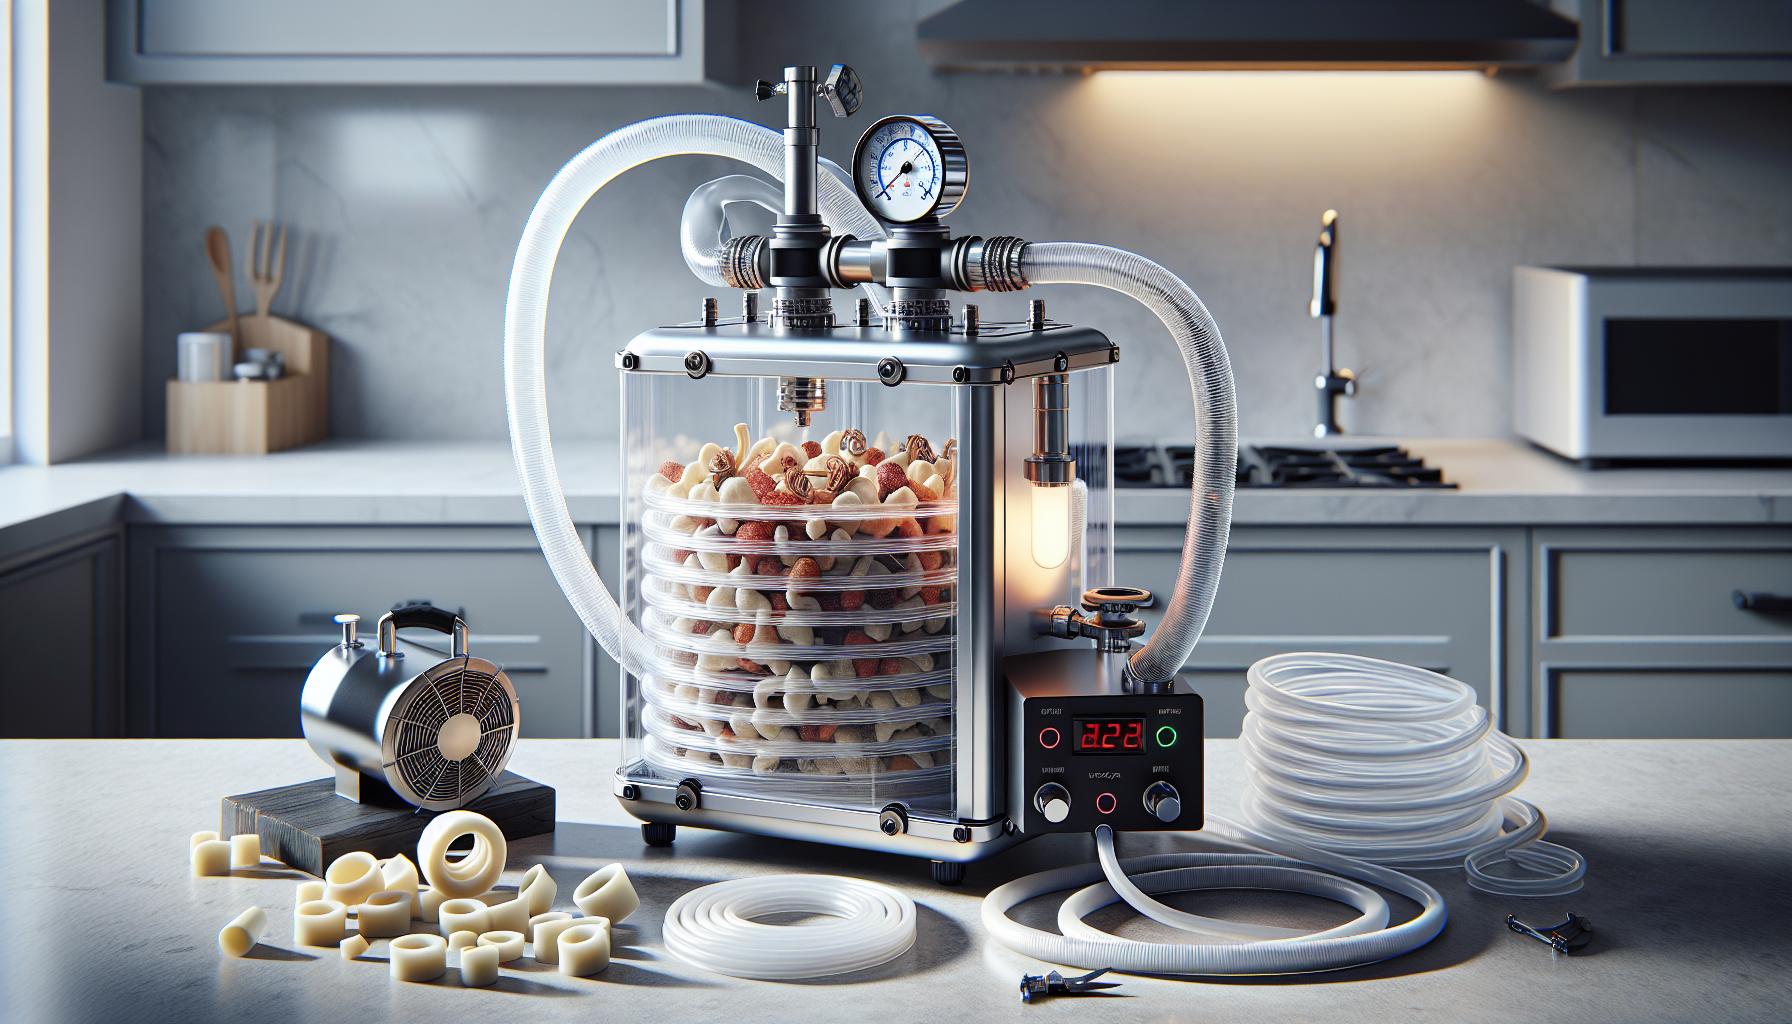
Creating a vacuum environment accelerates the freeze-drying process by promoting rapid moisture sublimation. Place frozen food items inside an airtight plastic container with a tight-fitting lid. Drill a small hole in the lid approximately 1/8 inch in diameter to allow moisture escape.
Connect one end of a vacuum tube to a standard household vacuum cleaner and the other end to the drilled hole. Seal any gaps around the tube connection with plumber’s putty or silicone sealant. Run the vacuum for 15-20 minutes to remove air from the container.
Essential Equipment:
- Airtight plastic container
- Power drill with 1/8″ bit
- Vacuum cleaner
- Vacuum tubing
- Plumber’s putty or silicone sealant
- Temperature gauge
Vacuum Chamber Setup:
- Insert frozen food into container
- Secure lid tightly
- Connect vacuum system
- Monitor internal temperature
- Check pressure levels
The container temperature must remain below 32°F throughout the process to prevent thawing. A digital thermometer inserted through a separate sealed port helps track temperature fluctuations. This vacuum method typically reduces drying time by 40% compared to freezer-only techniques.
3. Connect to vacuum pump

A vacuum pump creates the ideal environment for freeze-drying by removing air and moisture from the container. Here’s how to set up this essential component:
- Drill a 1/4-inch hole in the lid of the airtight container
- Insert vacuum tubing through the hole
- Seal around the tubing with silicone caulk to prevent air leaks
- Connect the free end of tubing to the vacuum pump inlet
- Test the seal by running the pump for 30 seconds
The vacuum setup requires these specific items:
| Equipment | Specifications |
|---|---|
| Vacuum Pump | 5-10 CFM rating |
| Tubing | 1/4″ diameter, food-grade |
| Container | Polycarbonate, airtight |
| Silicone Caulk | Food-safe grade |
| Digital Gauge | -30 to 0 inHg range |
Monitor the vacuum pressure between -25 to -29 inHg for optimal moisture removal. The container maintains its frozen state while the vacuum pulls moisture from the food through sublimation. Check the pressure gauge every 4 hours to ensure proper suction levels remain consistent throughout the process.
A stable connection between the pump and container prevents air leaks that compromise the freeze-drying process. Inspect all seals and connections before starting the vacuum cycle.
4. Maintain vacuum for 24-48 hours

Maintaining consistent vacuum pressure transforms frozen food into properly freeze-dried products through sublimation. The container requires constant monitoring to ensure the vacuum pressure stays between -25 to -29 inHg. Check the digital pressure gauge every 4 hours to verify proper suction levels.
A stable temperature below 32°F prevents thawing during the vacuum phase. Place a digital thermometer inside the container to track temperature fluctuations. The freeze-drying process continues for 24-48 hours depending on:
- Food thickness (thicker items need longer processing)
- Water content (higher moisture requires extended time)
- Initial freezing temperature (colder starts speed up the process)
- Vacuum seal integrity (leaks slow down moisture removal)
Signs of complete freeze-drying include:
- Food feels completely dry to touch
- Items snap or break cleanly when bent
- No cold spots remain when testing with bare hands
- Food pieces maintain their original size but weigh significantly less
Running the vacuum pump continuously prevents moisture reabsorption during the drying phase. Keep the setup away from heat sources or direct sunlight to maintain optimal temperature conditions.
5. Store in airtight containers”
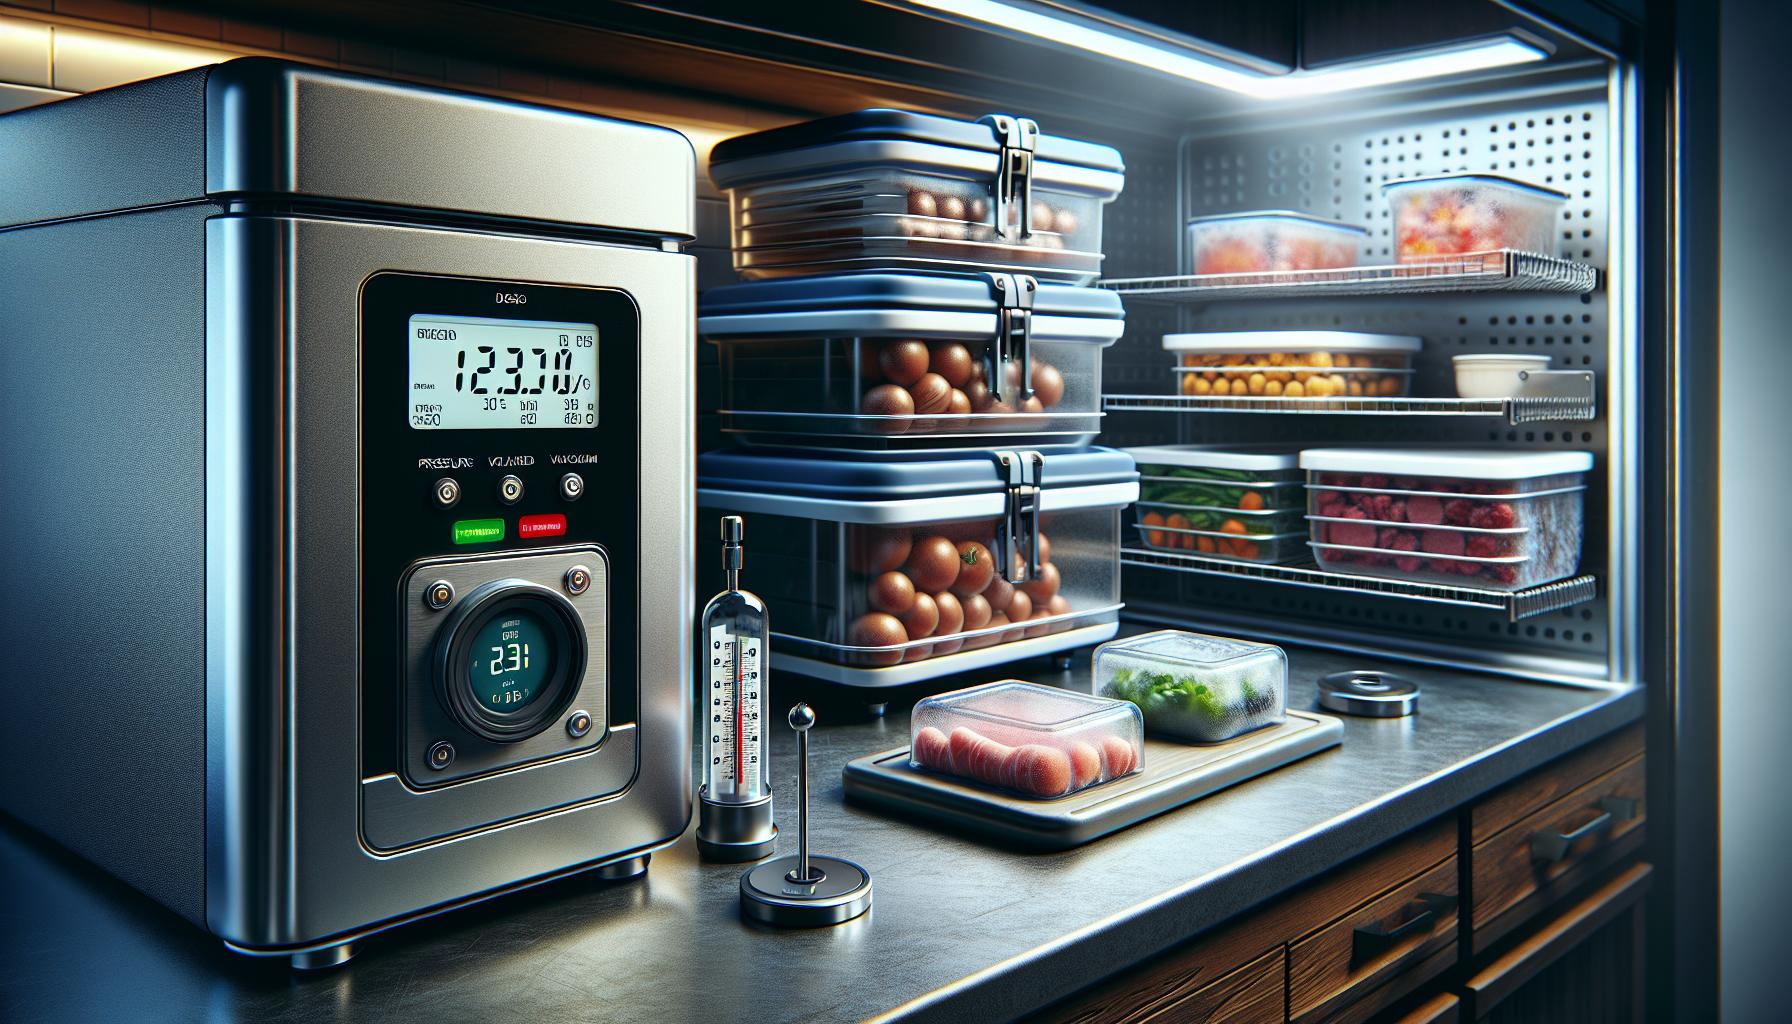
Proper storage guarantees freeze-dried food retains its quality for 15-25 years. Transfer the freeze-dried items to vacuum-sealed bags or airtight containers immediately after completing the drying process.
Essential storage requirements:
- Use food-grade Mylar bags with oxygen absorbers
- Store in rigid containers with tight-fitting lids
- Label containers with contents & freeze-drying date
- Keep containers in a cool dark place at 75°F or below
| Storage Container Type | Shelf Life |
|---|---|
| Vacuum-sealed bags | 25 years |
| Mason jars | 20 years |
| Plastic containers | 15 years |
Inspect the stored items for moisture beads or condensation before sealing. A silica gel packet added to each container absorbs any residual moisture. Store containers away from direct sunlight heat sources moisture to maintain optimal preservation conditions.
- Changes in color or texture
- Unusual odors
- Presence of mold
- Compromised seals


