
Lemongrass adds vibrant citrus notes and aromatic depth to Asian cuisine but it’s not always readily available. Freezing this fragrant herb preserves its distinctive flavor and ensures a steady supply for soups curries and stir-fries throughout the year.
Freezing lemongrass maintains its quality for up to six months when properly prepared and stored in airtight containers or freezer bags. The process involves cleaning trimming and chopping the stalks before freezing to preserve their essential oils and flavors.
While fresh lemongrass offers the best flavor frozen stalks provide a convenient alternative that retains much of the herb’s original taste and aroma. Understanding the proper freezing technique helps minimize waste and maintains the ingredient’s culinary potential for future dishes.
“1. Remove tough outer leaves
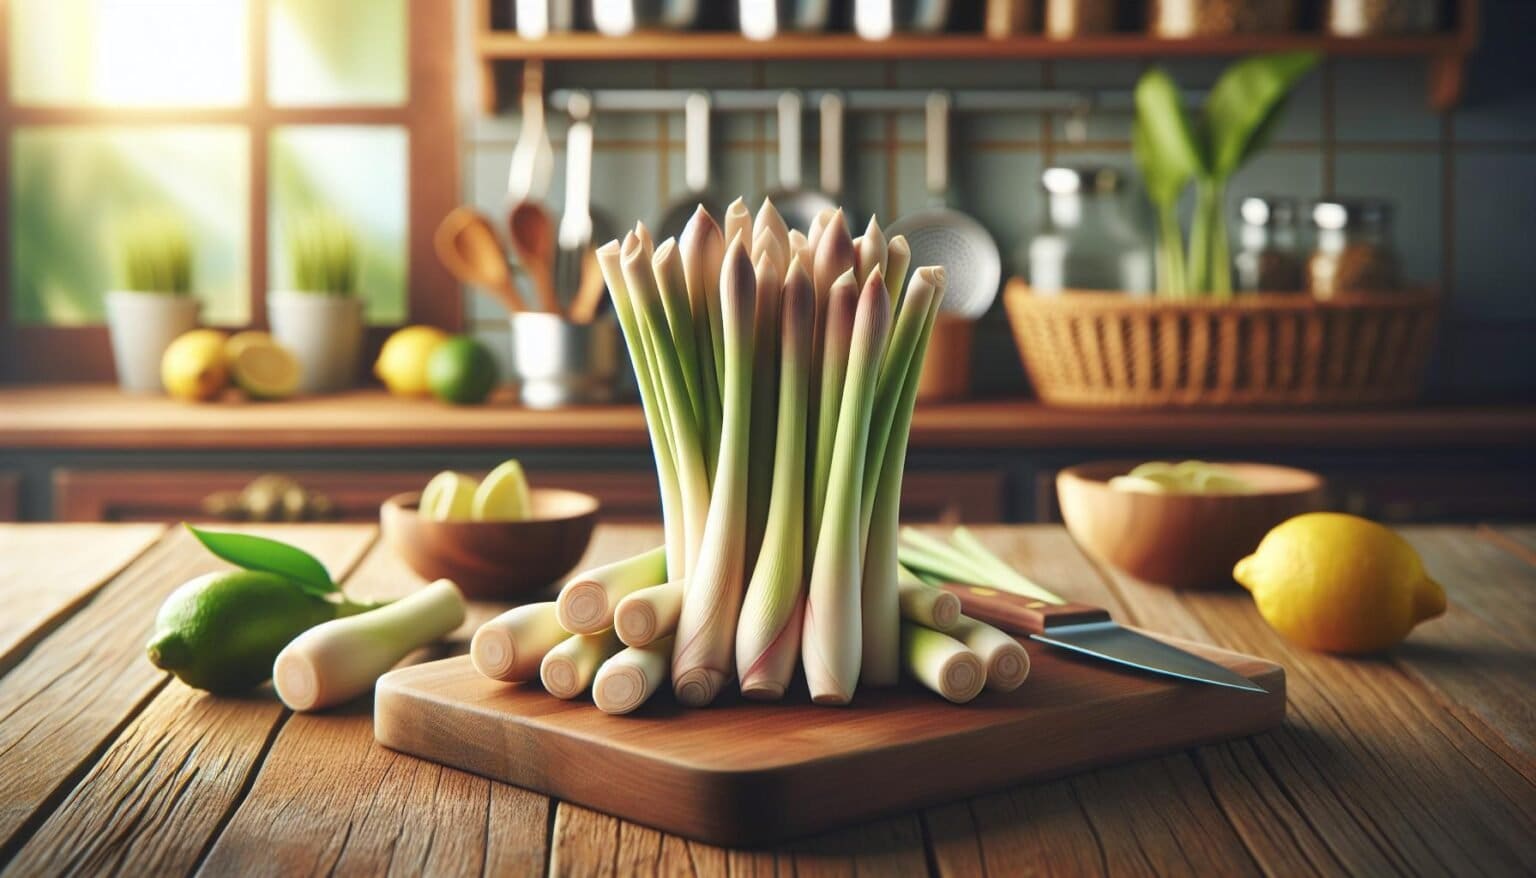
Fresh lemongrass stalks require careful preparation before freezing. Start by rinsing the stalks under cold running water to eliminate dirt particles. Remove the tough outer layers by peeling them away from the base, similar to removing layers from an onion.
A properly cleaned lemongrass stalk includes:
- Removal of 2-3 dry outer leaves
- Trimming of the bottom bulbous root
- Cutting off the top fibrous section
- Peeling until reaching the pale, soft inner core
The optimal usable portion measures 4-5 inches in length, focusing on the white-to-light green section near the base. This tender inner core contains the concentrated flavor oils essential for cooking. Discard any discolored or damaged outer leaves to prevent spoilage during freezing.
The cleaned stalks show these characteristics:
- Pale white to light green color
- Flexible texture
- Fresh citrus aroma
- Smooth, unblemished surface
Save the trimmed green tops for making stocks or teas, as these fibrous sections still contain aromatic compounds despite their tough texture.
2. Cut into 4-inch sections

Cutting lemongrass into uniform 4-inch sections creates perfect portions for freezing. Hold the prepared stalk firmly against a cutting board and slice it into equal lengths using a sharp knife. These consistent sections fit easily into freezer containers or bags and provide convenient portions for cooking.
- Straight cuts – Make clean cuts perpendicular to the stalk
- Diagonal cuts – Slice at a 45-degree angle for increased surface area
- Split lengthwise – Cut the 4-inch sections in half for faster thawing
| Section Type | Best Used For |
|---|---|
| Whole 4-inch | Soups & Stews |
| Diagonal cuts | Marinades |
| Split lengths | Quick cooking |
For maximum flavor extraction, gently crush each section with the flat side of a knife before freezing. This technique releases essential oils while maintaining the stalk’s structure. Remove any remaining tough outer layers that separate during cutting to ensure only tender sections are frozen.
3. Place in freezer bags

Transfer the frozen lemongrass pieces from the baking sheet into resealable freezer bags. Press out excess air from the bags before sealing to prevent freezer burn. Label each bag with the date of freezing to track freshness.
Here’s how to pack the bags effectively:
- Separate stalks into portion sizes based on typical recipe requirements
- Stack similar-sized pieces together to maximize space
- Double-bag delicate minced pieces to prevent flavor transfer
- Store multiple small bags instead of one large bag for easier portioning
For pureed lemongrass:
- Pop frozen cubes from ice trays
- Place cubes in freezer bags
- Store bags flat to save freezer space
- Keep portion sizes small (2-3 cubes per bag)
| Storage Method | Maximum Storage Time |
|---|---|
| Single bag | 4 months |
| Double bag | 6 months |
| Vacuum sealed | 8 months |
Maintain the bags in the back of the freezer where temperatures remain most consistent. Remove only the amount needed for each recipe to maintain freshness of remaining portions.
4. Remove air completely

Removing air from freezer bags prevents freezer burn on lemongrass stalks during long-term storage. Place the cut lemongrass pieces into freezer-safe bags while leaving a small opening at the top. Here are two effective methods to remove air:
Straw Method:
- Insert a straw into the corner of the bag
- Seal the bag around the straw
- Suck out remaining air through the straw
- Quickly pull out the straw while sealing the last corner
- Fill a large bowl with water
- Submerge the bag slowly into water
- Let water pressure push air out naturally
- Seal the bag while partially submerged
For maximum protection against oxidation, double-bag the lemongrass using two freezer-safe bags. Label each bag with the freezing date using a permanent marker. Store bags flat in a single layer until frozen solid to prevent clumping of chopped pieces or puree.
| Storage Method | Maximum Storage Time |
|---|---|
| Single bag | 4 months |
| Double bag | 6 months |
| Vacuum sealed | 8 months |
5. Label and freeze up to 6 months”
Label each freezer container or bag with the date of freezing to track freshness. Store lemongrass pieces in a dedicated freezer section at 0°F (-18°C) to maintain optimal flavor. Place bags flat in a single layer until frozen solid for efficient storage space.
Storage Duration by Packaging Method:
| Method | Maximum Storage Time |
|---|---|
| Single freezer bag | 4 months |
| Double freezer bag | 6 months |
| Vacuum-sealed bag | 8 months |
Position frozen lemongrass containers toward the back of the freezer where temperatures remain consistent. Remove only the amount needed for each recipe while keeping remaining portions frozen. Reseal bags tightly after each use to prevent moisture from entering.
For pureed lemongrass cubes stored in ice trays, transfer frozen cubes to freezer bags within 24 hours. Stack bags of similar-sized pieces together to maximize freezer organization. Mark containers with portion sizes to simplify future recipe preparation.

