

Ramps, those wild leeks that grace our forests for just a few fleeting weeks each spring, can be preserved to enjoy throughout the year. These prized delicacies, with their distinct garlic-onion flavor, have become increasingly popular among home cooks and professional chefs alike.
Freezing ramps is a straightforward process that involves cleaning, blanching, and properly storing them in airtight containers. When done correctly, frozen ramps can maintain their flavor and nutritional value for up to 12 months.
For anyone lucky enough to forage or purchase fresh ramps during their brief season, freezing offers an excellent way to extend their culinary potential. By following proper freezing techniques, these woodland treasures can enhance dishes long after their spring harvest has ended.
“1. Clean and trim ramps
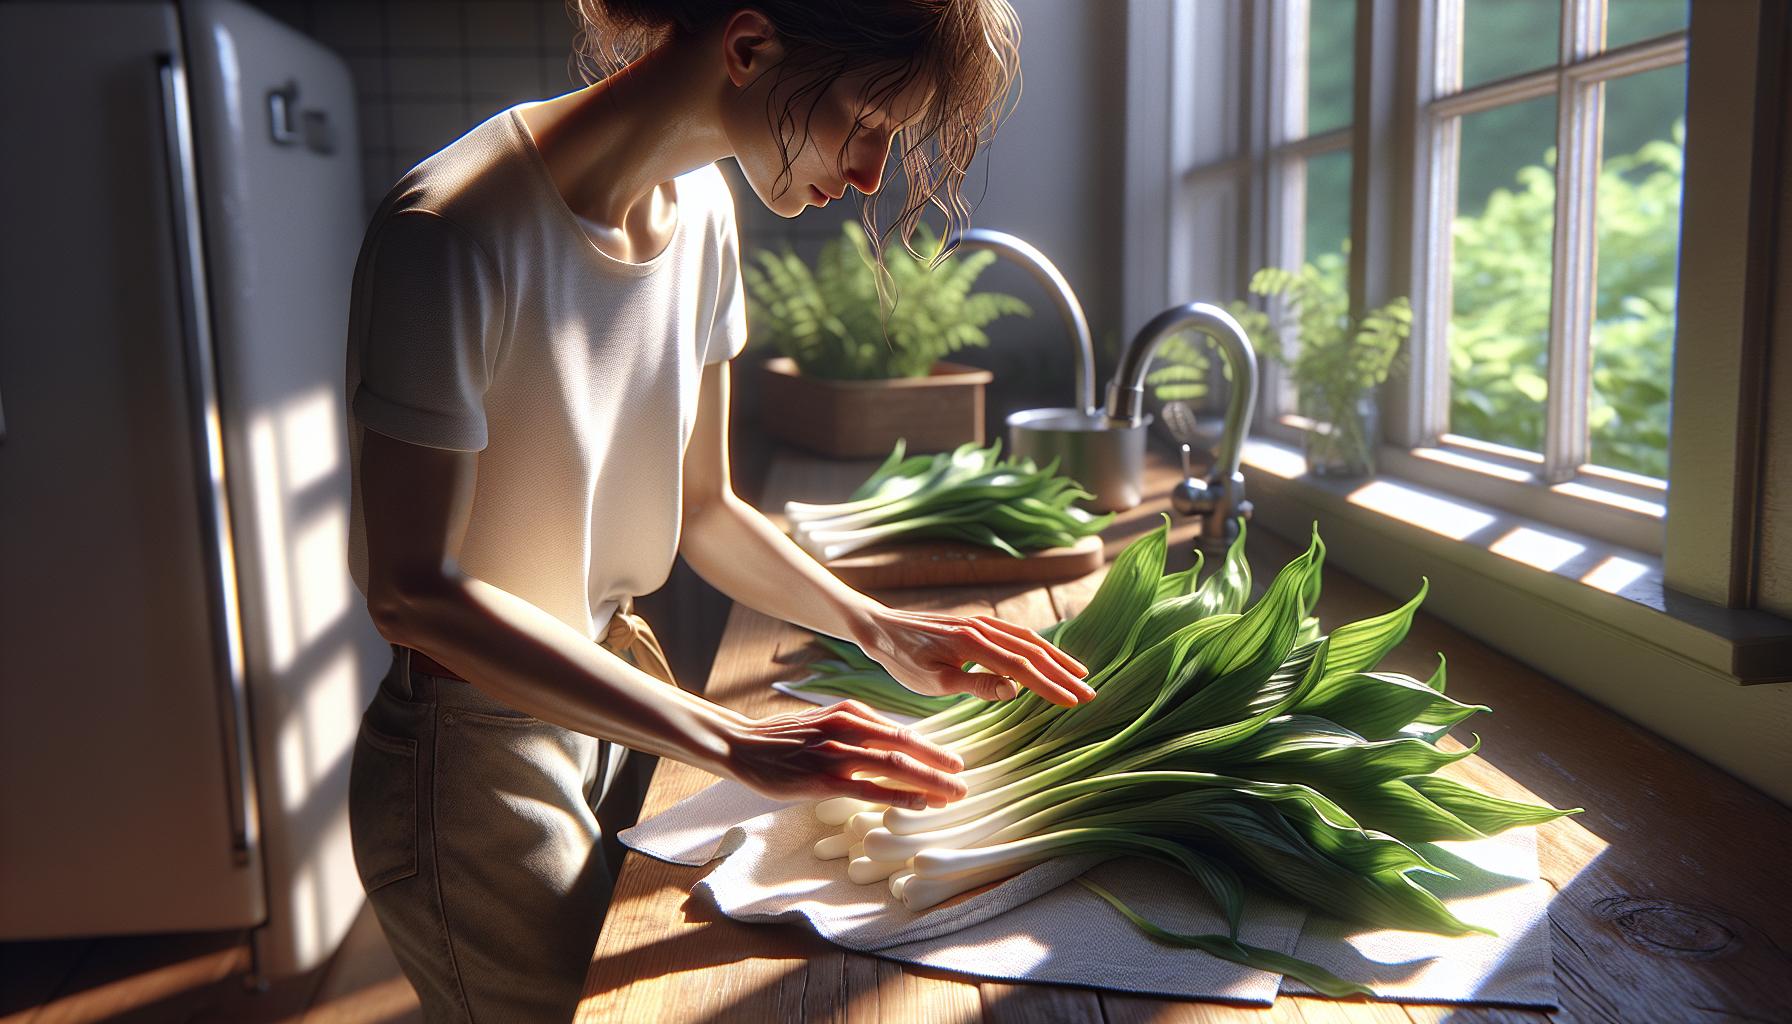
Place fresh ramps under cold running water to rinse away soil, sand, and debris from the leaves, stems, and bulbs. Remove any discolored, slimy, or wilted leaves from the ramps using a sharp knife or kitchen scissors. Cut off the small roots at the base of each bulb, leaving about 1/4 inch of the root end intact.
Here’s a quick cleaning checklist:
- Rinse thoroughly under cold water
- Remove soil particles from bulbs
- Trim off root ends at 1/4 inch
- Discard damaged or wilted leaves
- Separate leaves from stems if desired
A standard bunch of ramps (12-15 stalks) takes approximately 3-4 minutes to clean and trim. Keep the cleaned ramps in a single layer on paper towels to absorb excess moisture. Handle the delicate leaves gently to prevent bruising or tearing during the cleaning process.
Note: The cleaned ramps must be completely dry before moving on to the blanching step to ensure proper freezing results.
2. Pat completely dry
After blanching, drying ramps thoroughly prevents ice crystals from forming during freezing. Place the blanched ramps on clean kitchen towels or paper towels to absorb excess moisture. Gently squeeze the ramps between layers of towels, paying special attention to the delicate leaves.
A salad spinner offers a quick method for drying ramp leaves:
- Place ramps in the basket
- Spin 2-3 times in 30-second intervals
- Check between spins for remaining moisture
- Continue until completely dry
For those without a salad spinner, lay ramps in a single layer on fresh towels. Pat the top with additional towels, applying light pressure to remove water without bruising. Complete drying takes 5-10 minutes when using towels.
The ramps must be completely moisture-free before freezing. Any remaining water creates unwanted ice crystals that damage cell walls, affecting texture and flavor during thawing.
3. Chop if desired
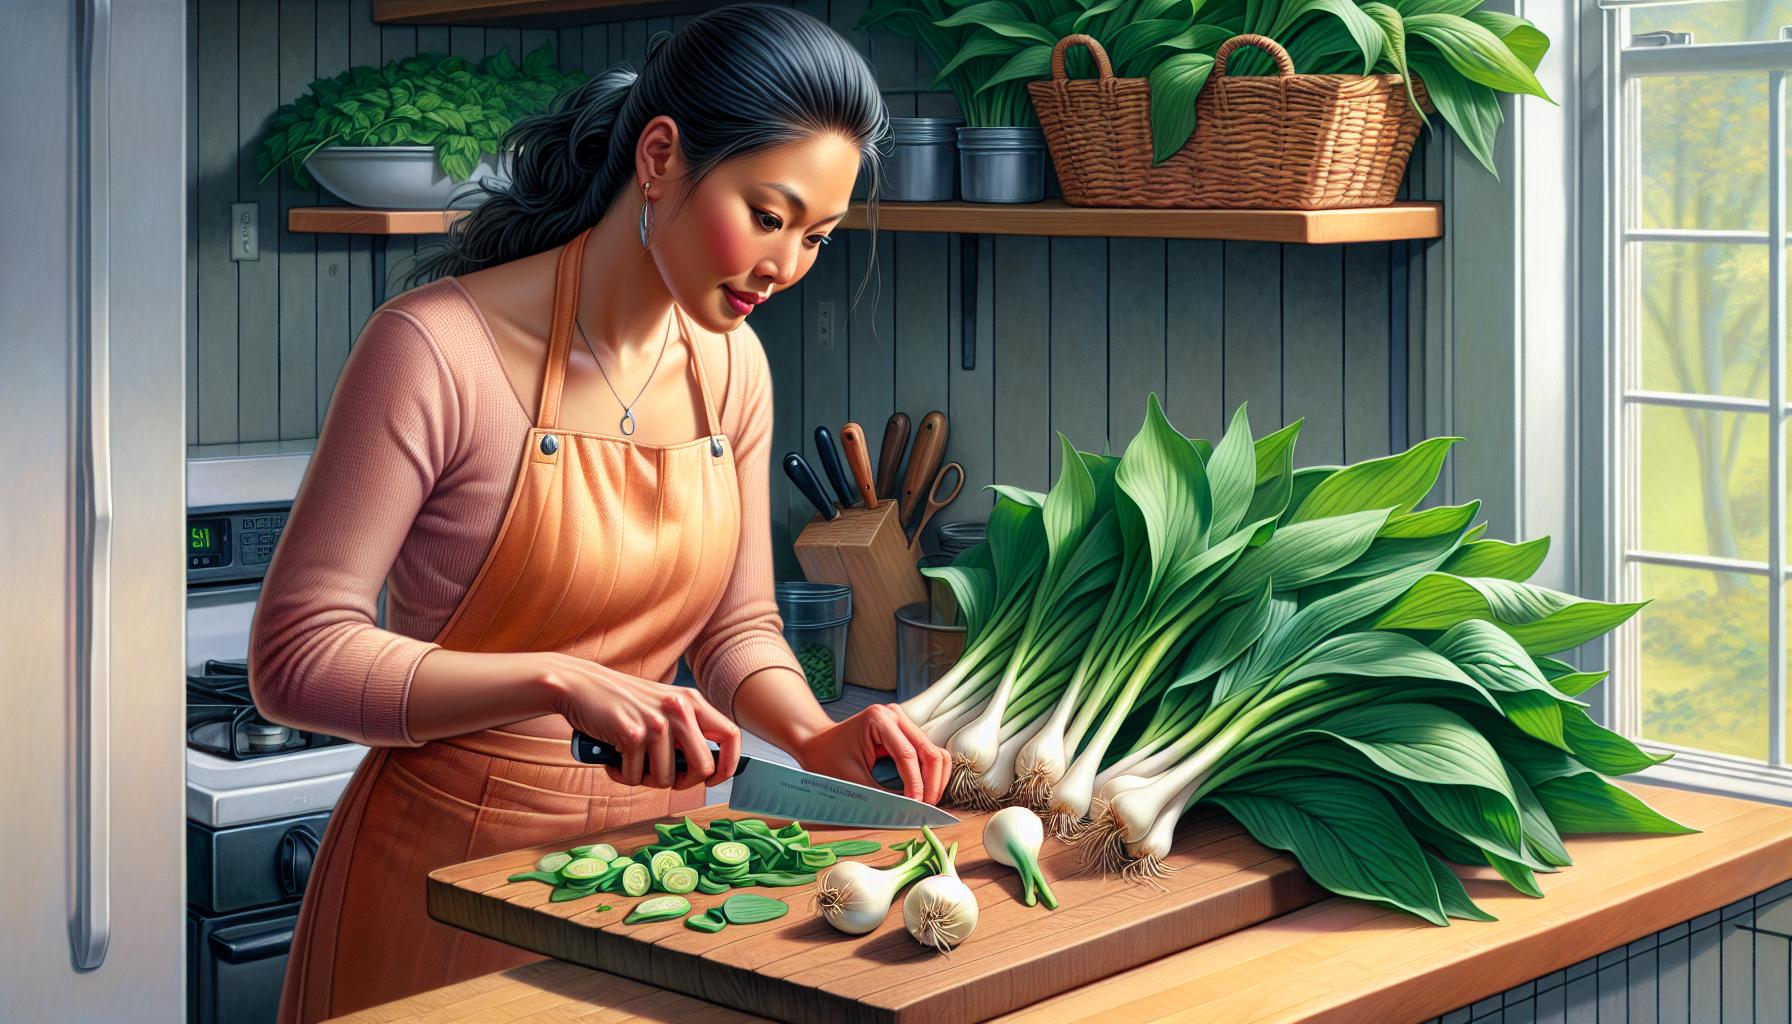
Ramps separate into two distinct parts for freezing: the leafy greens and the bulb sections. Chopping enhances storage efficiency and creates ready-to-use portions. Cut the leaves into 1-inch ribbons for efficient storage. Slice the white bulbs and purple-red stems into 1/4-inch pieces.
Here’s how to separate ramp parts for chopping:
- Leafy tops: Cut crosswise into thin strips
- Stems: Slice into small rings
- Bulbs: Quarter or dice into uniform pieces
Some cooks prefer to keep small bulbs whole, especially when planning to use them for pickling or roasting later. The chopping step remains optional, though pre-cut pieces prove more convenient for future cooking needs. Store different parts separately in freezer bags to maintain optimal texture during the freezing process.
| Ramp Part | Recommended Cut Size | Storage Tips |
|---|---|---|
| Leaves | 1-inch ribbons | Stack flat |
| Stems | 1/4-inch rings | Group similar sizes |
| Bulbs | 1/4-inch pieces | Single layer freezing |
4. Pack in freezer bags
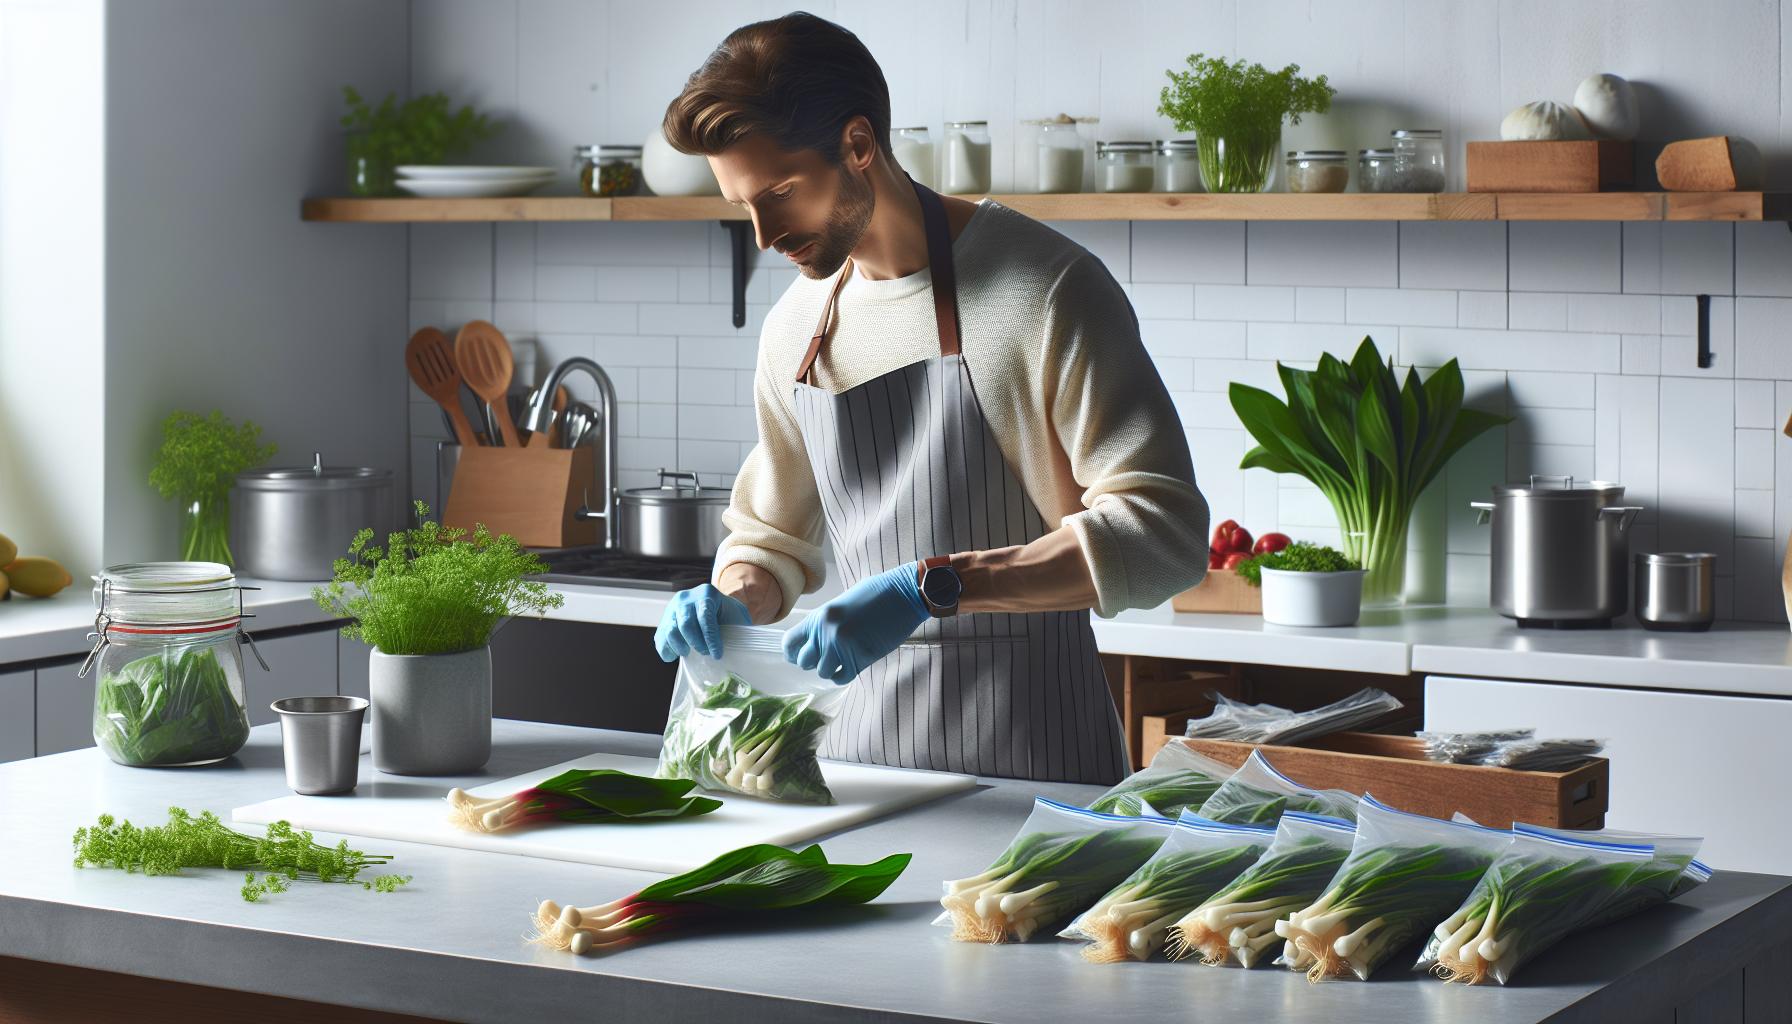
Pack dried ramps in freezer-safe plastic bags or vacuum-sealed containers to prevent freezer burn. Lay the blanched pieces flat in a single layer inside each bag while pressing out excess air. A vacuum sealer creates an airtight seal that maximizes freshness for up to 12 months.
Storage tips for optimal results:
- Label bags with date packed
- Separate leaves from bulbs/stems in different bags
- Stack bags horizontally to save space
- Keep portions small (1-2 cups) for easy use
- Double-bag to prevent odor transfer
- Place parchment paper between layers
- Press ramps into thin, flat sheets
- Remove air pockets between layers
- Seal edges completely
For those without a vacuum sealer, use the water displacement method: submerge the nearly sealed freezer bag in water to force out air bubbles before sealing completely. This creates a semi-vacuum effect that helps prevent freezer burn.
5. Remove air and freeze
“
Pack cleaned ramps in freezer-safe plastic bags or containers, keeping the leaves separate from bulbs and stems. Press out excess air by hand or use a vacuum sealer to prevent freezer burn. For bags without a vacuum sealer, use the water displacement method:
- Fill a large bowl with water
- Place ramps in a zip-top freezer bag
- Slowly lower the bag into water
- Seal the bag when water pressure pushes out air bubbles
- Contents (leaves or bulbs/stems)
- Date packed
- Quantity
| Storage Method | Maximum Storage Time |
|---|---|
| Regular freezer bags | 6-8 months |
| Vacuum-sealed bags | 10-12 months |
| Air-tight containers | 8-10 months |

