Sweet potatoes stand as one of nature’s most versatile and nutritious vegetables but preserving their natural goodness can be challenging. Freeze-drying offers an excellent solution for long-term storage while maintaining the potato’s flavor nutrients and texture.
Freeze-drying sweet potatoes involves cleaning cutting and pre-freezing the vegetables before placing them in a freeze-dryer for 24-36 hours. This process removes moisture while preserving the potato’s nutritional value color and taste making them shelf-stable for up to 25 years.
The technique of freeze-drying sweet potatoes has gained popularity among food preservation enthusiasts and preppers alike. It’s a reliable method that transforms these root vegetables into lightweight shelf-stable ingredients perfect for emergency food supplies camping meals or everyday cooking.
“1. Clean and slice evenly
Clean sweet potatoes thoroughly under running water to remove dirt particles from the skin surface. Scrub the exterior with a vegetable brush for optimal results.
Two preparation options for sweet potatoes:
- Leave the skin on: Scrub thoroughly to remove debris
- Remove the skin: Use a vegetable peeler for clean removal
Create uniform slices using these measurements:
| Type | Thickness | Best Used For |
|---|---|---|
| Chips | 1/8 inch (3mm) | Snacking |
| Chunks | 1 inch | Side dishes |
| Strips | 1/4 inch | French fries |
Even slicing ensures:
- Consistent drying time
- Uniform texture
- Equal moisture removal
- Better storage results
Place sliced pieces in cold water for 30 minutes to remove excess starch. Drain thoroughly pat dry with clean paper towels before proceeding to the next step. This pre-treatment prevents discoloration during the freeze-drying process.
2. Arrange on freeze dryer trays

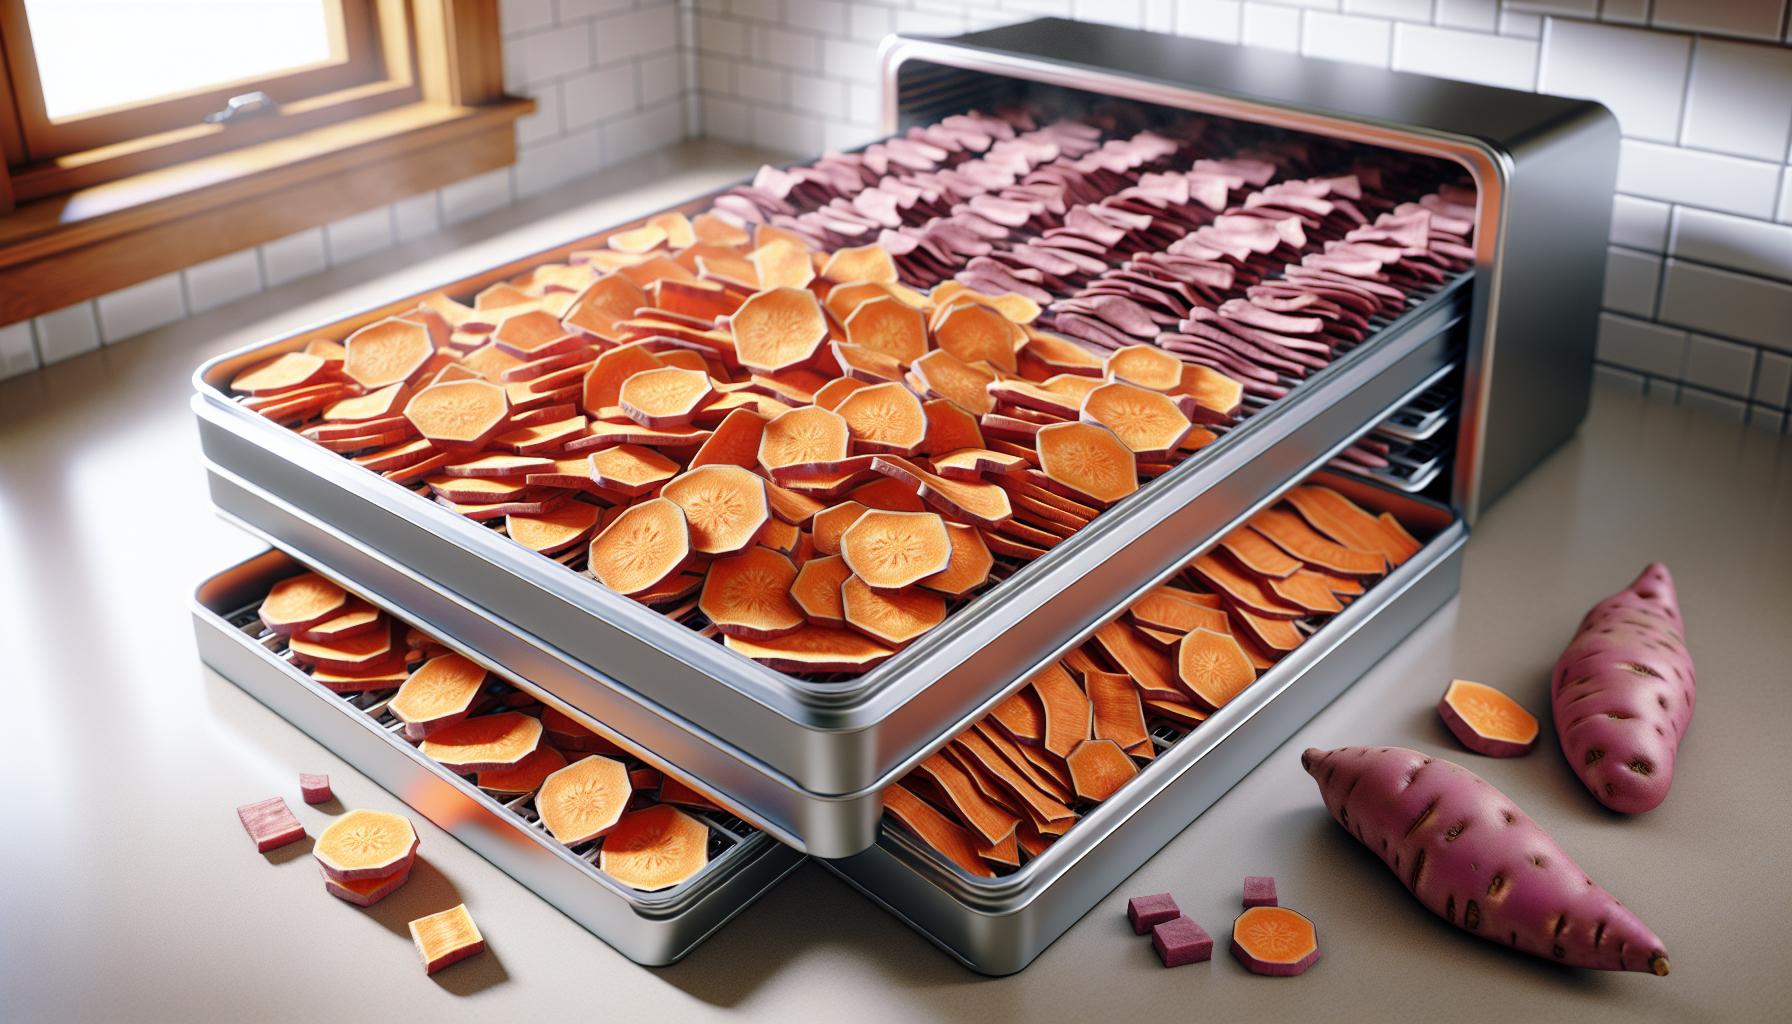
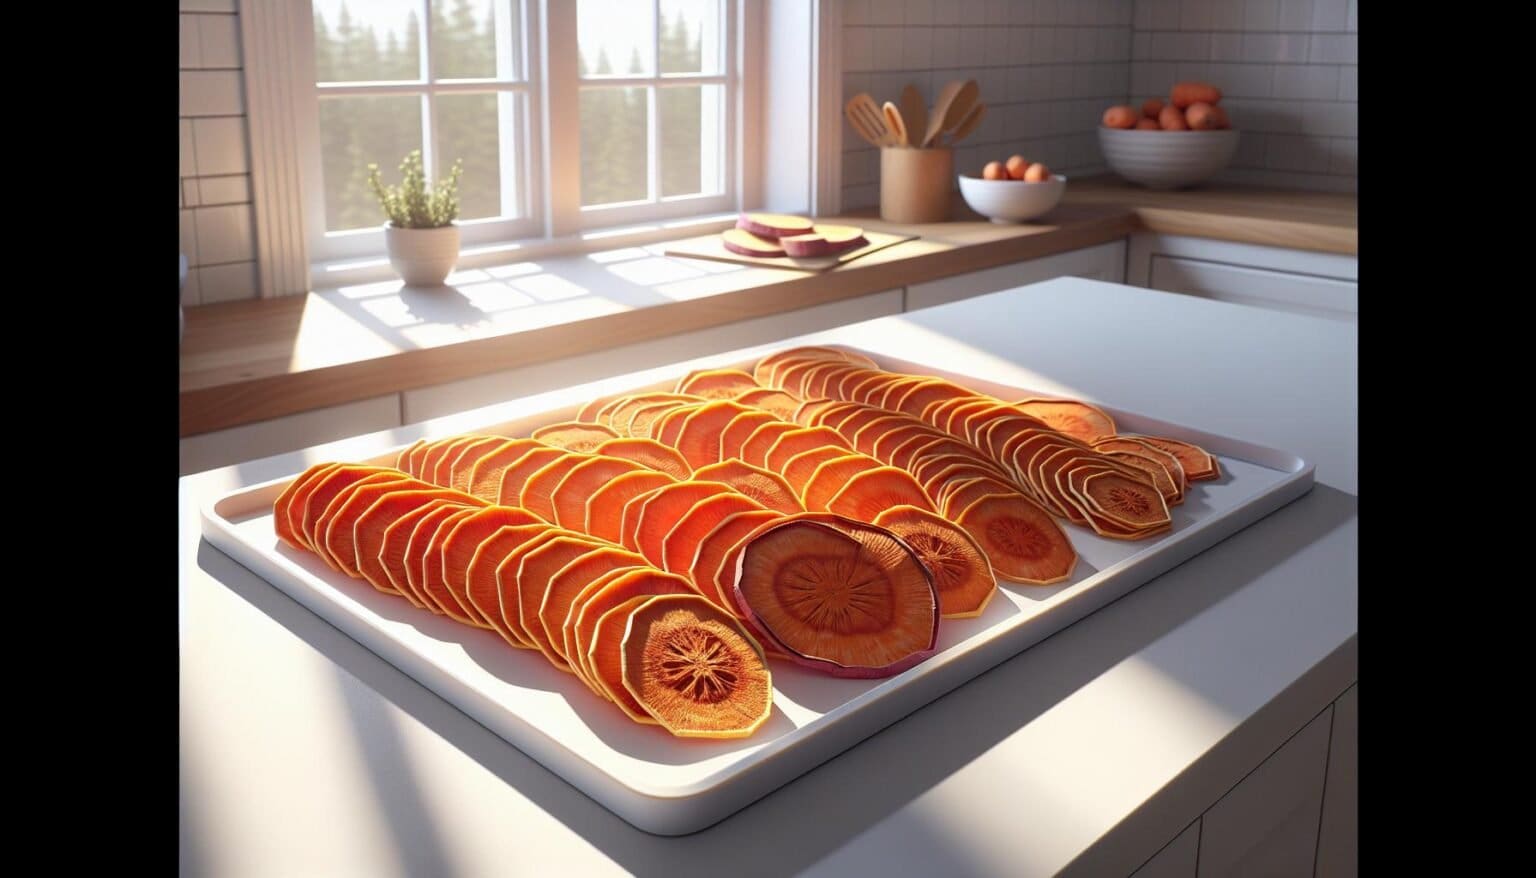
Place sweet potato pieces in a single layer on freeze dryer trays with adequate spacing between each piece. The optimal arrangement leaves 1/4 inch of space between pieces to allow proper airflow during the freeze-drying process.
Tips for optimal tray arrangement:
- Position slices flat without overlapping
- Leave space around the tray edges
- Distribute pieces evenly across each tray
- Remove any excess moisture with paper towels
- Place similar-sized pieces together on the same tray
| Piece Type | Spacing | Pieces per Tray |
|---|---|---|
| Chips | 1/4 inch | 15-20 pieces |
| Chunks | 1/2 inch | 10-12 pieces |
| Strips | 1/3 inch | 12-15 pieces |
Loading the trays with consistent spacing ensures uniform freeze-drying results across all pieces. Stack the filled trays in the freeze dryer according to the manufacturer’s guidelines, maintaining proper airflow between each level.
3. Run cycle 24-36 hours

Set the freeze dryer to run for a complete cycle lasting 24-36 hours based on the size of sweet potato pieces. Smaller slices require 24 hours while thicker chunks need up to 36 hours for optimal drying. Monitor the machine’s progress through the following stages:
- Initial Freeze Phase (8-10 hours)
- Temperature drops to -40°F
- Sweet potatoes freeze completely solid
- No moisture movement occurs
- Primary Drying (12-18 hours)
- Vacuum pump activates
- Ice crystals sublimate directly to vapor
- Product maintains frozen state
- Final Drying (4-8 hours)
- Chamber warms gradually
- Remaining bound moisture releases
- Color brightens slightly
| Piece Size | Cycle Duration |
|---|---|
| Thin Slices | 24 hours |
| Medium Strips | 30 hours |
| Large Chunks | 36 hours |
The cycle completes when the sweet potatoes appear completely dry with no cold spots. Test readiness by checking if a piece snaps cleanly rather than bends.
4. Test for complete dryness

Testing freeze-dried sweet potatoes for complete dryness involves three physical checks. Break a piece in half – it snaps cleanly when fully dried rather than bending. Press the center of a thick piece between two fingers to check for cold spots, which indicate remaining moisture. Hold a piece up to a bright light to examine its internal structure – properly dried pieces appear consistently opaque with no darker areas.
Here’s a quick checklist for dryness verification:
- Texture Test: Pieces snap cleanly with a crisp break
- Temperature Check: No cold spots when pressed
- Visual Inspection: Uniform color throughout
- Sound Test: Pieces make a distinct clicking sound when tapped together
| Testing Method | Pass Indicator | Fail Indicator |
|---|---|---|
| Break Test | Clean snap | Bends or feels rubbery |
| Cold Spot Check | Room temperature | Cool or cold areas |
| Light Test | Uniform opacity | Dark or translucent spots |
If any moisture remains, return the pieces to the freeze dryer for an additional 2-4 hours until they pass all dryness tests. Each batch requires testing of multiple pieces from different areas of the tray to ensure uniform drying.
5. Store in airtight containers”
Properly sealed containers protect freeze-dried sweet potatoes from moisture absorption for up to 25 years. Mylar bags with oxygen absorbers create an optimal storage environment when sealed with a heat sealer. Glass Mason jars with tight-fitting lids work effectively for smaller portions intended for regular use.
Storage Container Options:
- 5-gallon Mylar bags: Store large batches
- Quart-sized Mason jars: Perfect for weekly portions
- Vacuum-sealed bags: Ideal for individual servings
- Food-grade buckets: Suitable for bulk storage
Storage Environment Guidelines:
- Temperature: 65-70°F
- Humidity: Below 15%
- Location: Cool dark pantry or basement
- Light exposure: Minimal to none
Label each container with:
- Contents
- Freeze-dry date
- Batch number
- Expected shelf life
The storage process starts immediately after the freeze-drying cycle completes. Pack the sweet potatoes while they’re still at room temperature using gloves to prevent moisture transfer from hands. Add one 300cc oxygen absorber per gallon of container space to maintain freshness.


