Freezing plantains preserves their unique flavor and versatility for future cooking adventures. These starchy relatives of bananas remain a staple ingredient in Caribbean Latin American and African cuisine where their frozen counterpart proves just as valuable as fresh ones in creating delicious dishes.
To freeze plantains properly slice them into your desired shape remove any dark spots and flash-freeze them on a baking sheet before transferring to freezer bags. When stored correctly frozen plantains can last up to 6 months while maintaining their quality and taste.
Whether planning to make crispy tostones sweet maduros or hearty soups having frozen plantains on hand ensures you’ll never miss out on creating authentic cultural dishes. The freezing process allows home cooks to buy plantains in bulk when they’re ripe and perfectly priced saving both time and money while preserving this versatile ingredient’s distinctive qualities.
“1. Peel and slice plantains
Peeling and slicing plantains requires attention to detail for optimal freezing results. Start by washing the plantains under cool running water to remove dirt particles. Cut off both ends of the plantain, then make a shallow lengthwise incision along the peel’s natural ridges.
Key Steps for Peeling:
- Score a vertical line along the peel’s ridge
- Lift the skin gently from the cut
- Remove peel in sections to preserve flesh
- Discard any bruised areas
- Diagonal cuts (1-inch thick) for frying
- Round slices (½-inch) for chips
- Lengthwise strips for plantain boats
- Chunks (2-inch) for stews
The cut size depends on the intended recipe use. Green plantains slice cleanly with minimal resistance while riper ones require a sharper knife to prevent crushing. Place the sliced pieces directly into a bowl of cold water to prevent browning before moving to the next freezing step.
| Plantain Stage | Best Cut Size | Ideal Use |
|---|---|---|
| Green | ½ inch | Chips & Tostones |
| Semi-ripe | 1 inch | Frying & Soups |
| Ripe | 2 inch | Stews & Mashing |
2. Dip in lemon water

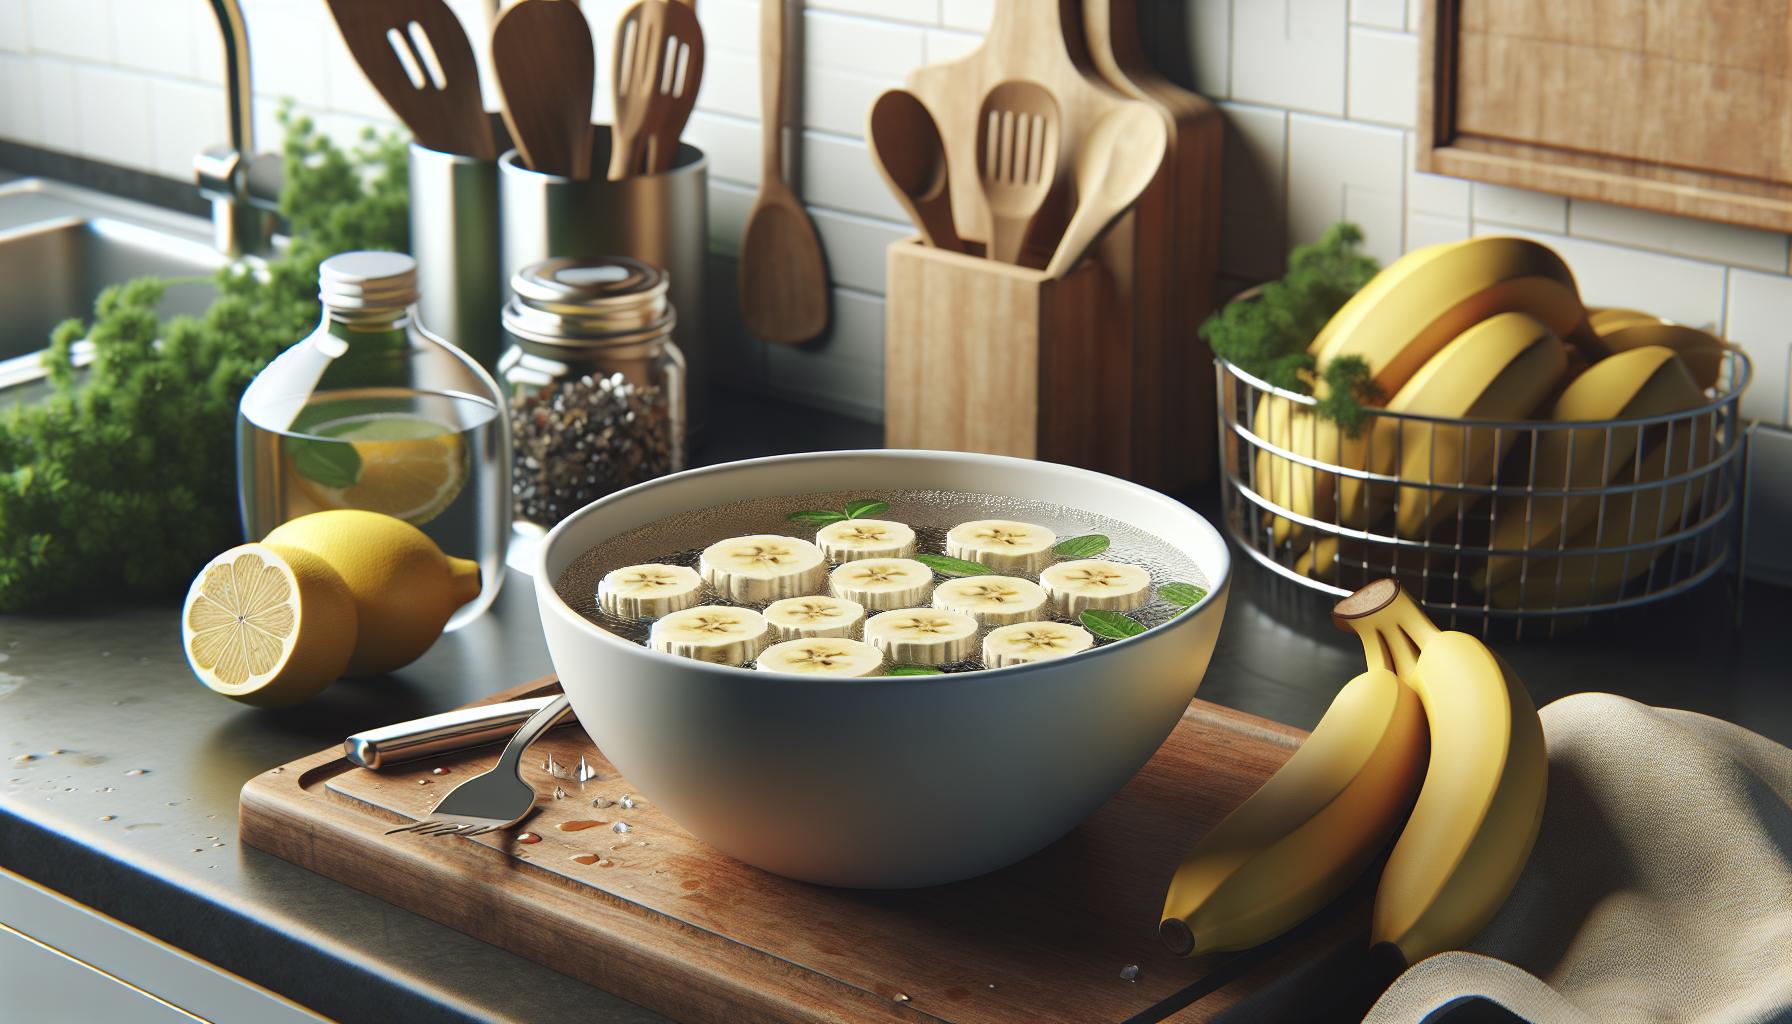
A lemon water bath prevents plantain slices from browning during the freezing process. Mix 1 cup of cold water with 2 tablespoons of fresh lemon juice in a large bowl. Place the peeled plantain pieces into this acidic solution for 5 minutes. The citric acid in lemon juice acts as a natural preservative that maintains the plantain’s color while preventing oxidation.
For maximum effectiveness:
- Submerge all pieces completely in the solution
- Keep the ratio of 1 cup water to 2 tablespoons lemon juice
- Remove pieces after 5 minutes to avoid softening
- Pat dry thoroughly with paper towels before freezing
This extra step helps preserve the plantains’ natural color during storage. After the lemon water bath removes excess starch the plantain pieces remain fresh-looking when thawed instead of turning an unappealing brown color.
Lime juice offers an alternative to lemon juice when necessary using the same ratios. The key focus remains on using citrus to prevent discoloration while maintaining the plantain’s texture for future use.
3. Pat dry thoroughly

Removing excess moisture from plantain pieces prevents ice crystal formation during freezing. Lay the plantain pieces on a clean kitchen towel or paper towels in a single layer. Press gently but firmly with additional paper towels to absorb surface moisture.
Here’s an effective drying technique:
- Blot each piece individually with lint-free paper towels
- Place pieces on a fresh, dry cloth without overlapping
- Change towels if they become too damp
- Continue drying until no moisture remains on the surface
A thorough drying process creates optimal results:
| Drying Time | Results |
|---|---|
| 2-3 minutes | Reduced freezer burn |
| 4-5 minutes | Better texture retention |
| 5+ minutes | Maximum storage life |
The plantain pieces need complete dryness before moving to the next freezing step. Even small amounts of surface moisture lead to texture changes during freezing.
4. Pack in freezer bags

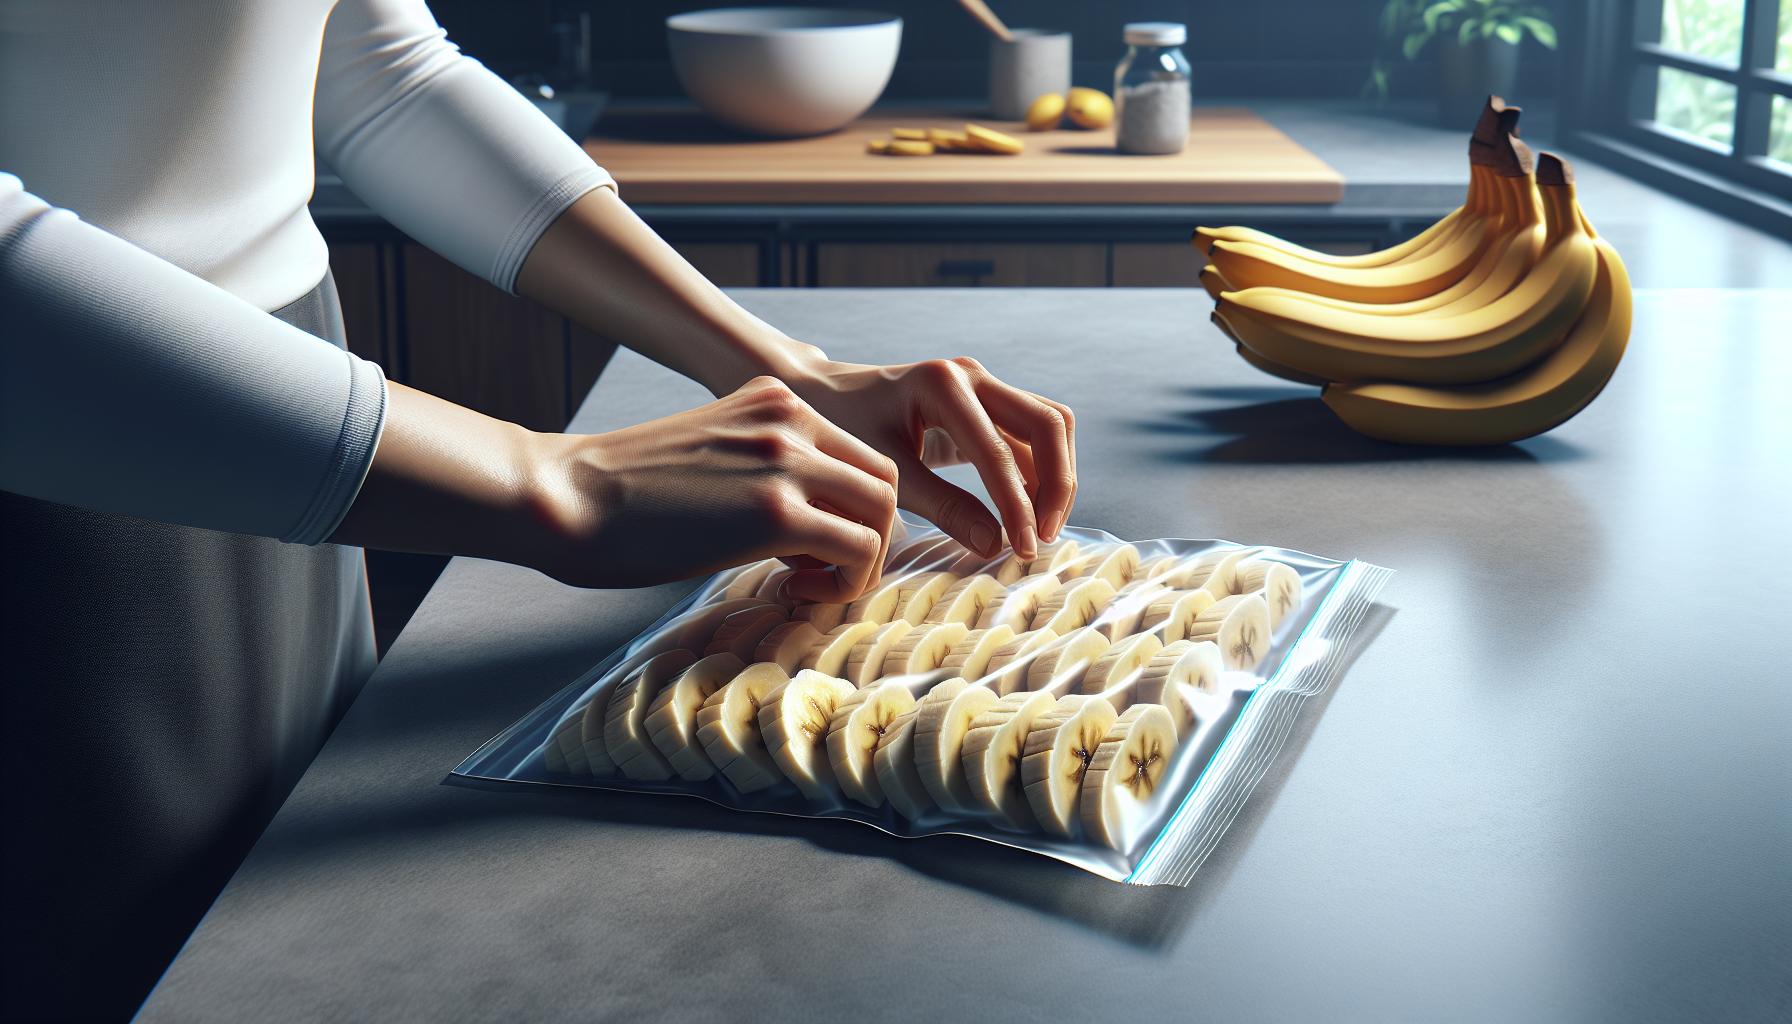
Place dried plantain pieces in freezer-safe bags using a single layer arrangement to prevent clumping. Remove excess air from the bags by pressing gently from bottom to top before sealing. Label each bag with the packing date using a permanent marker.
Follow these packing tips for optimal storage:
- Fill bags only 75% full to allow for slight expansion during freezing
- Divide plantains into portion-sized amounts (2 cups per bag) for easy thawing
- Use heavy-duty freezer bags rated for 0°F (-18°C) storage
- Double-bag sliced plantains to prevent freezer burn
- Smooth out air pockets between pieces before sealing
Storage Times:
| Plantain Type | Maximum Storage Time |
|---|---|
| Raw Slices | 4-6 months |
| Pre-fried | 2-3 months |
| Mashed | 3-4 months |
Store packed bags flat in the freezer’s coldest section, avoiding the door area. Stack bags horizontally once frozen solid to maximize freezer space.
5. Remove air and freeze
“
Place the dried plantain pieces on a baking sheet lined with parchment paper in a single layer. Flash freeze them for 2 hours until solid. Transfer the frozen pieces to heavy-duty freezer bags labeled with the date. Press out excess air using the water displacement method – submerge the partially sealed bag in water to force air out before sealing completely.
Pack the plantains in portion-sized amounts to avoid repeated thawing:
- Raw slices: 2-3 cups per bag
- Pre-fried pieces: 1-2 cups per bag
- Mashed portions: 1 cup per container
Store the bags flat in the coldest part of the freezer at 0°F (-18°C). Maximum storage times:
| Type | Storage Duration |
|---|---|
| Raw slices | 4-6 months |
| Pre-fried | 2-3 months |
| Mashed | 3-4 months |
Stack bags horizontally once frozen solid to maximize freezer space. Keep bags away from the freezer door where temperature fluctuations occur.


