
Fresh cherries bring a burst of summer sweetness but their season passes all too quickly. Freezing these ruby-red gems lets anyone enjoy their delicious flavor year-round while preserving their nutritional benefits and natural taste.
Freezing fresh cherries involves washing them thoroughly removing the stems and pits then flash-freezing them on a baking sheet before transferring to freezer bags. This method maintains their shape texture and flavor for up to 6 months.
Proper freezing techniques can transform summer’s harvest into winter’s treasure making frozen cherries perfect for smoothies pies and baked goods. Whether someone has picked too many cherries at the orchard or found an irresistible sale at the market freezing offers an easy solution to preserve this beloved fruit.
“1. Wash and pit the cherries
Place fresh cherries in a colander and rinse under cool running water, gently moving them with your hands to remove dirt or debris. Spread the washed cherries on clean kitchen towels to air dry completely.
Remove stems just before freezing to maintain optimal freshness. For efficient pitting, use a cherry pitter – a specialized tool that removes pits quickly while keeping the fruit intact.
Here’s how to pit cherries effectively:
- Position the cherry in the pitter
- Press down firmly to push out the pit
- Place pitted cherry in a clean bowl
- Repeat process for remaining cherries
For those without a cherry pitter, alternative methods include:
- Using a chopstick to push the pit through
- Making a small incision and manually removing the pit
- Using a paperclip bent into a hook shape
???? Pro Tip: Work over a dark-colored surface to spot any missed pits easily. Cherry juice stains clothing permanently, so wear an apron or old clothes during this process.
Keep cherries in cold water while working to prevent browning. Once pitted, pat them dry thoroughly with paper towels before moving to the next freezing step.
2. Pat completely dry with paper towels

Drying cherries thoroughly prevents ice crystals from forming during the freezing process. Place the washed cherries in a single layer on clean paper towels. Press additional paper towels gently on top to absorb excess moisture. Replace wet paper towels with fresh ones as needed until the cherries are completely dry.
Alternative drying methods include:
- Air drying on a clean kitchen towel for 2-3 hours
- Using a salad spinner to remove excess water
- Arranging cherries on a wire rack for optimal air circulation
Key tip: Check the stem areas carefully, as water often collects in these spots. A thorough drying process extends the cherries’ freezer life by reducing freezer burn risk. Dark spots or discoloration indicate remaining moisture that requires additional drying time.
Time-saving tip: Position a fan nearby to speed up the air-drying process when handling large batches of cherries.
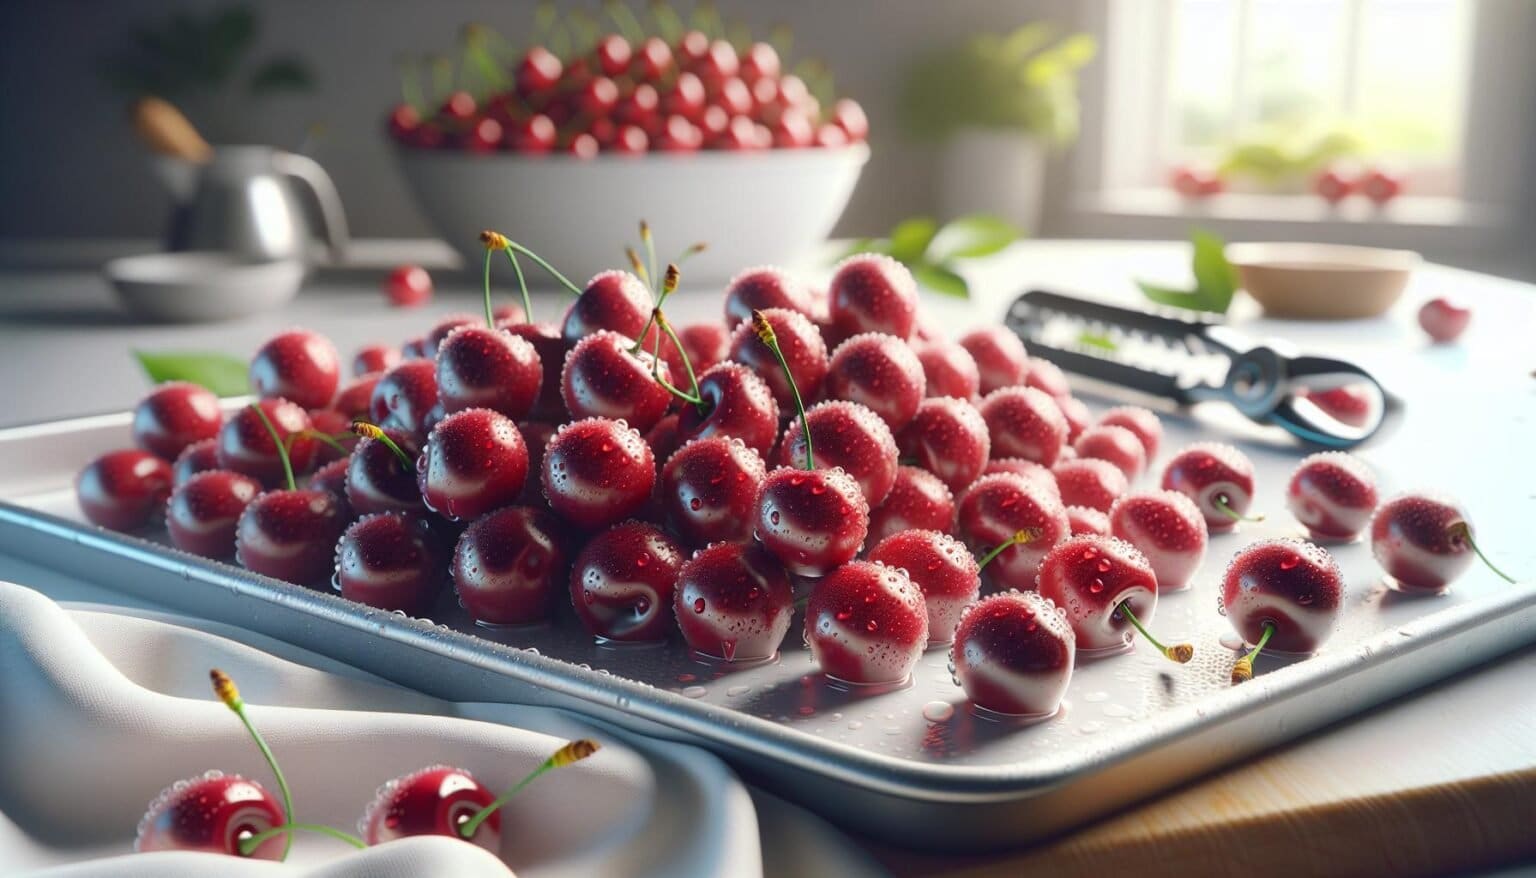
3. Arrange on a baking sheet in single layer

Place the dried pitted cherries on a rimmed baking sheet lined with parchment paper. Space each cherry approximately 1/2 inch apart to prevent clumping during the freezing process. A standard 18×13-inch baking sheet accommodates 4 cups of cherries.
- Spread cherries evenly without touching each other
- Leave room between rows for air circulation
- Position cherries stem-side up for stability
- Use multiple baking sheets for large batches
This single-layer arrangement prevents the cherries from freezing into a solid mass. The parchment paper lining makes it easy to transfer the frozen cherries later. For optimal results, ensure the baking sheet sits flat in the freezer.
A wire cooling rack placed under the baking sheet improves air circulation around the cherries. This setup accelerates the freezing process through flash-freezing, which preserves the cherries’ texture by forming smaller ice crystals.
4. Flash freeze for 2 hours until firm

Spread the prepared cherries in a single layer on the lined baking sheet with ½ inch spacing between each piece. Place the baking sheet flat in the freezer for 2 hours to flash freeze the cherries until they’re completely firm.
For optimal freezing:
- Keep the freezer temperature at 0°F (-18°C)
- Position the baking sheet away from other frozen items
- Avoid stacking multiple sheets during freezing
- Check firmness by touching a cherry after 2 hours
A properly flash-frozen cherry feels hard to the touch with no soft spots. The single-layer arrangement prevents the cherries from freezing together in clumps. Flash freezing individually preserves each cherry’s shape while locking in nutrients.
Pro tip: Place the baking sheet on a wire cooling rack in the freezer to improve air circulation around the cherries. This speeds up the freezing process by allowing cold air to reach all surfaces of the fruit.
This method creates individually frozen cherries that maintain their shape quality for up to 6 months when properly stored in airtight containers or freezer bags.
5. Transfer to freezer bags, removing air”
Transfer the flash-frozen cherries from the baking sheet into freezer-safe storage bags. Label each bag with the date using a permanent marker before filling. Pour the frozen cherries into quart-sized freezer bags, filling them only 3/4 full to allow space for expansion.
Remove excess air from the bags using one of these methods:
- Press out air manually while sealing
- Use a straw to suck out air before closing
- Employ a vacuum sealer for optimal results
- Zip the bag almost completely closed
- Press gently from bottom to top
- Seal immediately when air is removed
- Double-check the seal is complete
Stack the filled bags flat in the freezer, storing them away from strong-smelling foods. Position newer bags behind older ones to maintain proper rotation. Frozen cherries remain fresh for 6 months when stored at 0°F (-18°C) in properly sealed bags.
| Storage Method | Freezer Life | Temperature |
|---|---|---|
| Freezer Bags | 6 months | 0°F (-18°C) |
| Vacuum Sealed | 12 months | 0°F (-18°C) |

