Preserving the tart sweetness of fresh sour cherries lets bakers and home cooks enjoy their unique flavor all year round. While the harvest season may be brief these vibrant red fruits freeze beautifully when properly prepared.
Freezing sour cherries requires washing fresh cherries removing the pits placing them on a lined baking sheet for flash freezing and transferring them to freezer bags for long-term storage. When properly frozen sour cherries maintain their quality for up to 12 months.
Nothing beats the convenience of reaching into the freezer for a batch of frozen sour cherries to make a delicious pie cobbler or sauce during the off-season. With proper freezing techniques these summer gems retain their bright flavor texture and nutritional benefits making them perfect for year-round baking and cooking.
“1. Wash and pit cherries
Fresh sour cherries require thorough cleaning under cold running water in a colander. A gentle stir ensures removal of dirt or debris while preserving the delicate fruit.
Here’s the process for preparing sour cherries:
- Initial Rinse: Place cherries in a colander under cold water
- Stem Removal: Keep stems attached until ready to freeze, then remove
- Pitting Process: Use a cherry pitter for efficient pit removal
- Single cherry pitter: Suitable for small batches
- Multiple cherry pitter: Ideal for large quantities
- Manual method: Slice cherries in half to remove pits
Pro Tip: Position the cherry pitter over a deep bowl to catch juice splatter during the pitting process.
| Pitting Method | Time per 1lb | Best For |
|---|---|---|
| Single Pitter | 15 minutes | Small batches |
| Multi Pitter | 5 minutes | Large quantities |
| Manual/Knife | 25 minutes | No special tools |
2. Pat completely dry

After washing and pitting the sour cherries, pat them completely dry with paper towels or a clean kitchen towel. Excess moisture creates unwanted ice crystals during freezing that damage the fruit’s texture. Here’s an effective three-step drying process:
- Line a large colander with paper towels
- Spread cherries in a single layer
- Gently press additional paper towels on top
For optimal results, let the cherries air dry for 15-20 minutes after patting them. Place them on a clean dish towel in a single layer to catch any remaining moisture. The cherries are ready for freezing when their surface feels dry to the touch but still maintains its natural slight tackiness.
A proper drying process:
- Prevents clumping during freezing
- Maintains fruit quality
- Reduces freezer burn risk
- Extends storage life
Pro tip: Handle the cherries gently while drying to avoid bruising or crushing them, which affects their texture after thawing.
3. Arrange on baking sheet

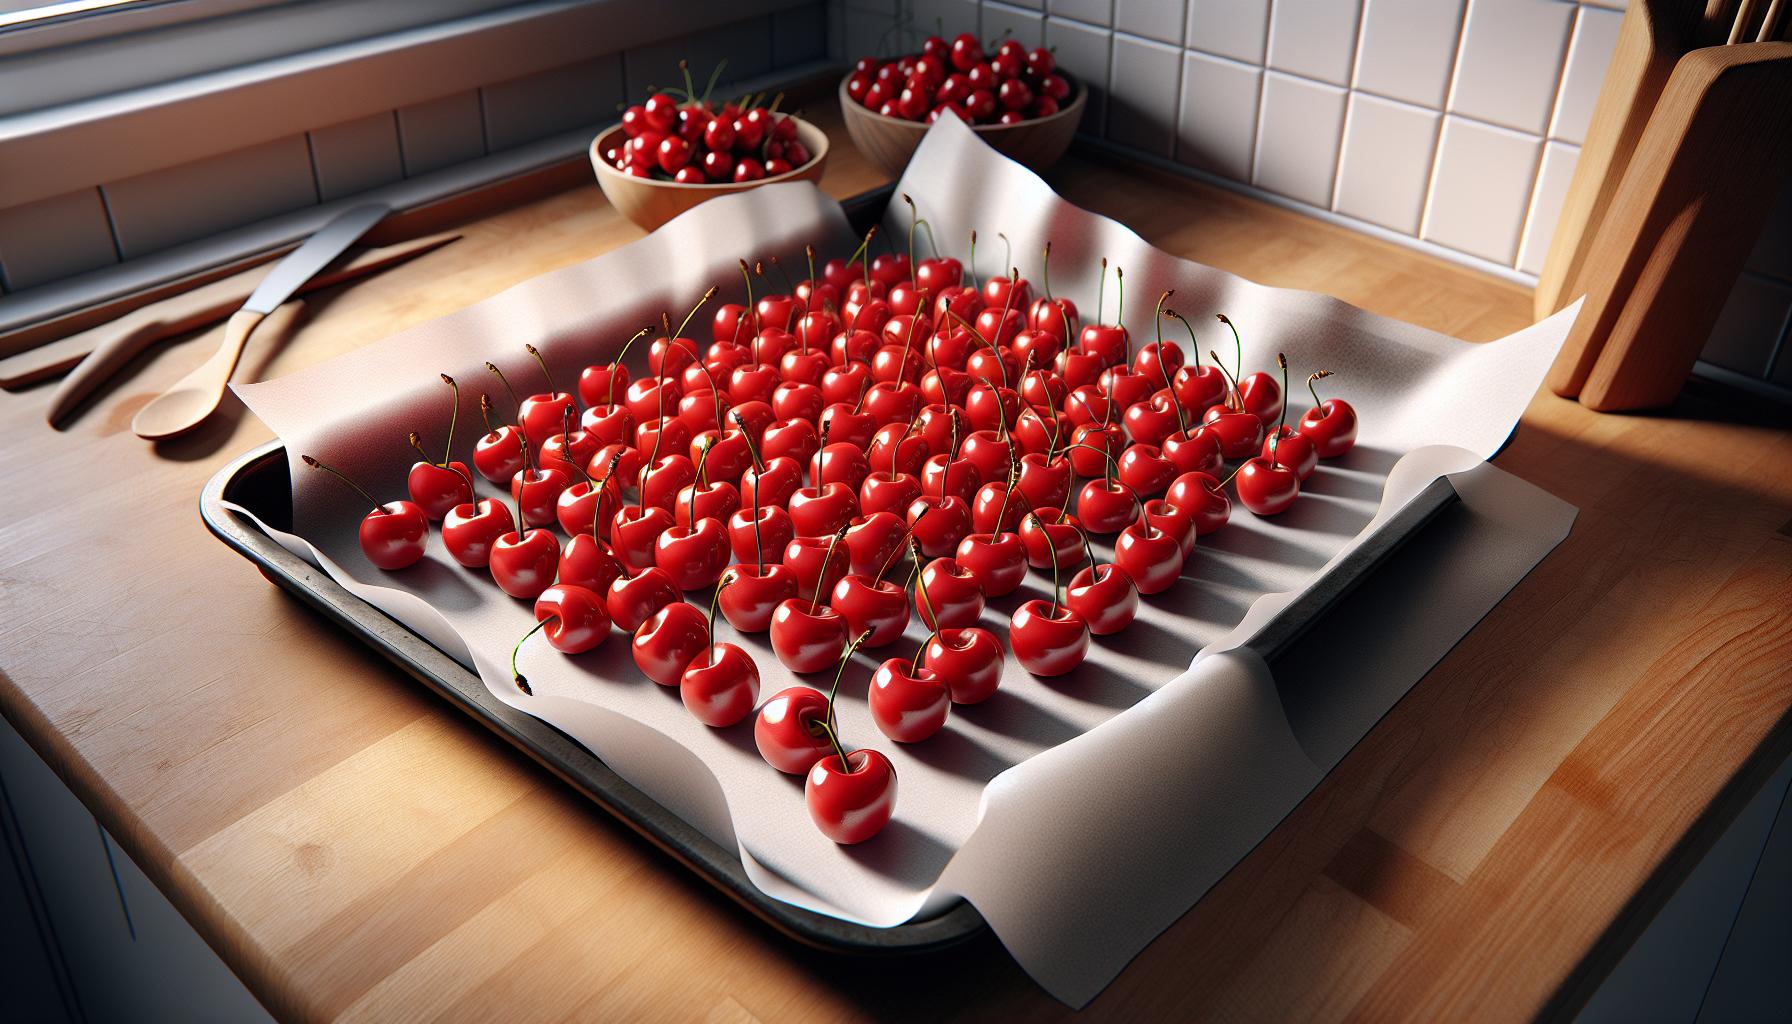
Line a baking sheet with parchment paper or wax paper to prevent sticking. Place the pitted cherries in a single layer across the sheet with small gaps between each cherry. Spacing prevents the cherries from freezing together into clumps.
Position cherries at least 1/2 inch apart to allow proper air circulation during the freezing process. Common baking sheet sizes for freezing cherries:
| Sheet Size | Cherry Capacity |
|---|---|
| Half Sheet (18×13″) | 40-50 cherries |
| Quarter Sheet (13×9″) | 20-25 cherries |
| Full Sheet (26×18″) | 80-90 cherries |
- Use rimmed baking sheets to prevent cherries from rolling off
- Level the sheet in the freezer for even freezing
- Place multiple sheets on different racks to freeze larger batches
The arranged cherries require 2-3 hours of freezing time before transferring to storage containers. This flash-freezing technique preserves the individual shape of each cherry.
4. Flash freeze 2 hours

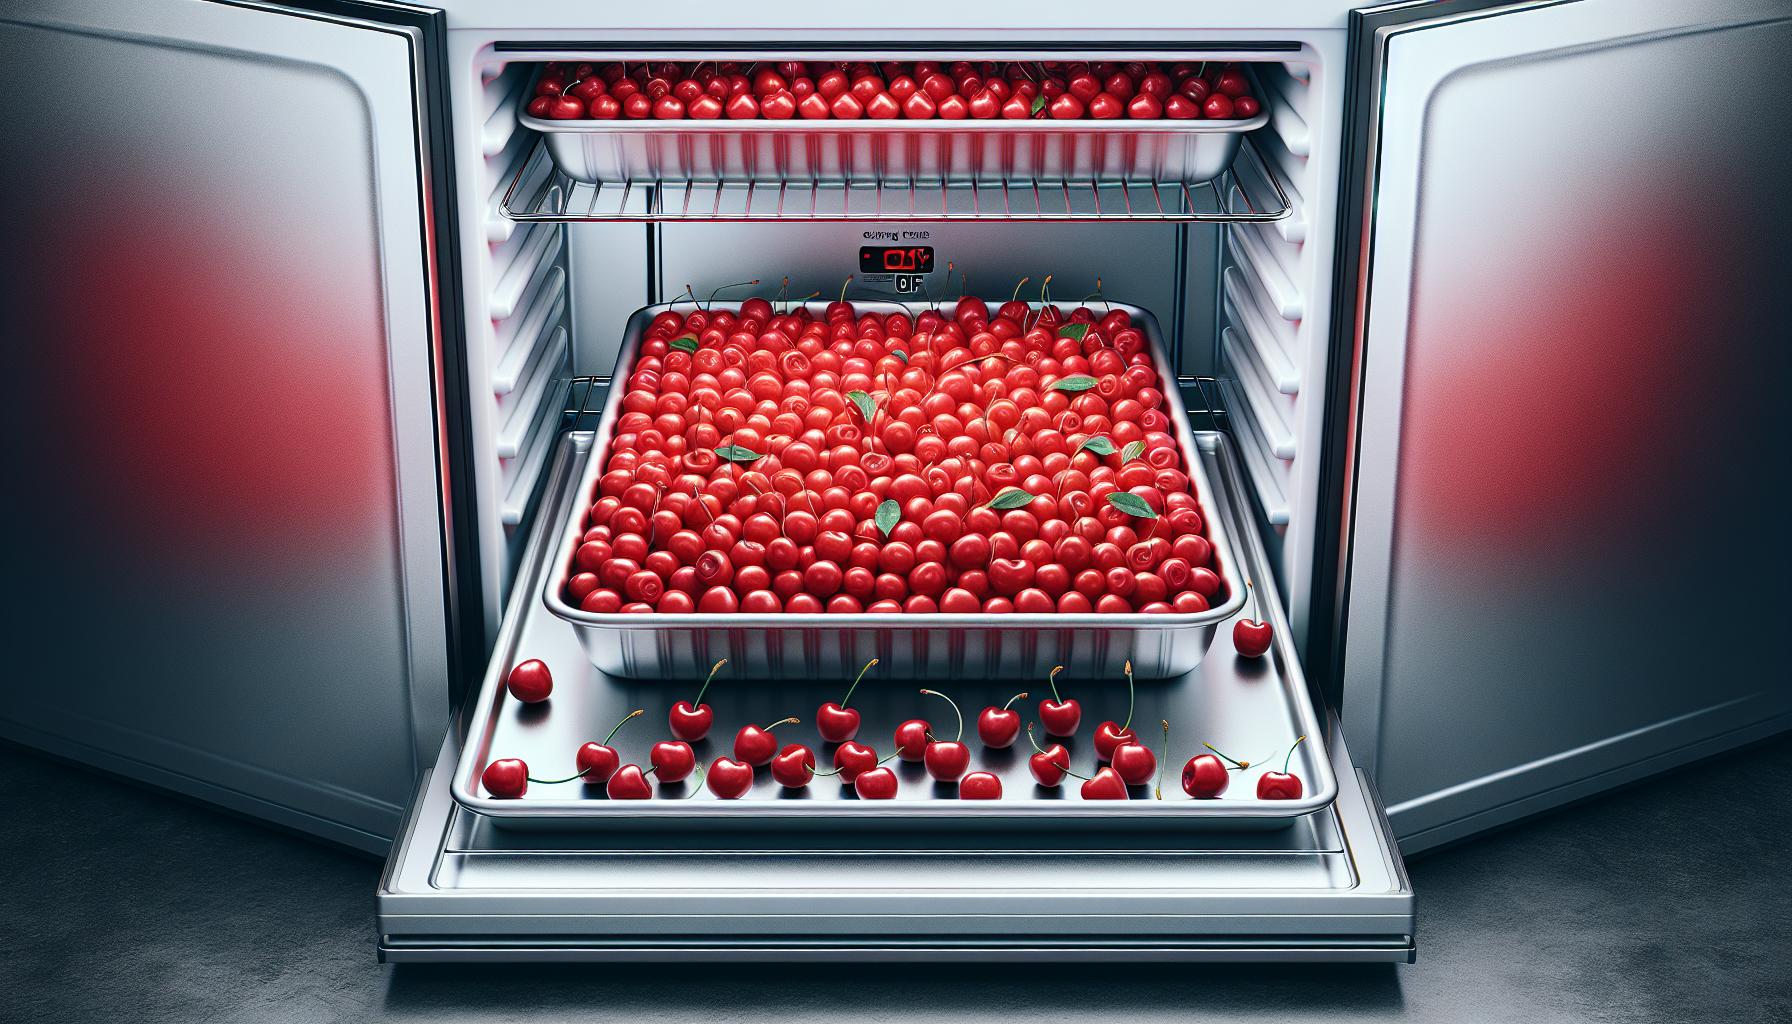
Place the prepared baking sheet with arranged sour cherries directly into the freezer. Set the freezer temperature to 0°F (-18°C) or lower for optimal flash freezing. The cherries require a minimum of 2 hours to freeze completely solid. During this time, the individual cherries develop a hard exterior while maintaining their shape without clumping together.
Each cherry transforms into an individually frozen unit through this process, making them easier to portion later. The rimmed baking sheet keeps the cherries contained while preventing any rolling or movement during the freezing process. Testing for proper freezing involves touching a cherry – it should feel completely firm with no soft spots.
Key points for flash freezing:
- Keep freezer door closed during the entire process
- Position baking sheet on a flat surface
- Maintain consistent freezer temperature
- Avoid stacking items on top of cherries
- Check firmness at 2-hour mark
A single layer of cherries on a standard 18×13-inch baking sheet typically freezes within 2 hours. Larger batches requiring multiple sheets can be frozen simultaneously if space permits.
5. Transfer to freezer bags”
Once the cherries are frozen solid, transfer them immediately to freezer-safe storage bags. Remove excess air from the bags by pressing gently or using a vacuum sealer to prevent freezer burn. Label each bag with the date of freezing for accurate tracking.
Tips for optimal storage:
- Use heavy-duty freezer bags rated for long-term storage
- Fill bags only 3/4 full to allow for expansion
- Press out air bubbles while sealing
- Double-bag for extra protection
Storage amounts per bag size:
| Bag Size | Cherry Capacity |
|---|---|
| Quart | 4 cups |
| Gallon | 16 cups |
Work quickly during the transfer process to keep the cherries from thawing. Stack sealed bags flat in the freezer to maximize space efficiency. Store bags away from the freezer door to maintain consistent temperature. The cherries remain fresh for up to 12 months when stored at 0°F (-18°C).


