Bone broth stands as a nutritional powerhouse cherished for its rich flavors and health benefits. While making this golden elixir takes time and effort many people prefer to prepare it in large batches. But without proper storage methods all that careful preparation could go to waste.
Freezing bone broth is a simple process that requires proper containers cool-down time and adequate headspace for expansion. The broth can last up to 6 months in the freezer when stored correctly maintaining its nutritional value and taste.
Knowing the right techniques for freezing bone broth ensures you’ll always have this nourishing staple ready whenever needed. From selecting the ideal storage containers to preventing freezer burn understanding these methods helps preserve both the quality and healing properties of your homemade bone broth.
1. Cool broth completely to room temperature
Cooling bone broth to room temperature ensures food safety and prevents damage to storage containers. Place the hot broth pot on a heat-safe surface or cooling rack. Let the broth sit uncovered for 60 minutes to release initial steam. Cover with a lid and continue cooling for another 2-3 hours until it reaches room temperature.
- Initial temperature: 180-200°F (hot off stove)
- First hour: Drops to 120-140°F
- Final target: 70-75°F (room temperature)
The cooling process allows fats to separate naturally from the broth creating a protective layer on top. This fat cap helps preserve freshness and prevents freezer burn when stored. Remove any large particles floating on the surface with a fine-mesh strainer during the cooling phase.
Safety tip: Don’t place hot broth directly in the refrigerator or freezer. Rapid temperature changes can crack containers and affect nearby foods’ temperature regulation.
2. Strain to remove any solids

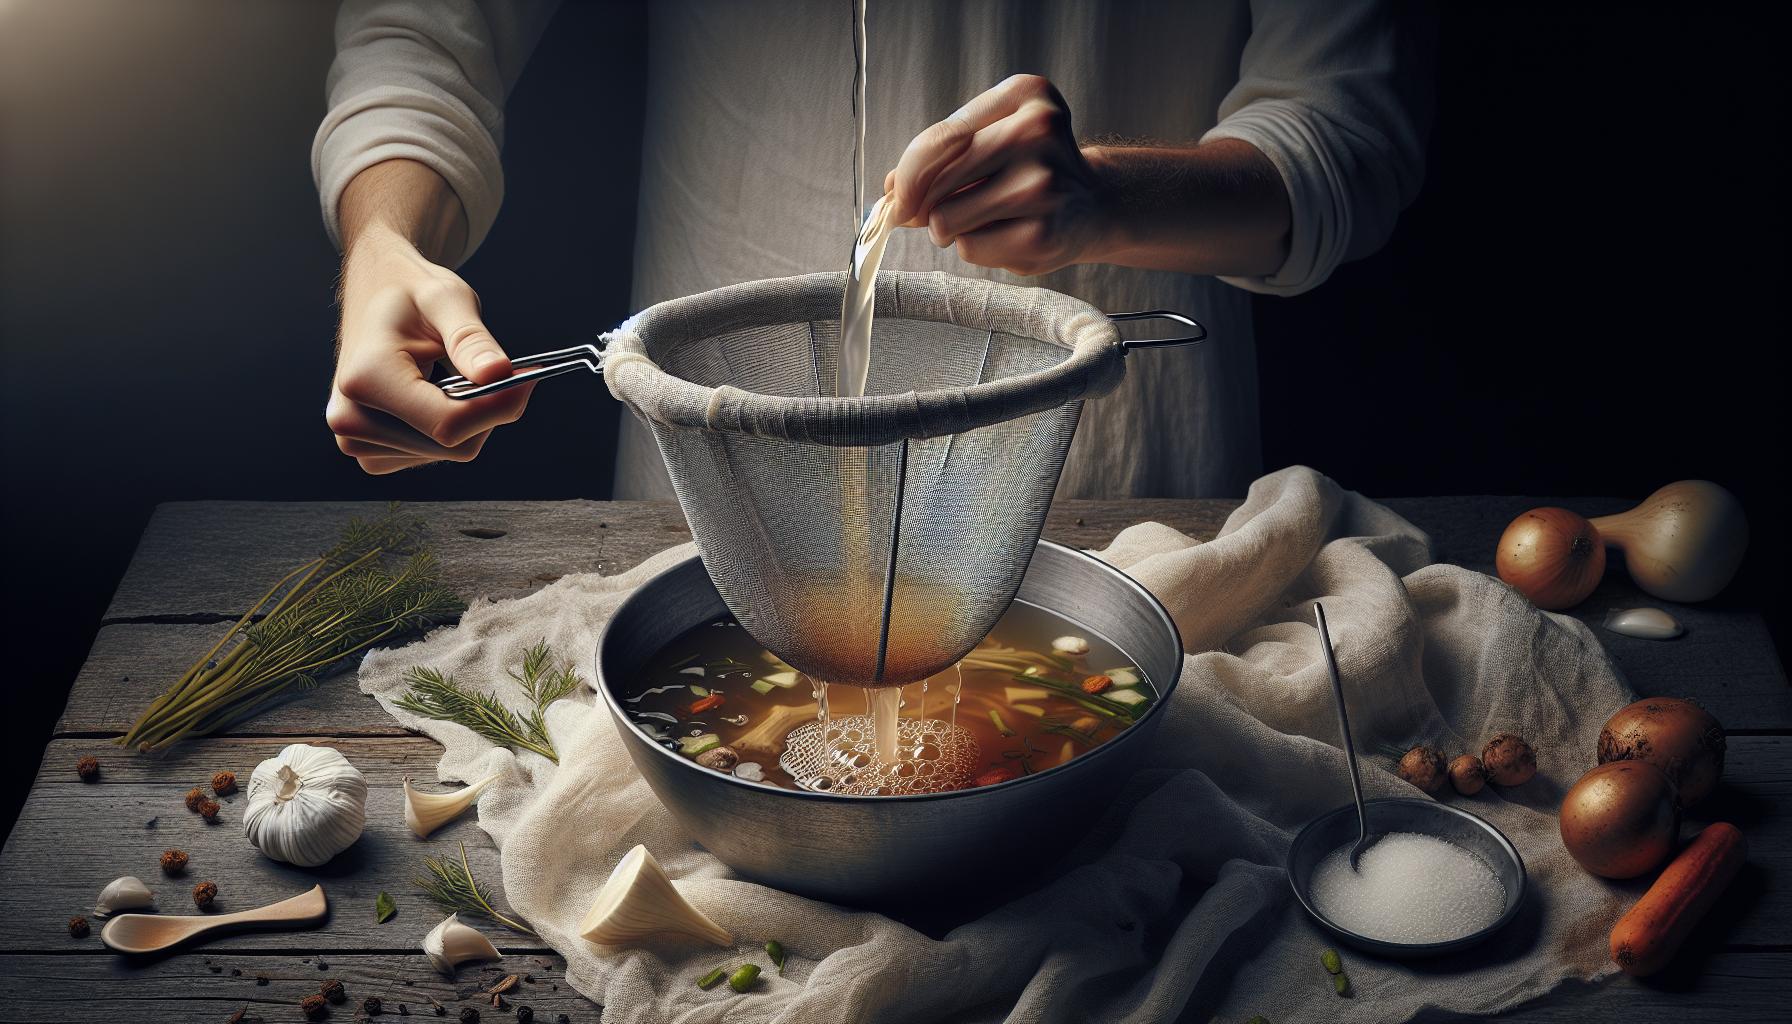
Straining bone broth removes unwanted particles to create a smooth, clear liquid. Pour the cooled broth through a fine-mesh strainer lined with cheesecloth to catch bones, vegetables, herbs or meat fragments.
A double-straining technique enhances clarity – first use a colander to remove large pieces, then strain again with the fine mesh. Position the strainer over a large bowl or pot that accommodates the full volume of broth.
Key straining tips:
- Use gentle pressure when pressing solids against the strainer
- Replace saturated cheesecloth if straining large batches
- Collect strained solids in a separate container for disposal
- Keep the strainer elevated above the bowl bottom
A clean strain prevents ice crystal formation during freezing, maintains optimal texture and makes the broth more versatile for future use in recipes. The filtered broth’s professional appearance enhances presentation in soups, sauces or when served on its own.
3. Pour into freezer-safe containers, leaving 1-inch headspace

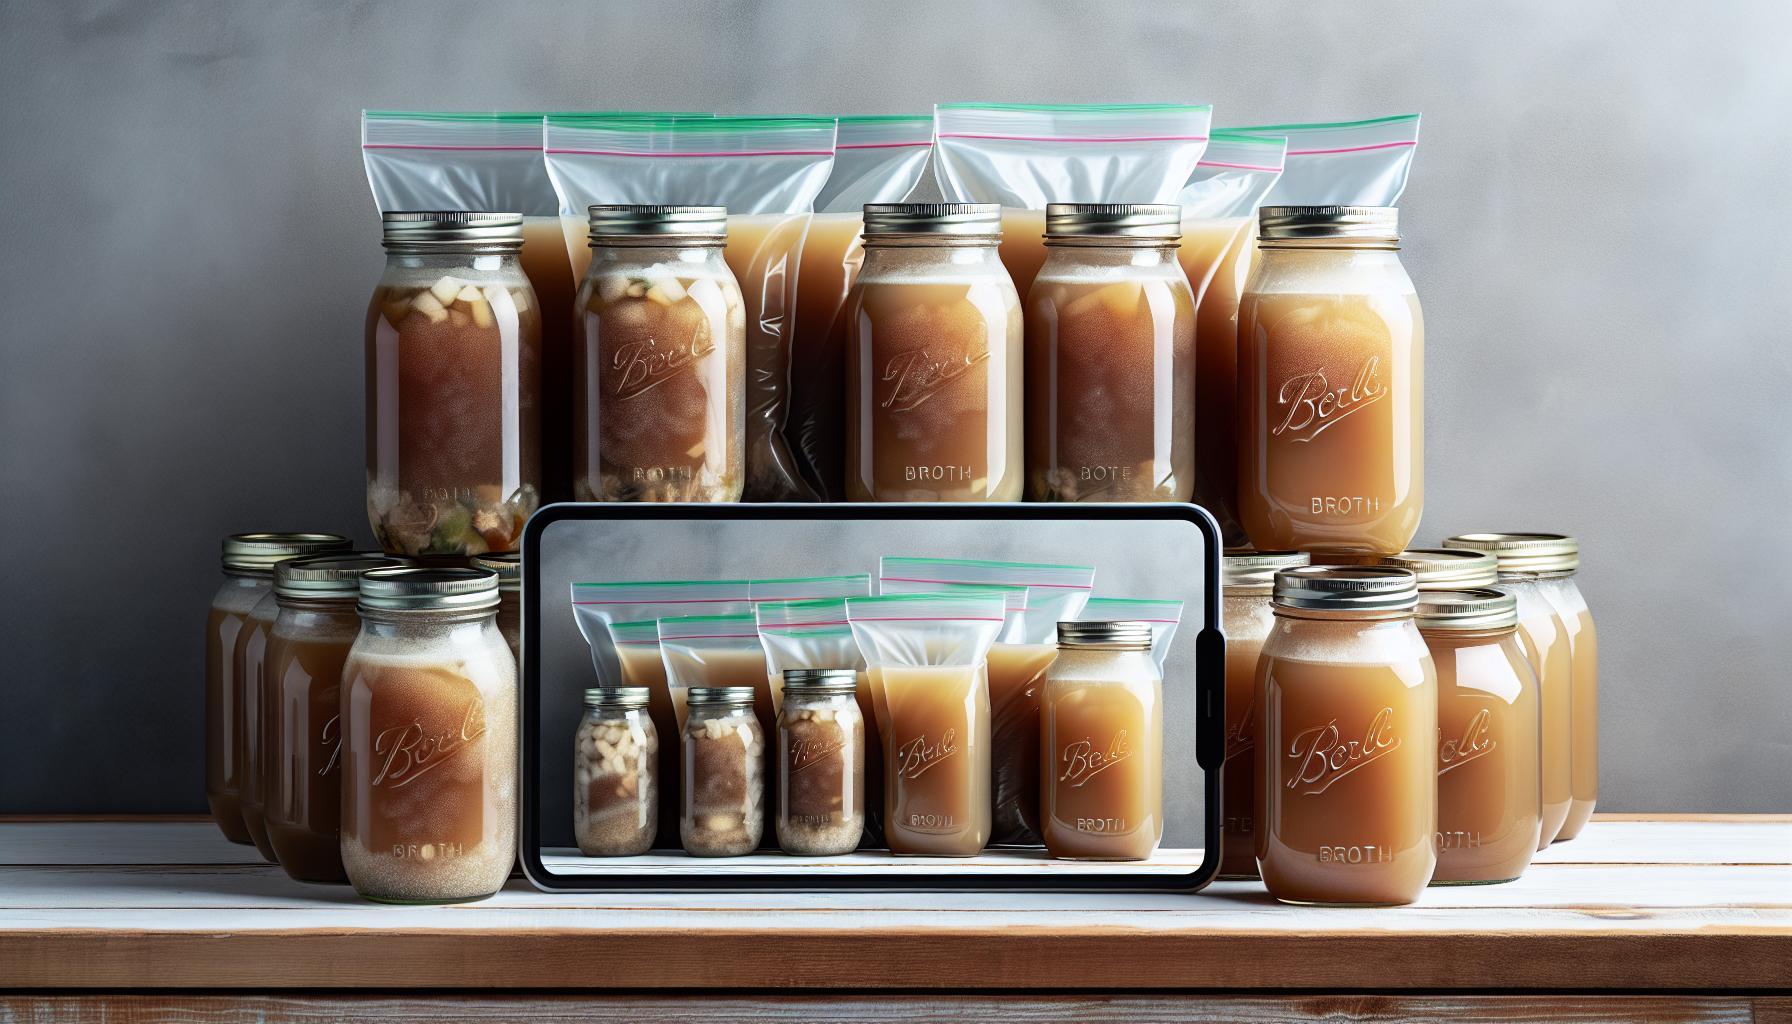
Proper container filling maximizes storage space while preventing freezer damage. Glass jars or freezer-safe bags accommodate bone broth effectively when filled with a 1-inch gap at the top. This headspace allows the liquid to expand during freezing without cracking containers or causing leaks.
For glass containers:
- Fill mason jars to the “freezer fill line” or leave 1 inch below the rim
- Secure lids loosely to allow for expansion
- Position jars upright in the freezer
- Avoid overfilling to prevent cracked glass
For freezer bags:
- Fill bags 3/4 full
- Remove excess air before sealing
- Lay flat for space-efficient storage
- Stack multiple bags horizontally
| Container Type | Recommended Headspace |
|---|---|
| Glass Jars | 1 inch from top |
| Plastic Containers | 1 inch from lid |
| Freezer Bags | 1/4 of total volume |
Removing air bubbles enhances storage capacity. Gently tap filled containers on the counter to release trapped air pockets before securing lids or sealing bags.
4. Label with date and contents

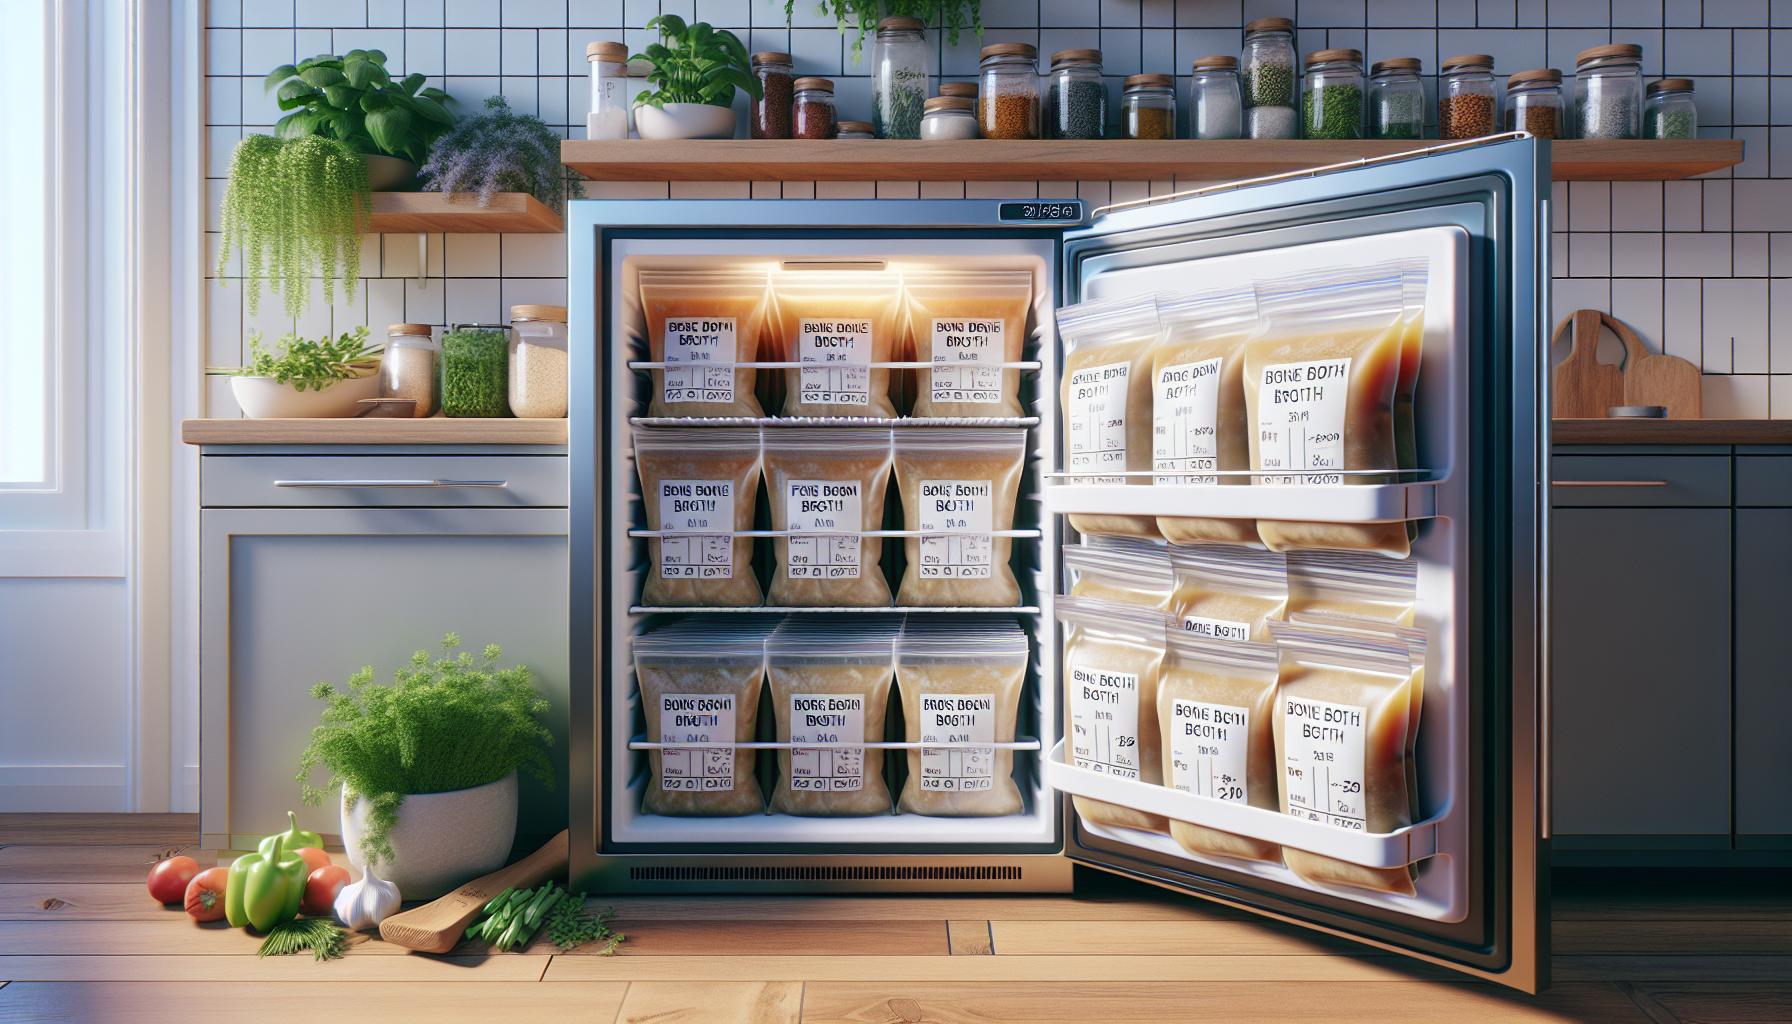
Proper labeling transforms frozen bone broth storage from chaotic to organized. A waterproof marker creates clear labels on freezer bags or masking tape for containers. Each label includes:
- Date of freezing: MM/DD/YYYY format
- Batch contents: Type of bones used (chicken, beef, mixed)
- Quantity: Cups or ounces stored
- Special ingredients: Added herbs or seasonings
| Label Element | Example |
|---|---|
| Date | 01/15/2024 |
| Contents | Chicken Bone Broth |
| Quantity | 32 oz |
| Ingredients | Rosemary, Thyme |
Adding expiration dates 6 months from the freezing date helps track freshness. Multiple batches stored simultaneously benefit from a first-in-first-out rotation system.
Labels placed on the container’s side remain visible when stacked, making identification effortless during retrieval. Writing the heating instructions (thaw overnight in refrigerator) on the label eliminates guesswork during future use.
5. Store in freezer for up to 6 months”
Properly frozen bone broth maintains optimal quality in the freezer for 3 to 6 months. Place the sealed containers toward the back of the freezer where temperatures remain most consistent. Temperature fluctuations near the freezer door reduce storage life.
Store frozen bone broth at 0°F (-18°C) or below for maximum preservation. Here’s how to organize frozen broth:
- Stack flat freezer bags horizontally to save space
- Place glass containers upright with 1-inch gaps between them
- Keep ice cube trays level until completely frozen
- Position containers away from strong-smelling foods
Using a first-in-first-out rotation system ensures older batches get used first. Check stored broth monthly for signs of freezer burn or damage to containers. Remove any frost-covered containers immediately to prevent quality deterioration.
| Storage Container | Maximum Storage Time | Ideal Temperature |
|---|---|---|
| Freezer Bags | 3 months | 0°F (-18°C) |
| Glass Jars | 6 months | 0°F (-18°C) |
| Ice Cube Trays | 4 months | 0°F (-18°C) |


